After two years of searching, I was not able to find a used van turbo kit for my 7.3 IDI. I assumed that even if I found a used IDI van turbo kit, it would cost me at least $750-$1000. I waited long enough, saved up a little, and decided to buy a new Hypermax van turbo kit. Overall, I think it was a better decision to buy new, rather than re-appropriate a truck turbo kit or keep searching for a used van turbo kit.
Here’s why:
1.) No need to fab up missing parts. I was able to find lots of truck turbo kits and lots of solo turbos. The problem is, not every seller has all the parts. They might have the up- and down-pipes, but not many of the little things like the valve cover, necessary brackets, linkages, etc. By the time you figure in the cost of either fabricating your own brackets or paying someone else to make the missing components, it’s cheaper to install a new kit.
2.) Easy to install. The kit comes with instructions that are very legible. Since I purchased directly from the seller, they are more than welcome to help out.
3.) Truck kits are very different from van kits. Even if you get a complete truck kit, maybe 20% of the parts can be used for the van. The van kit’s components differ as follows: Air intake housing, CDR location and mounting, glowplug relay and wiring locations, Diesel filter head location, Turbo mounting bracketing, Intake hat, up-pipes, down-pipe, oil feed line, kickdown linkage, transmission dipstick housing, transmission vacuum line, and most of the hardware.
This write up isn’t designed to be an installation tutorial, but it will probably read like one. Hypermax posts their instructions online, and they should be followed precisely. If my write-up helps you out, you are welcome. Disclaimer: I will not be held liable for anything that happens to your vehicle or any occupants or anyone based on the information in this text or the images. You are responsible for your own vehicle.
Before the Installation.
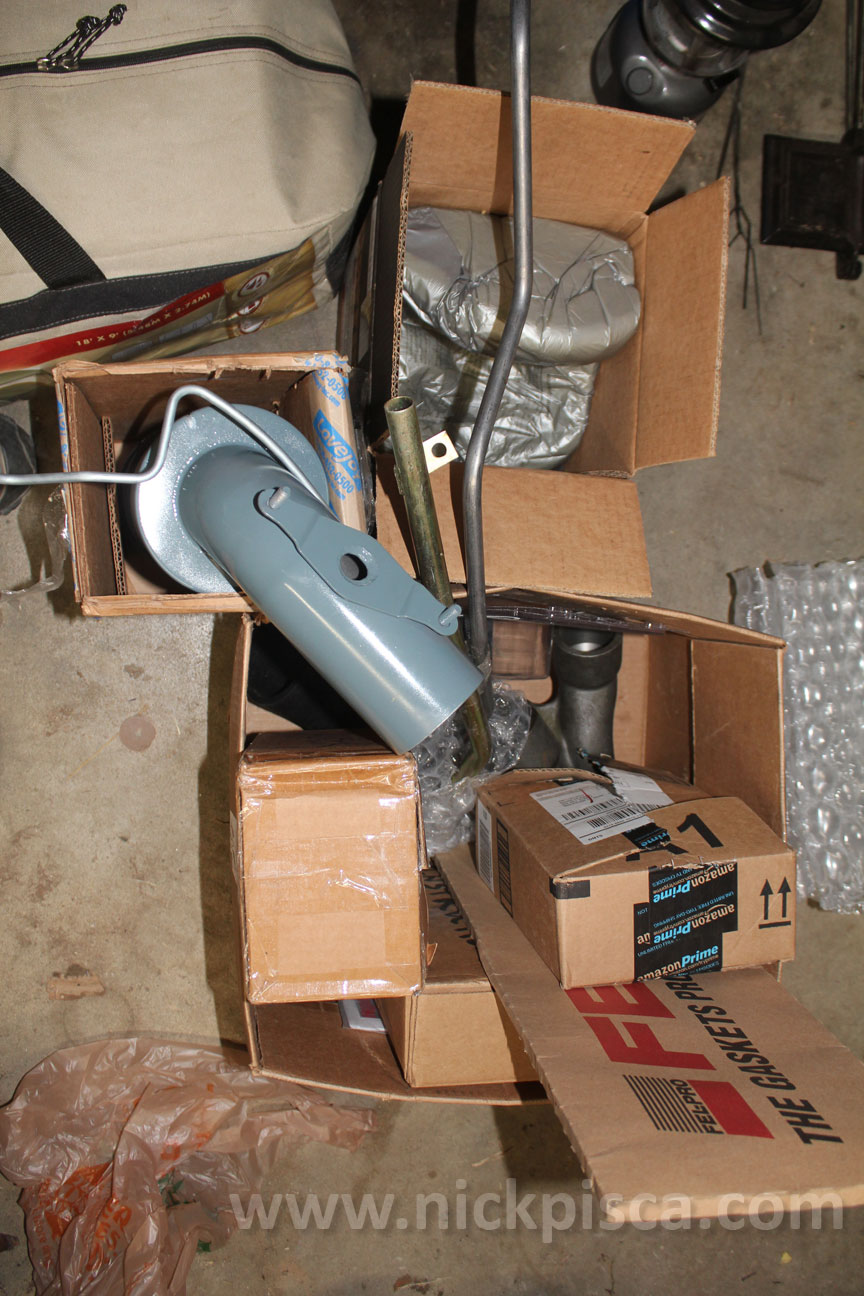
Here’s the kit that Hypermax sells. It’s pretty comprehensive, aside from some tranny issues that I’ll get into later.

It was shipped via UPS ground and came in a huge box. Turns out there was some extra shipping costs due to the kit dimensions exceeding four feet long.
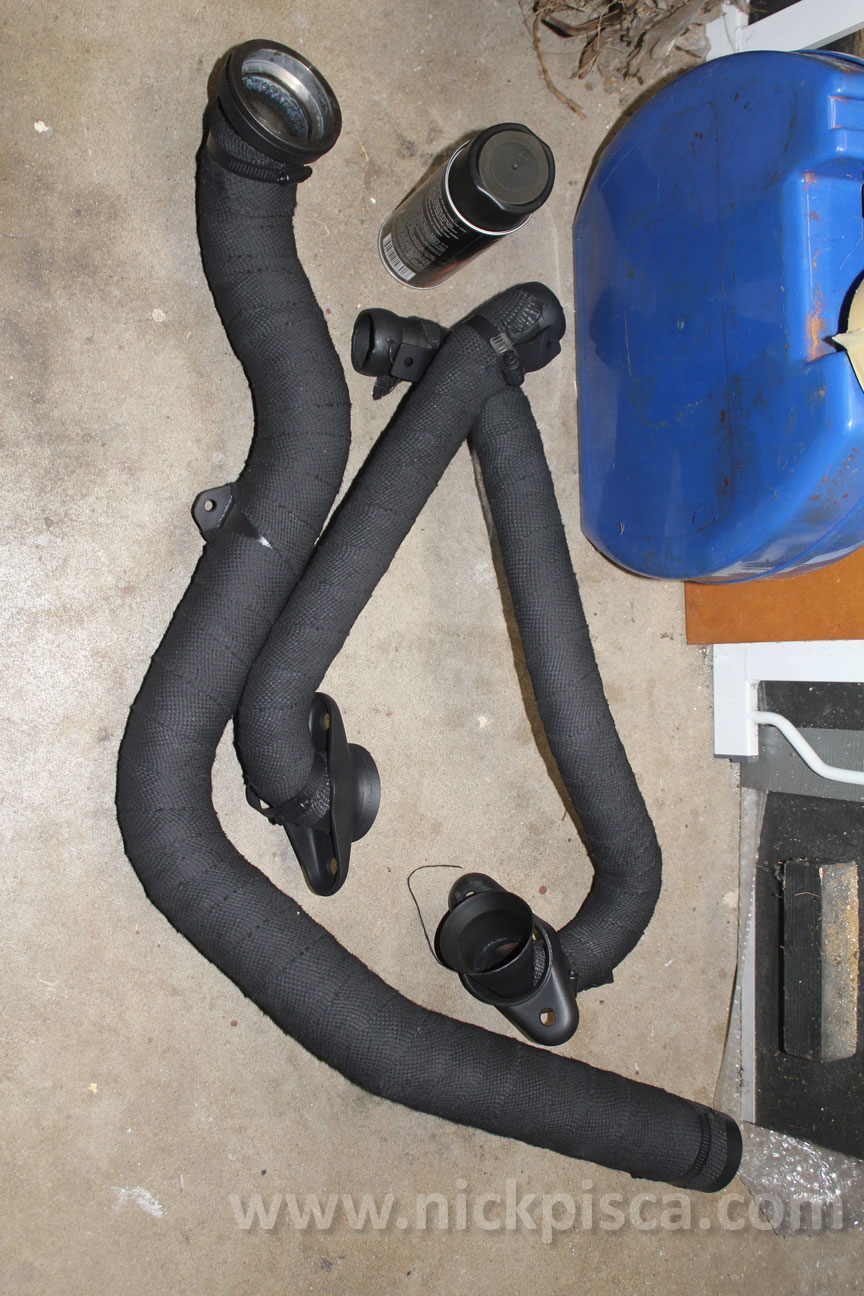
I wrapped and painted the up- and down-pipes in the hopes to keep my EGT from melting my doghouse.
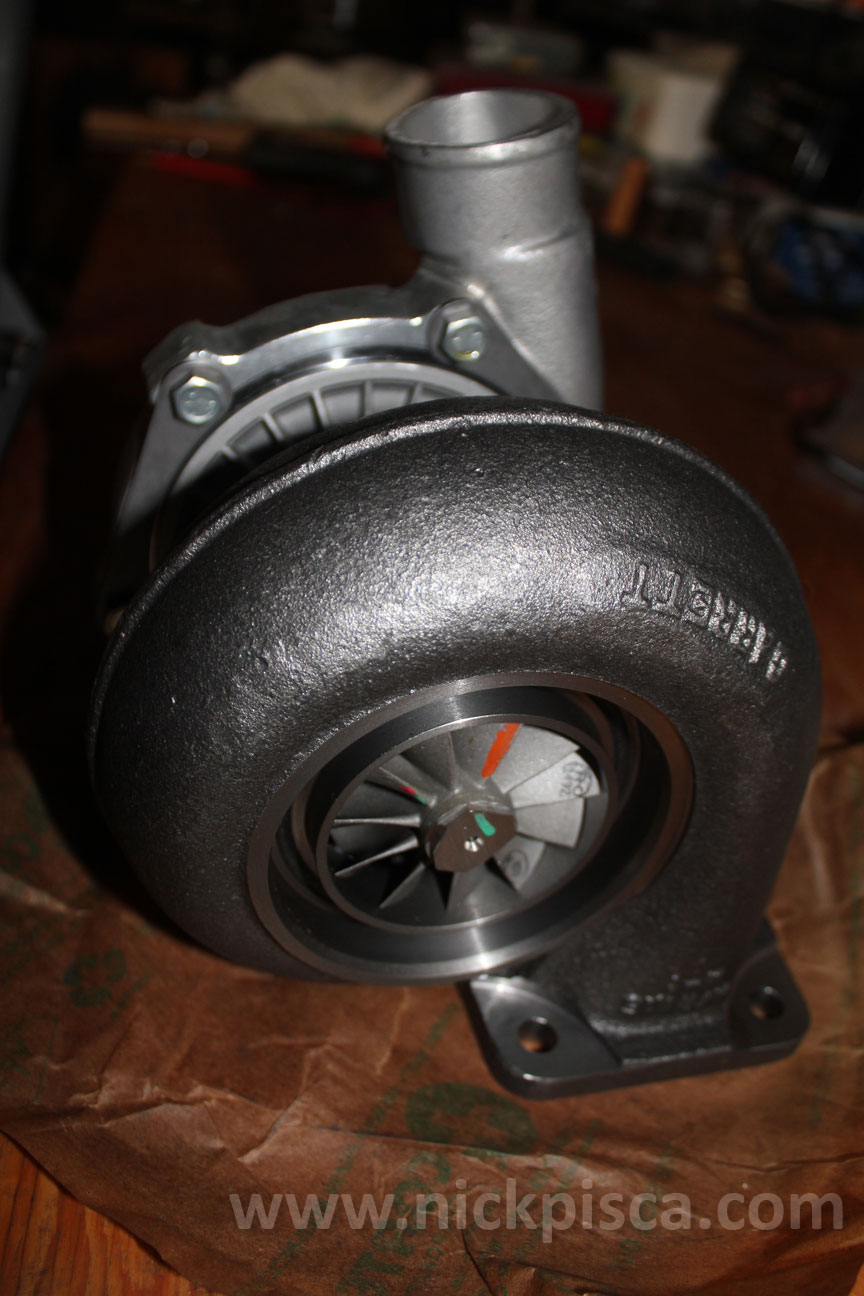
The turbo is a Garrett Model T04B69.
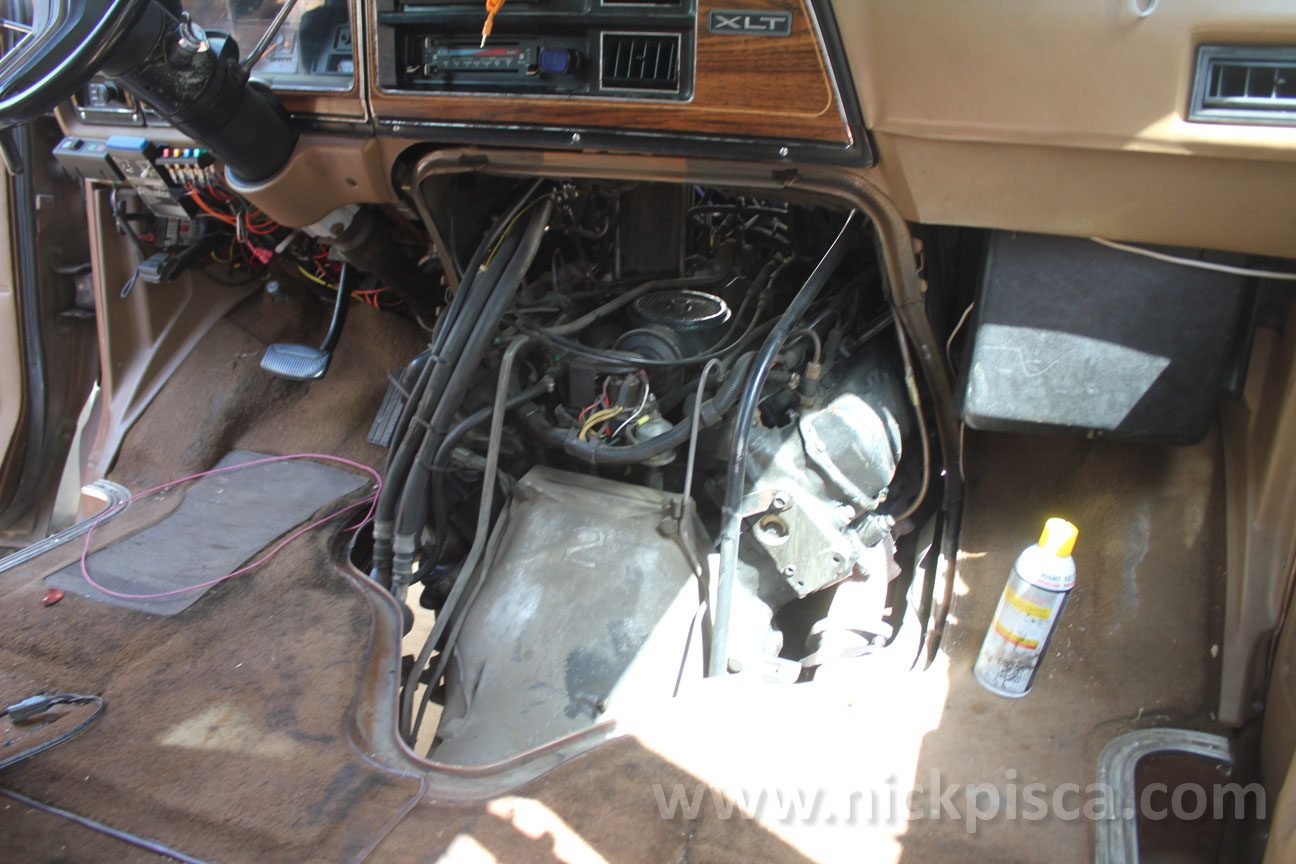
Here’s the status of the engine compartment from the doghouse before the installation.
Some preliminary steps.
Take some pictures of the following locations, so you can reassemble them if necessary:
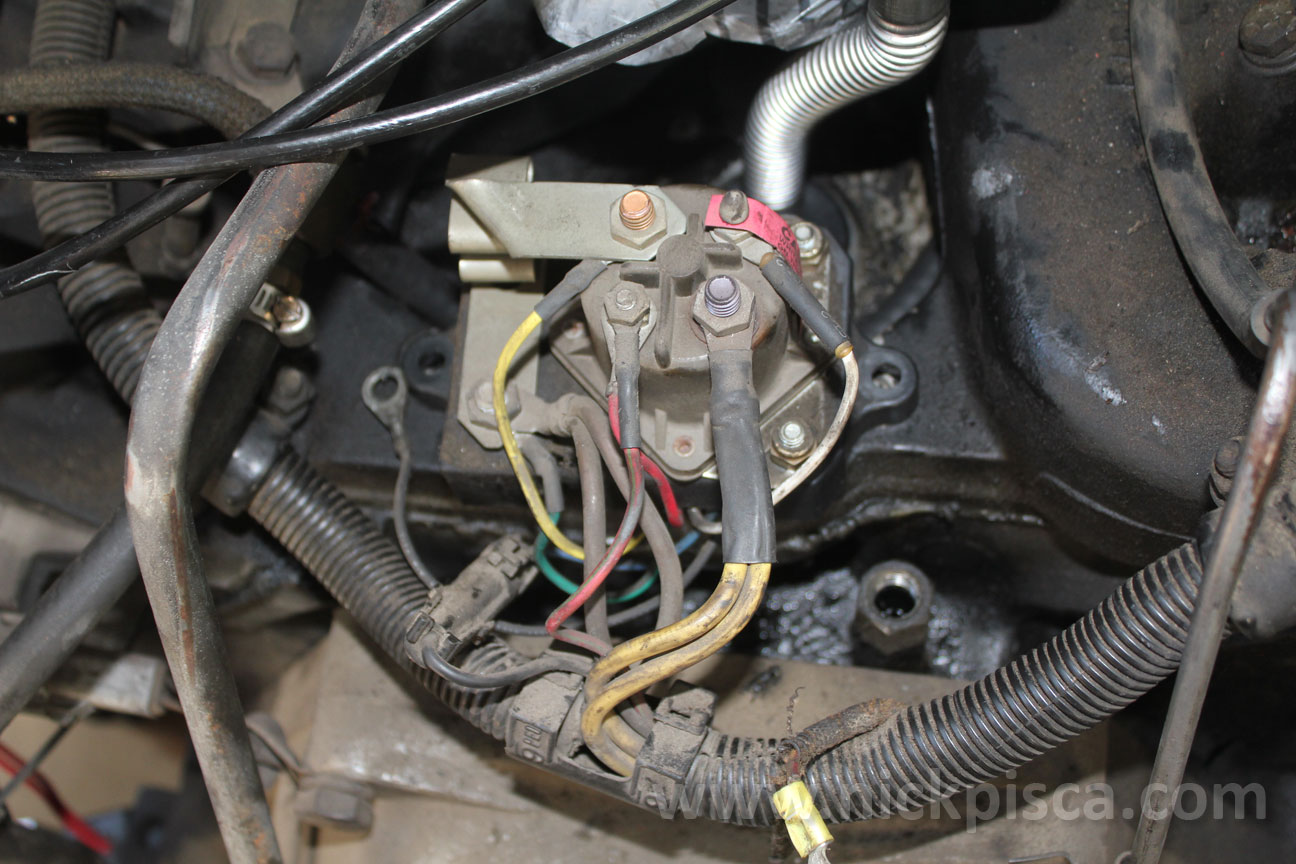
Glowplug relay wiring configuration:
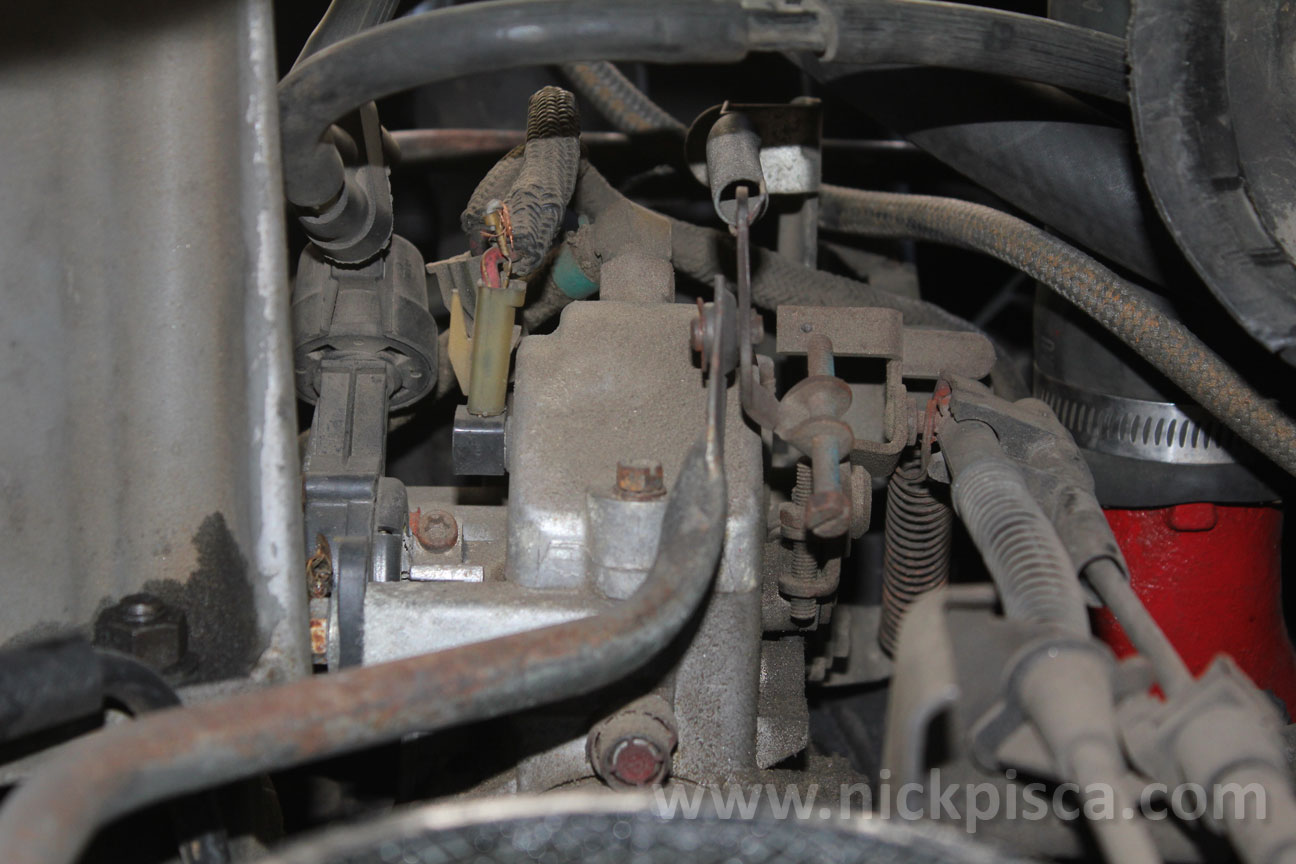
Injector pump plug locations:
Diesel Filter plug locations:
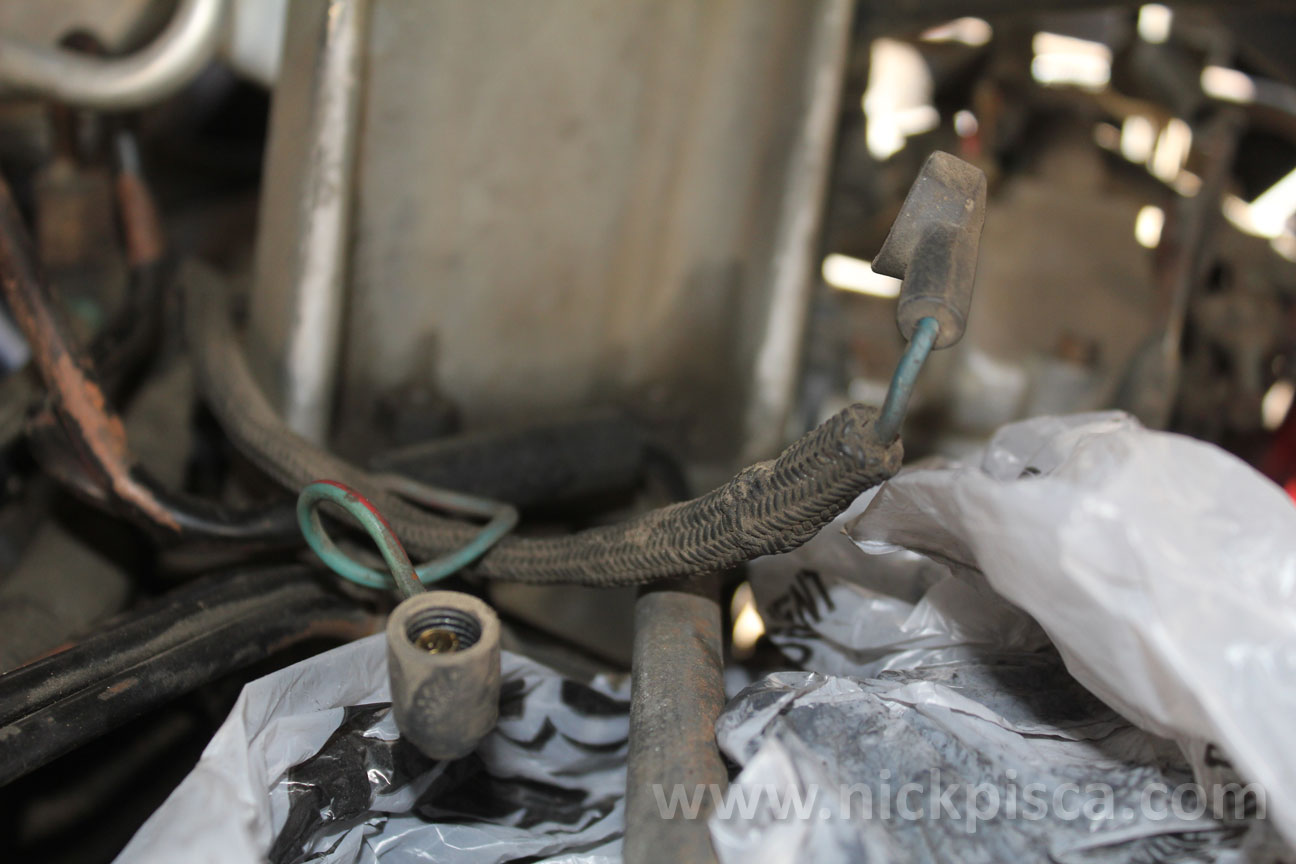
Engine Temp Sensor location(s):
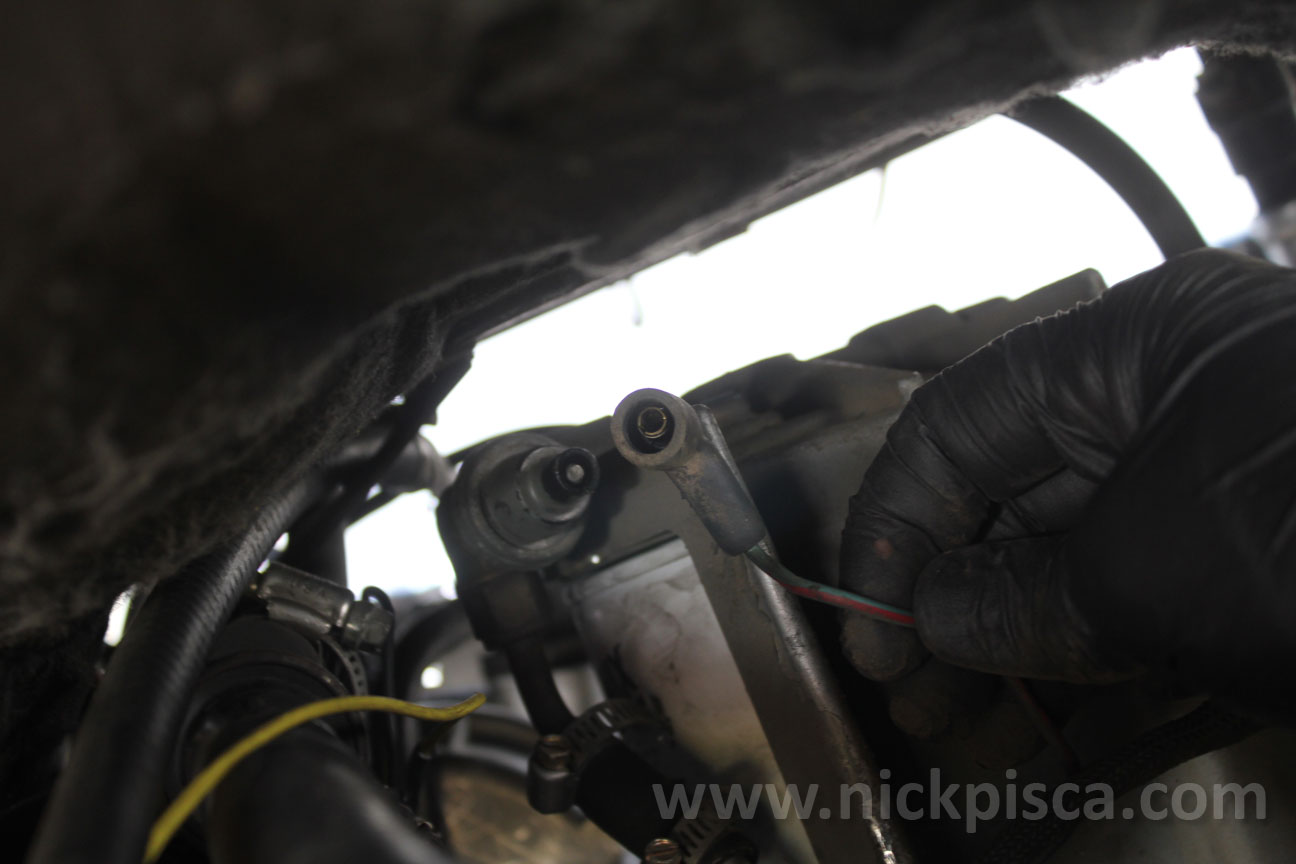
Auxiliary plug location(s):
To make the whole installation easier, I found it a good idea to loosen the alternator and AC compressor. I was able to do the whole install without fully removing them. If you pulled them, it’d probably shave off a lot of time.
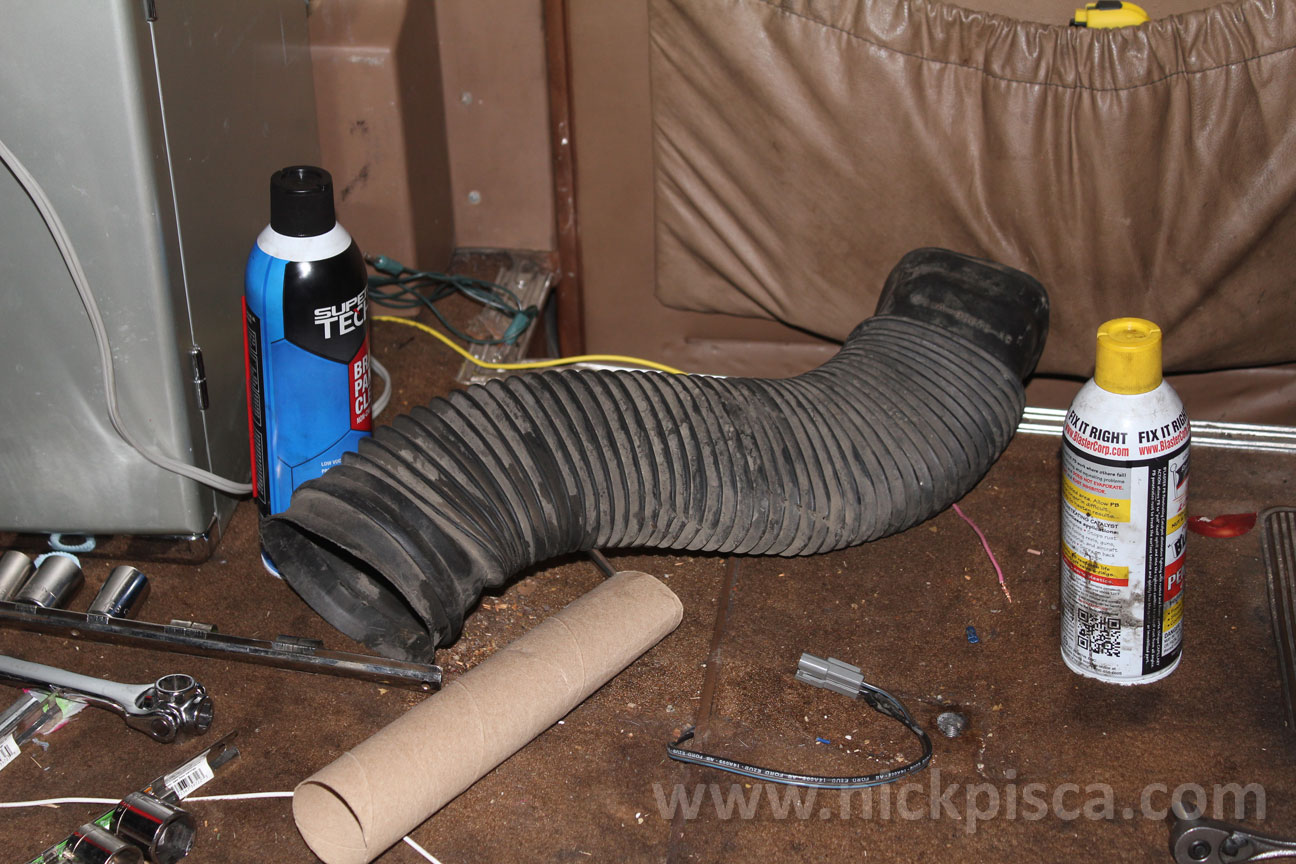
Remove the stock air intake hose. This frees up a lot of room in the engine compartment too.
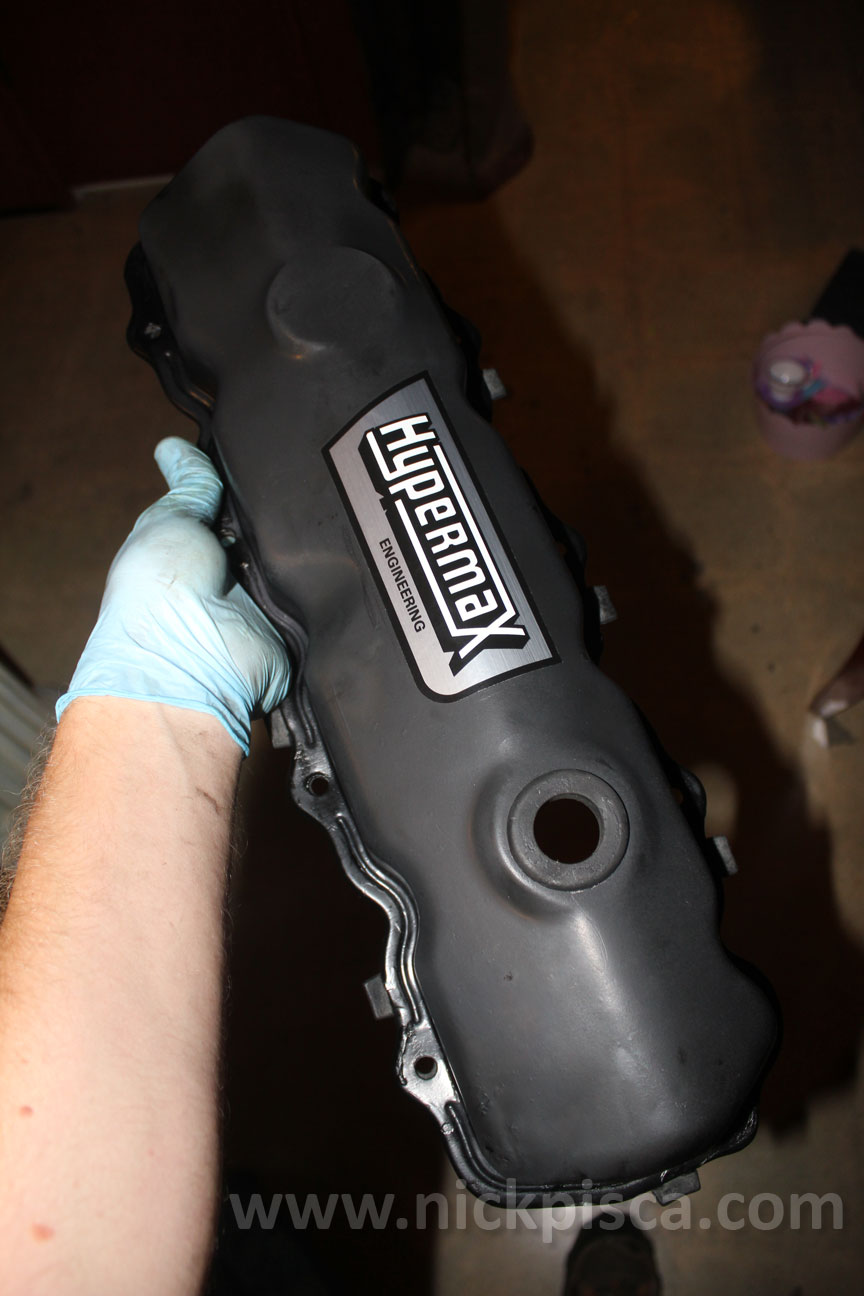
Pull the driver’s side valve cover. The van’s don’t leave a lot of room to get them off. It’s an even bigger PITA if you have the rear AC/heater core lines.
Might be a good idea to pre-order a 1 5/16” diameter hole saw. Also, pre-order some valve cover gaskets. They don’t come in the kit.
I drilled the necessary CDR hole, gave the cover a coat of paint, applied a supplied Hypermax sticker, and installed the Hypermax CDR grommet.
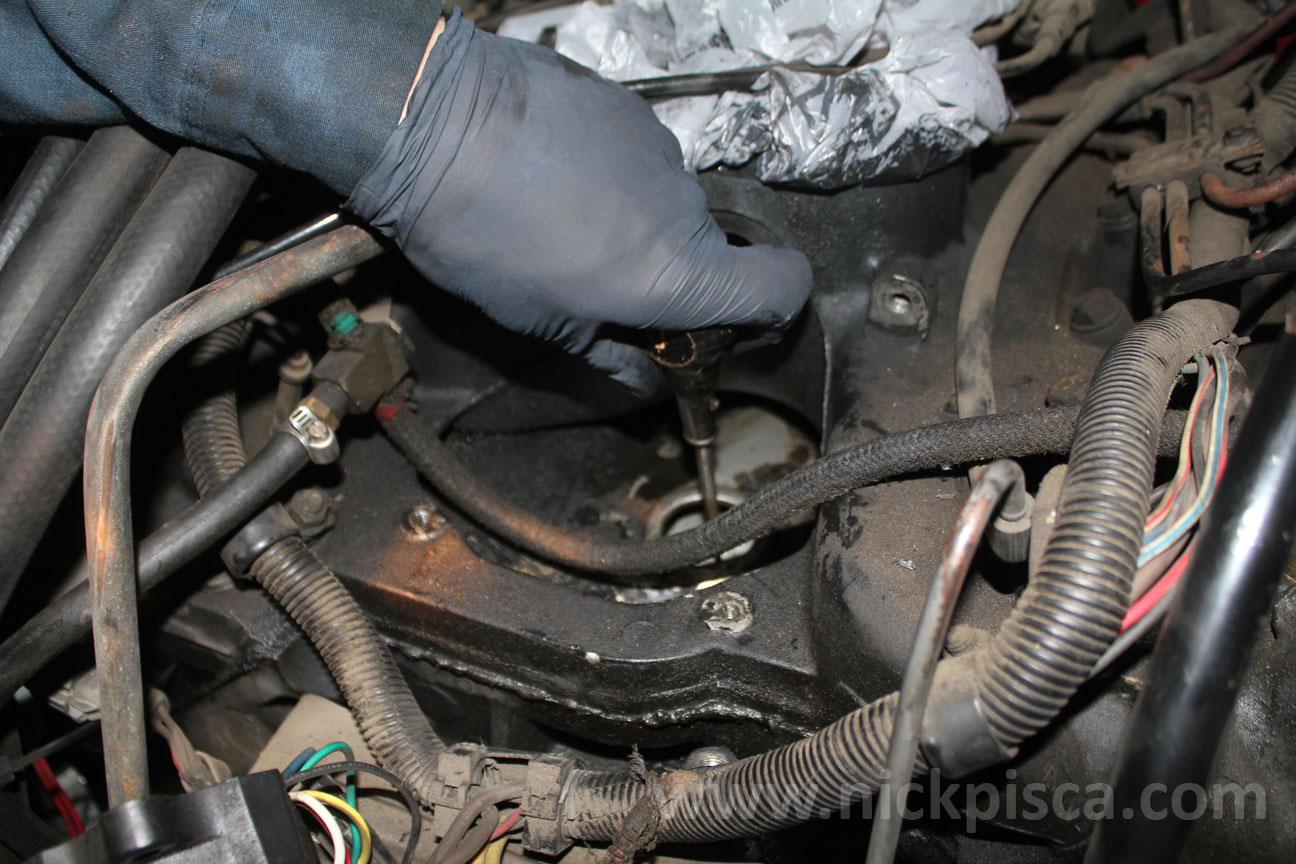
Probably the craziest part of the Hypermax Install is the Valley Pan punch process. I read up on this in the Hypermax instruction manual, and there were a few posts about it on the net. The manual says,
Some intake manifold/tappet chamber cover gaskets do not allow adequate
turbocharger oil drain back. This is due to a manufacturing variance. To
ensure adequate drain back, punch three holes (1/8″ to 3/16″ diameter) with
a sharp pointed punch or awl through the grommet hole to the gasket baffle
chamber. It will be necessary to perforate two layers of the steel gasket.
The layers are about 1″ apart. The first layer is the top of the baffle
chamber; the second is the bottom of the chamber. Be careful not to go any
deeper than necessary to perforate both layers to avoid damaging the roller
tappet retainer located about 1″ below the baffled chamber.
It’s kind of unnerving, but basically pretty easy. One thing, the layers were not 1” apart. It was more like ⅝” apart.
One of the most time consuming tasks was re-routing the glowplug harness assembly. Hypermax has a diagram that they consider a good plan for this. I read it, and figured I could enhance the design a little. Instead of one main glowplug harness bundle, I made two secondary branches that isolate the glowplug sockets for each side of the engine. Also, the driver’s-side secondary branch contains an extension wire for the oil pressure sensor. Here’s a drawing of what I came up with: (Note, I’m not posting Hypermax’s diagram because it’s their IP and they didn’t include it in their online instructions, but it does appear in the purchased kit. That leads me to believe that they don’t want it out on the net, so if you want to see a copy, you should contact them directly.)

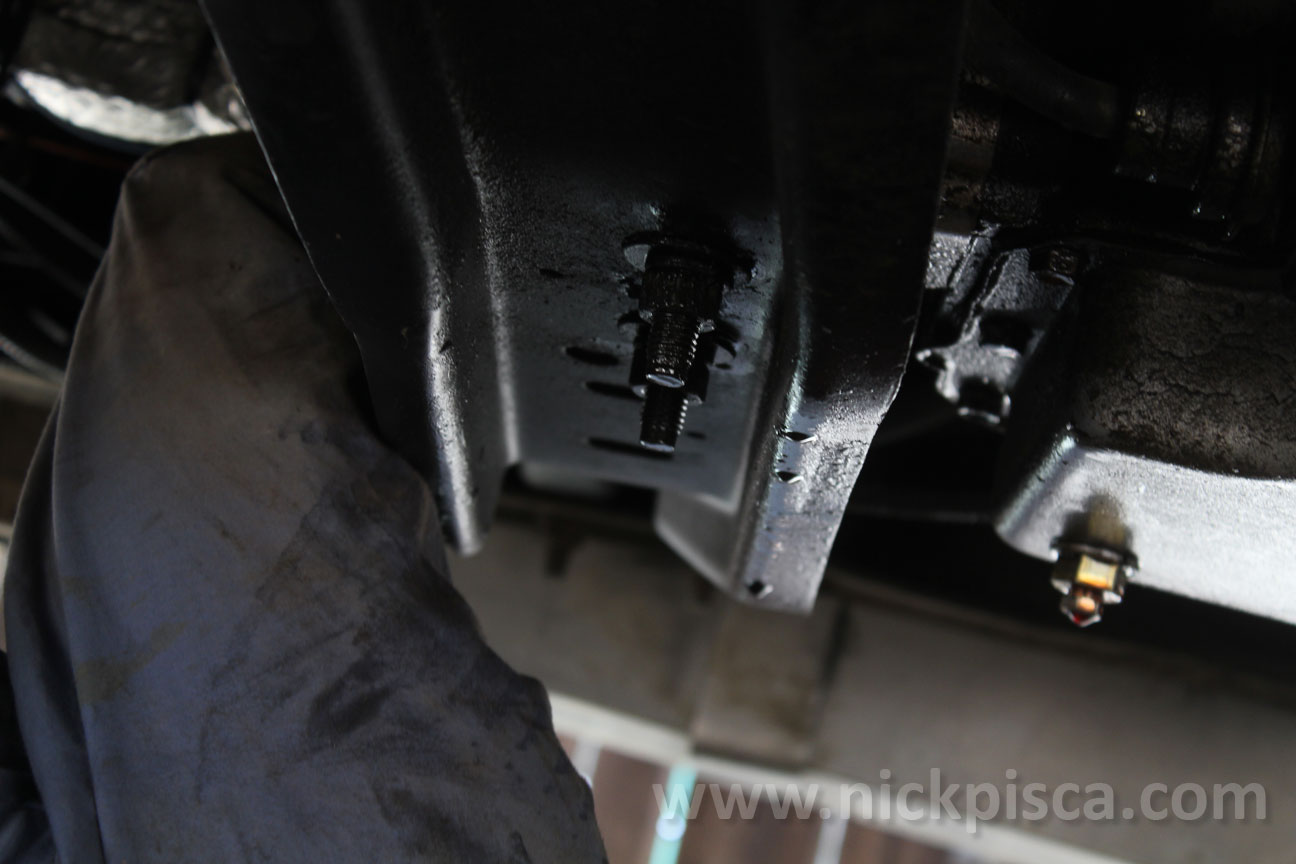
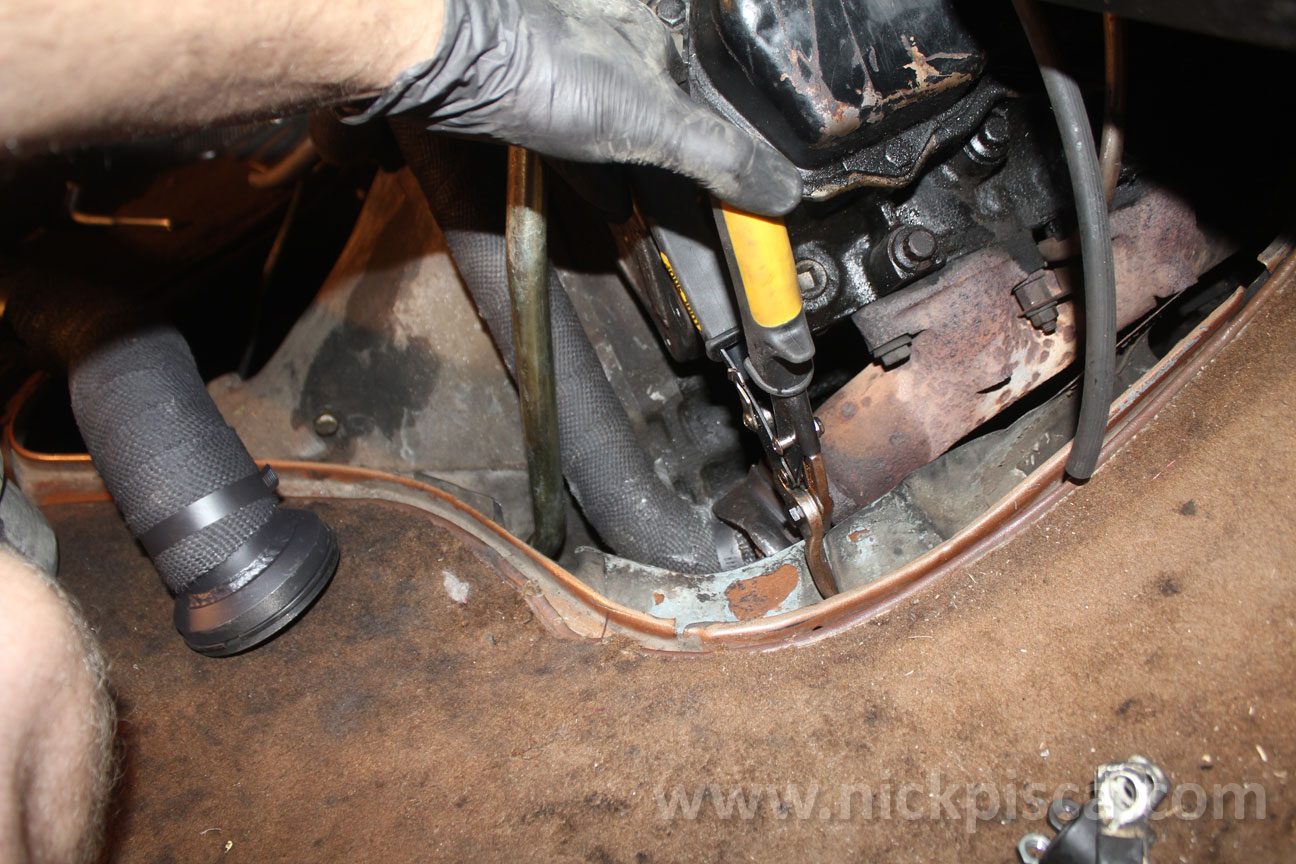
Pulling the exhaust off was challenging. We ended up jacking the tranny pan, loosening the tranny mounting bolts, and sliding the tranny crossmember forward so the entire exhaust system could have enough room to break free.
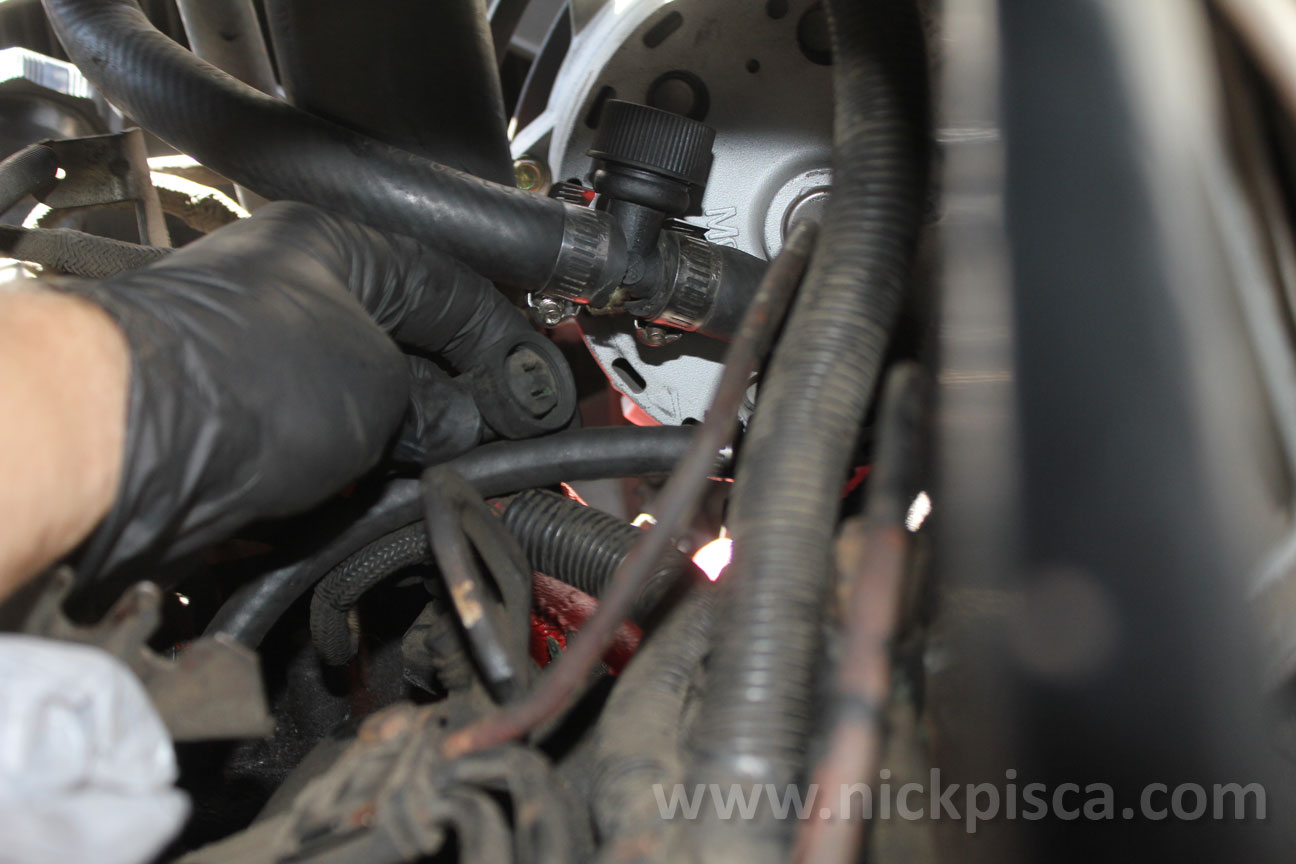
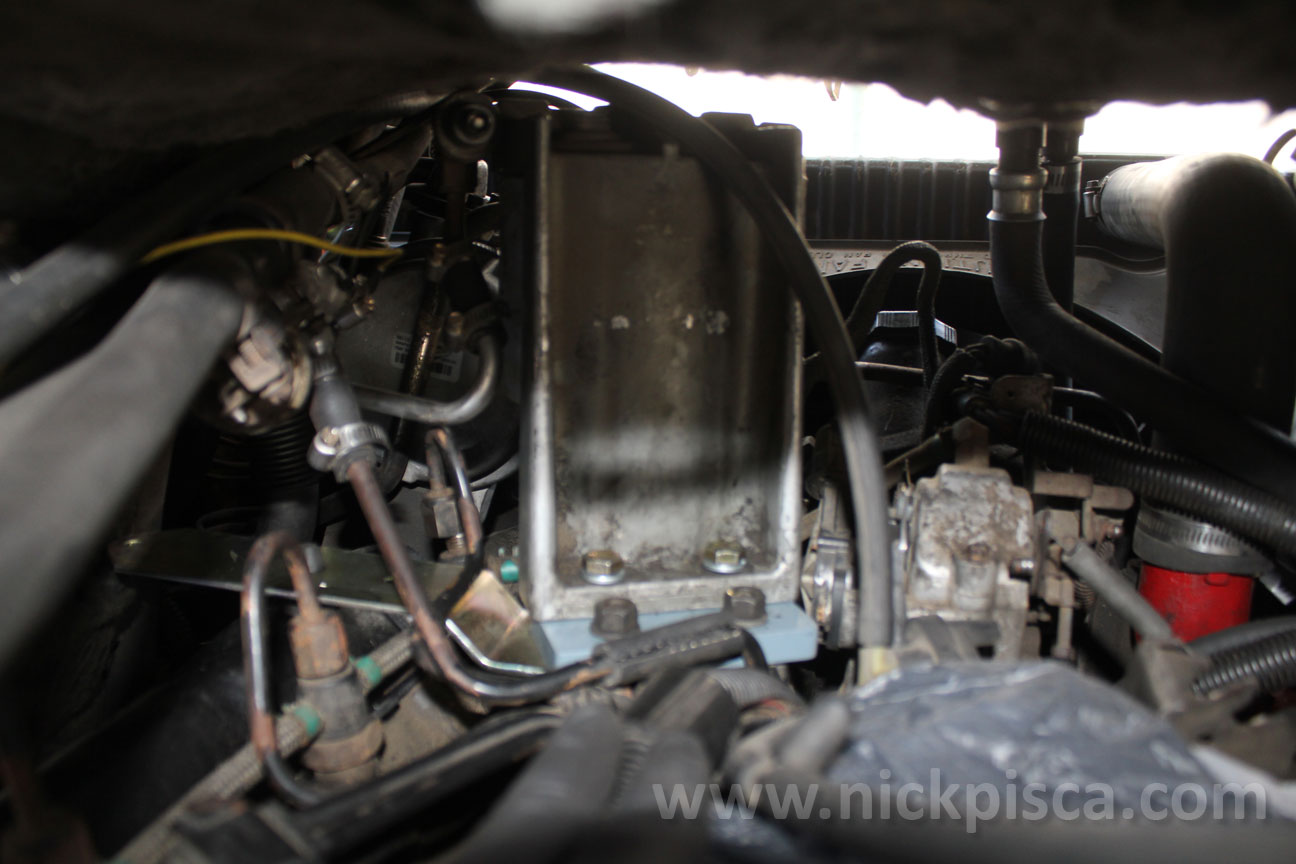
Hypermax provides a plate (in light blue in the image below) to move the Diesel filter head forward two inches, and a mounting cantilever (the shiny “z”-plate under the Diesel filter head) for the glowplug harness. Since the filter head is already unbelievably close to the roof of the engine compartment, bumping it up a half inch makes it very difficult to re-plug the sensor on the top. Make sure to remember the orientation of that plug before pulling it off, because once you move the filter head, you won’t be able to see the top ever again.
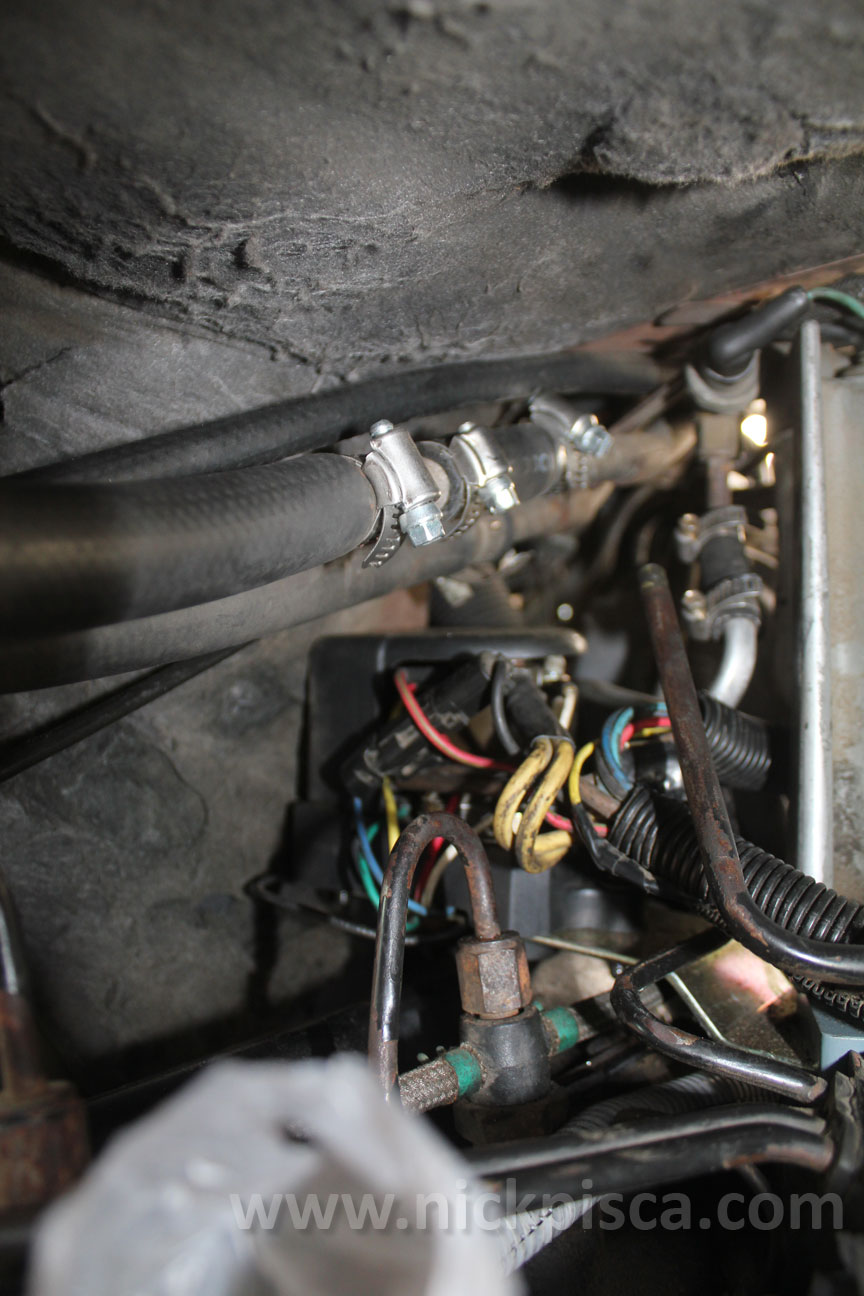
Since I have the rear heater core and air conditioning, the heater core lines run above the driver’s side valve cover. There is an automatic coolant shut off valve on the supply-side of the circuit. Unfortunately, its location is in direct conflict with the new placement of the glowplug harness relay. Since I already have a manual shutoff bypass in the rear of the van (I installed that on an unrelated project), I figured removing this was a good idea. NOTE, removing this valve without alternative shutoff capability will result in constant heat in the rear climate control system, even when running air conditioning.
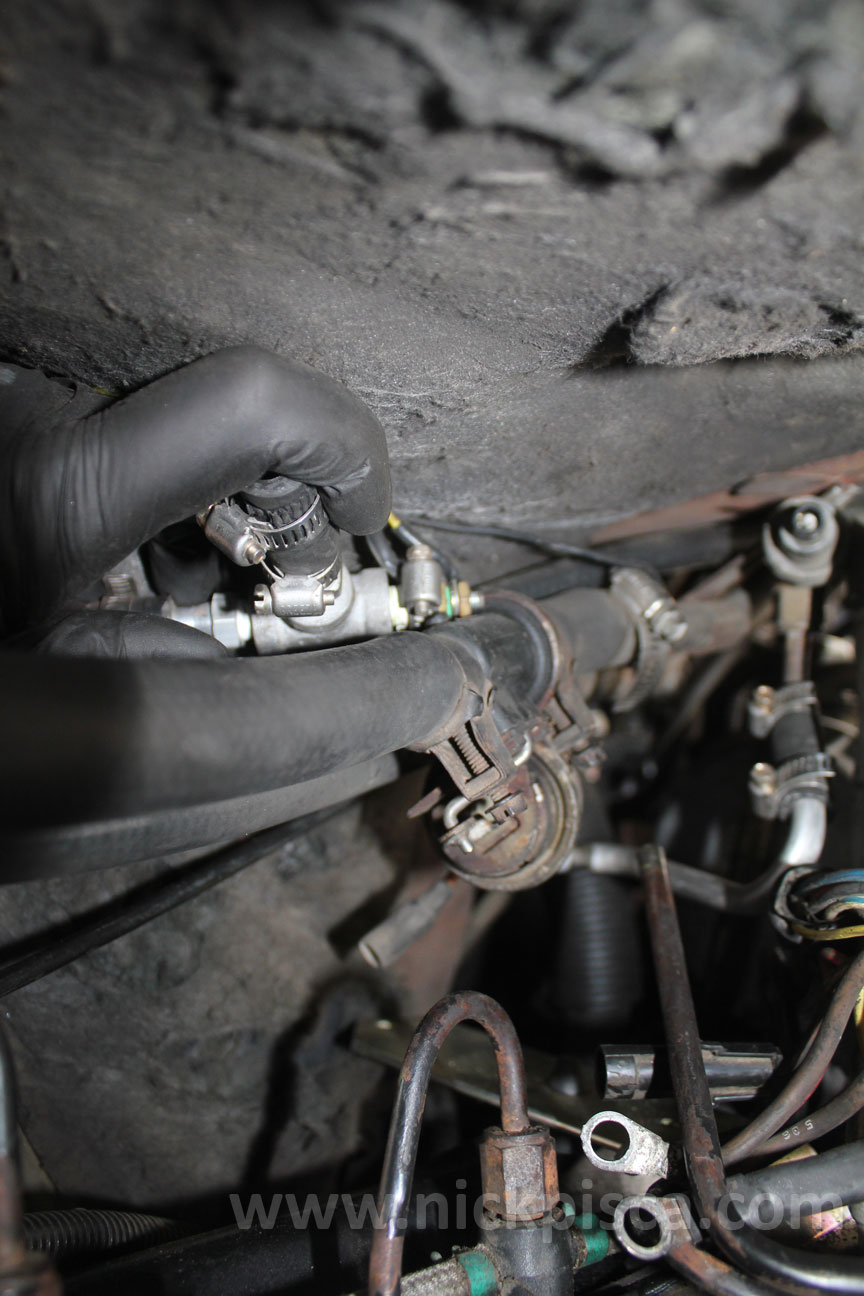
Once the valve was removed, the harness installed easily
Test fitting the up-pipes
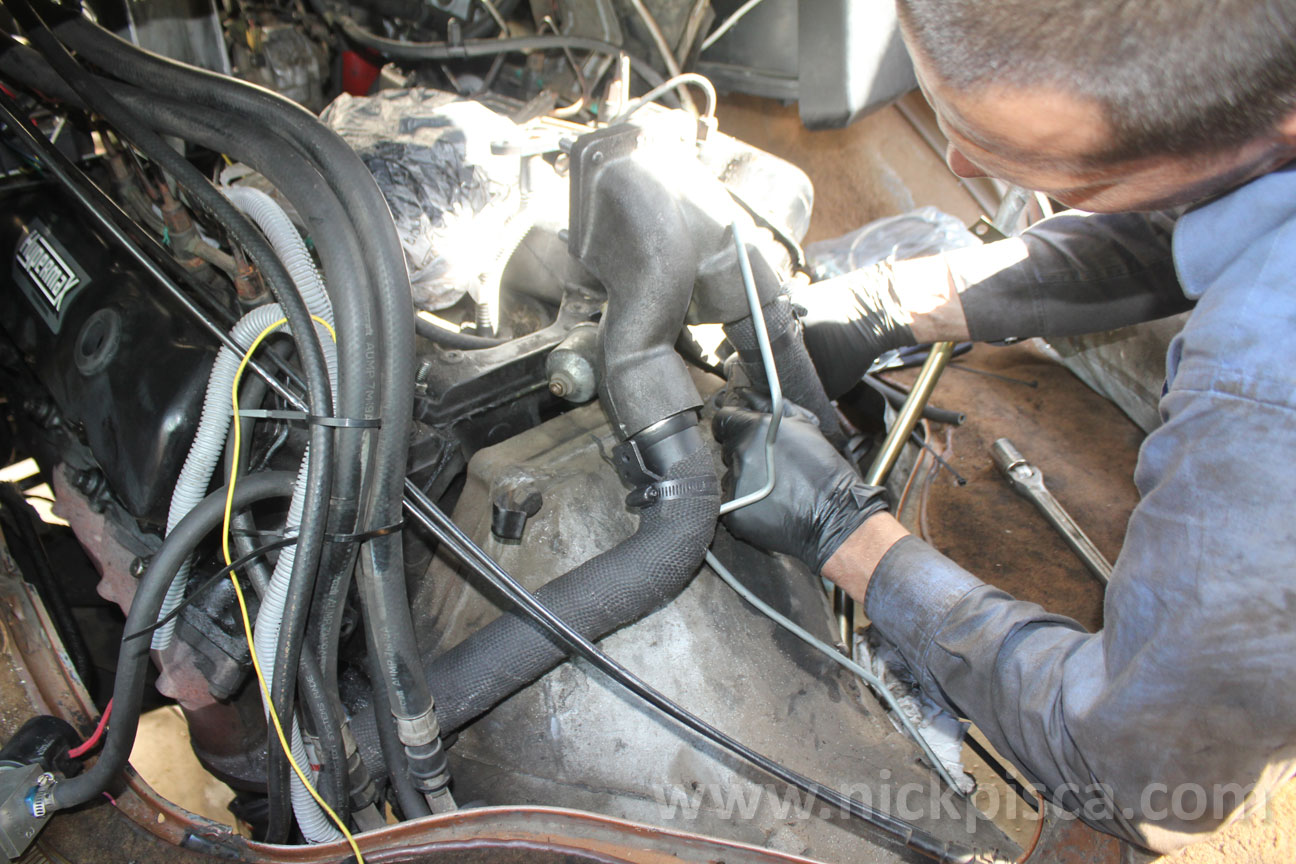
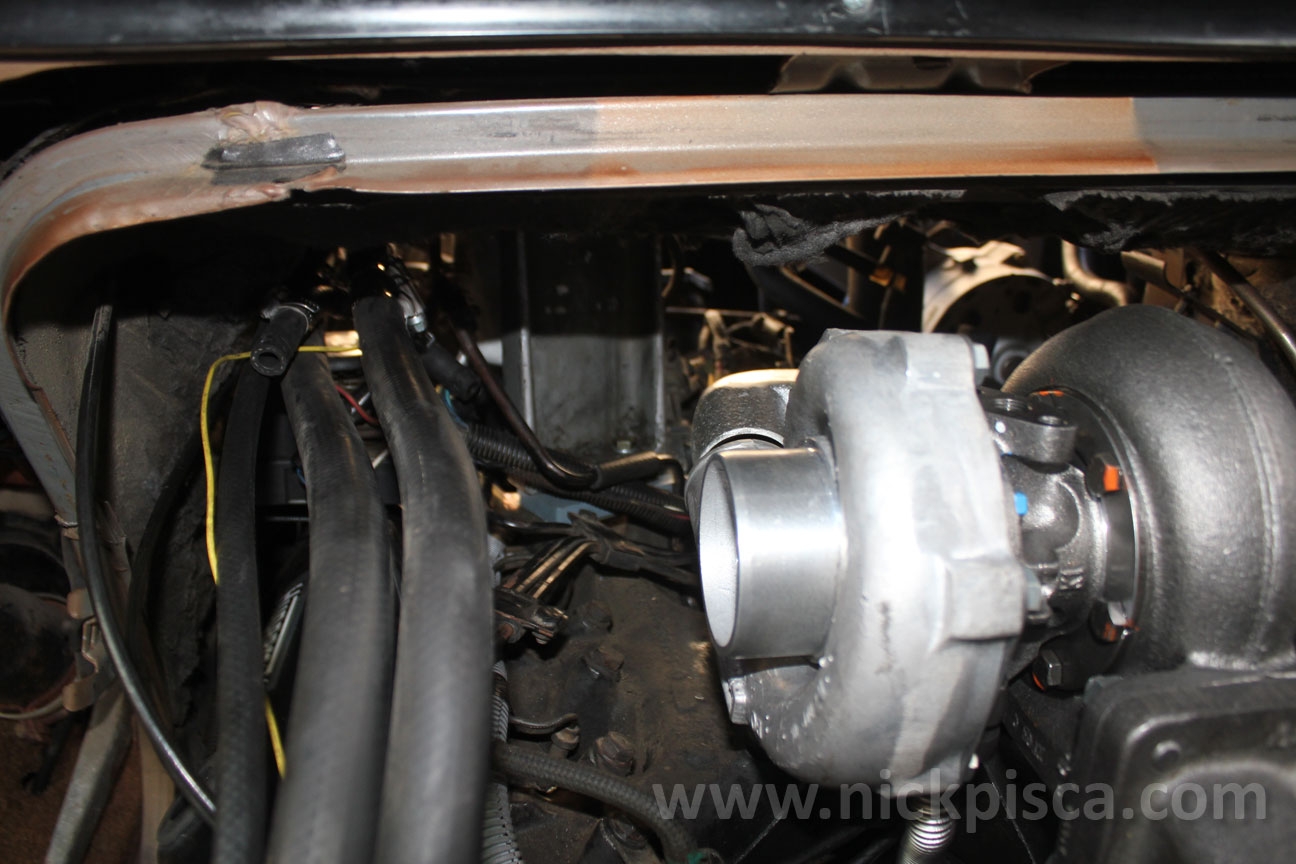
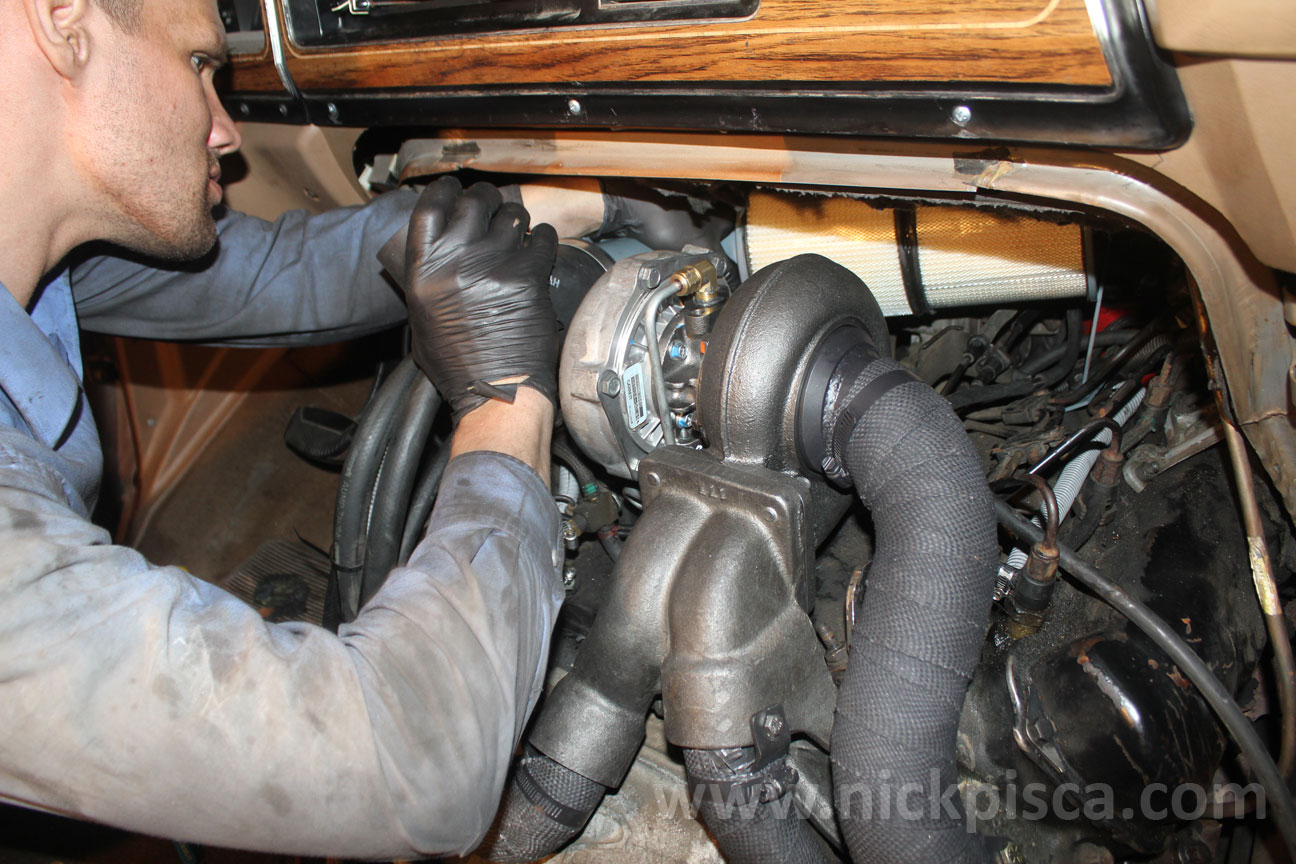
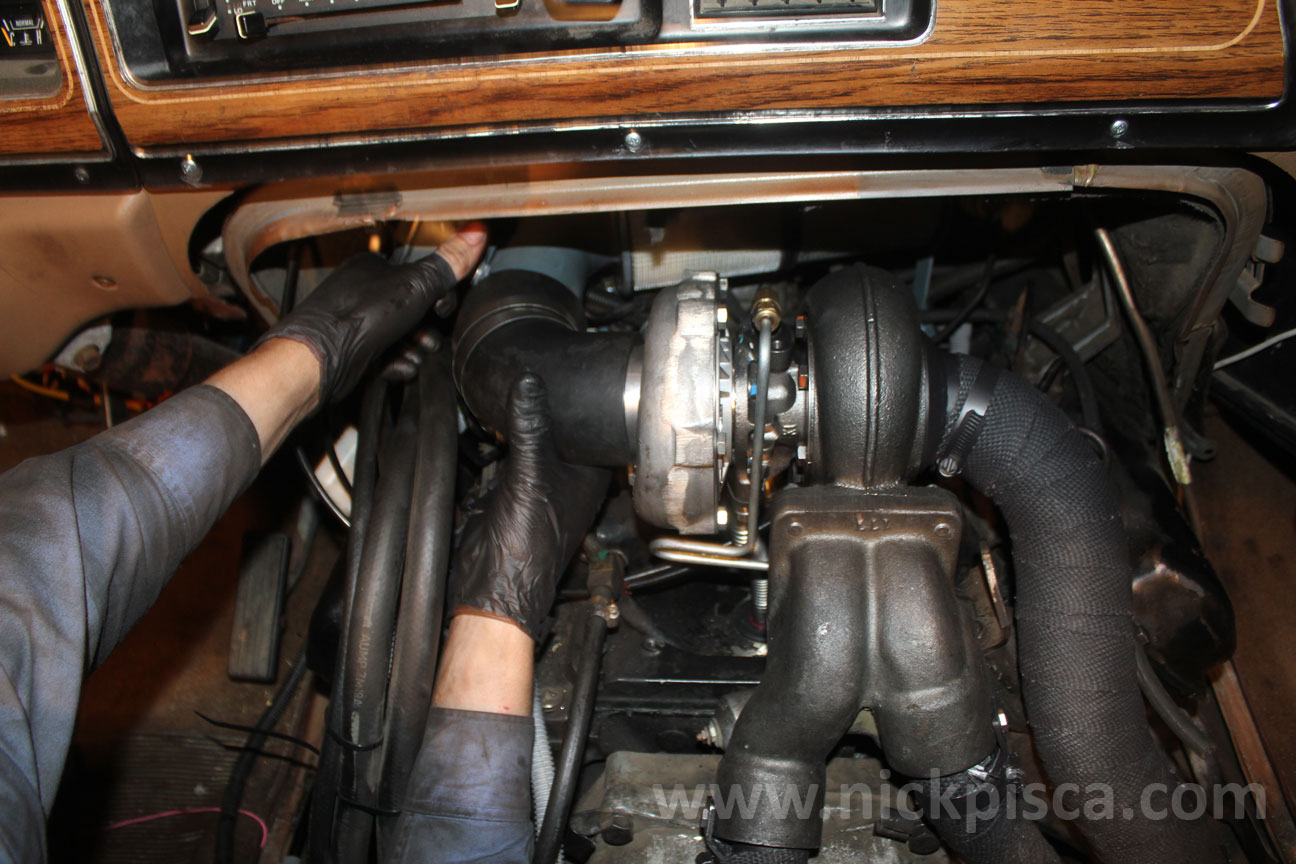
Test fitting the Turbo.
Hypermax instructs the installer to test fit, in case the rotation of the turbo needed to be realigned to match the input of the intake hat. Luckily, our kit lined up on the first try.
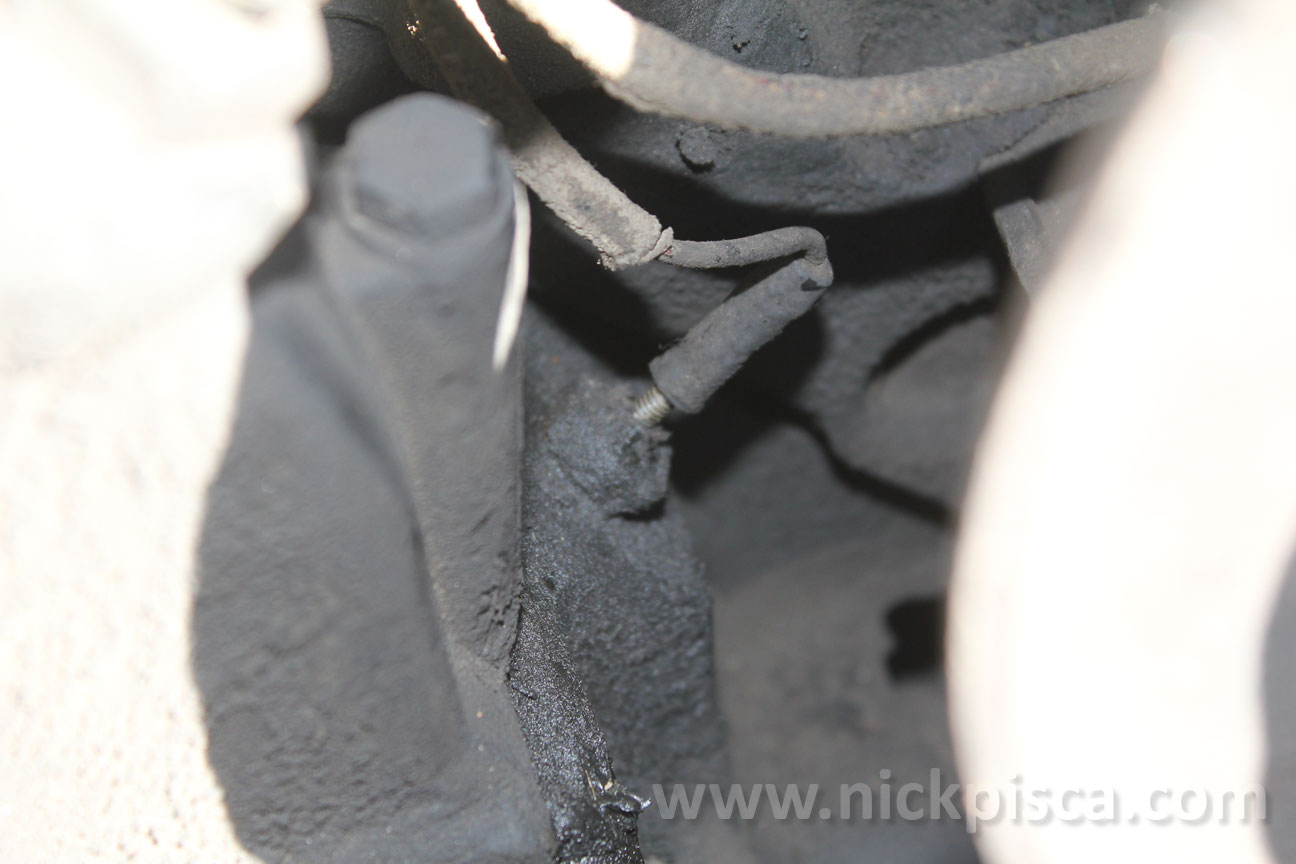
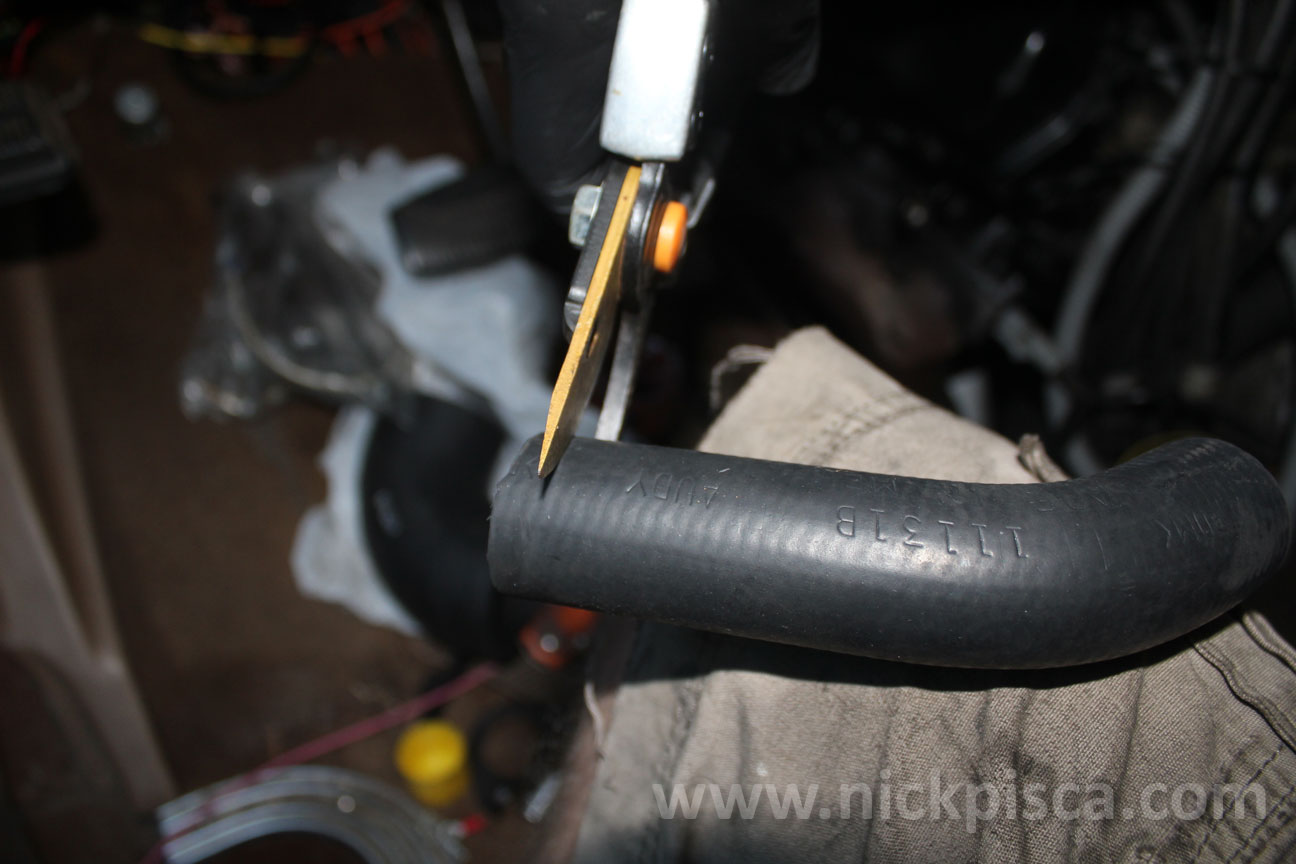
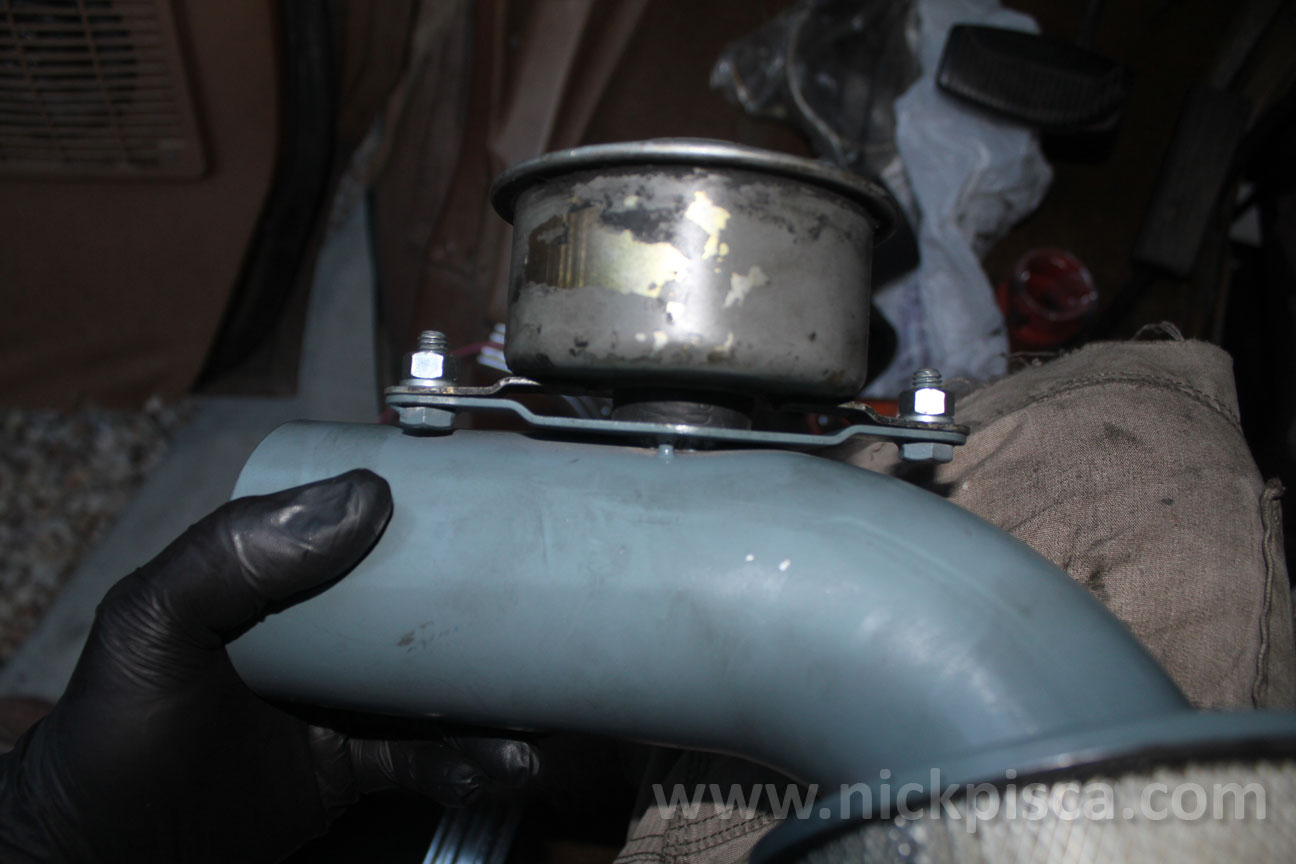
The air intake holder had a port for the placement of the stock CDR. We are convinced that my holder was welded in reverse.
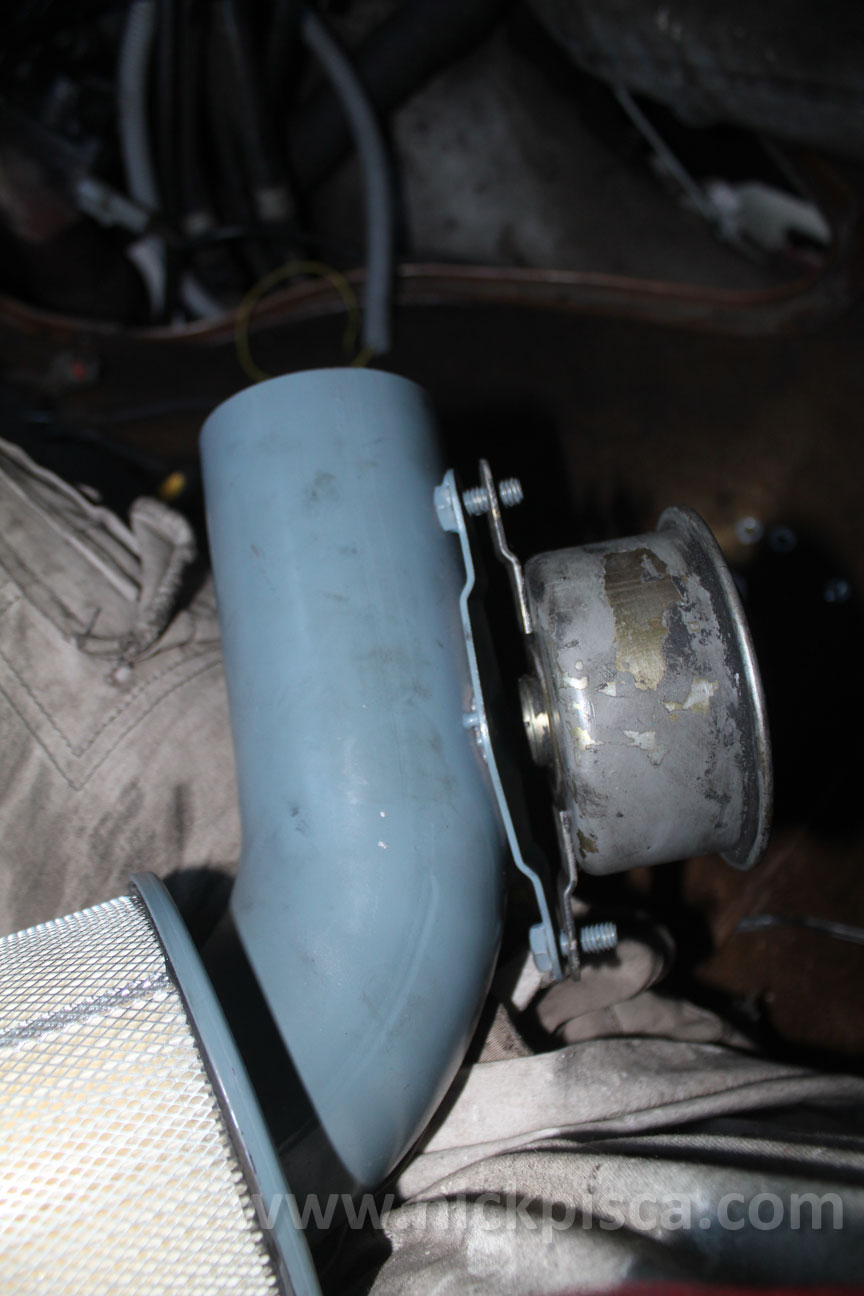
Since there was no way it would come close to sealing up, we sacrificed ¼” of the CDR-to-Valve-Cover hose to make a grommet.
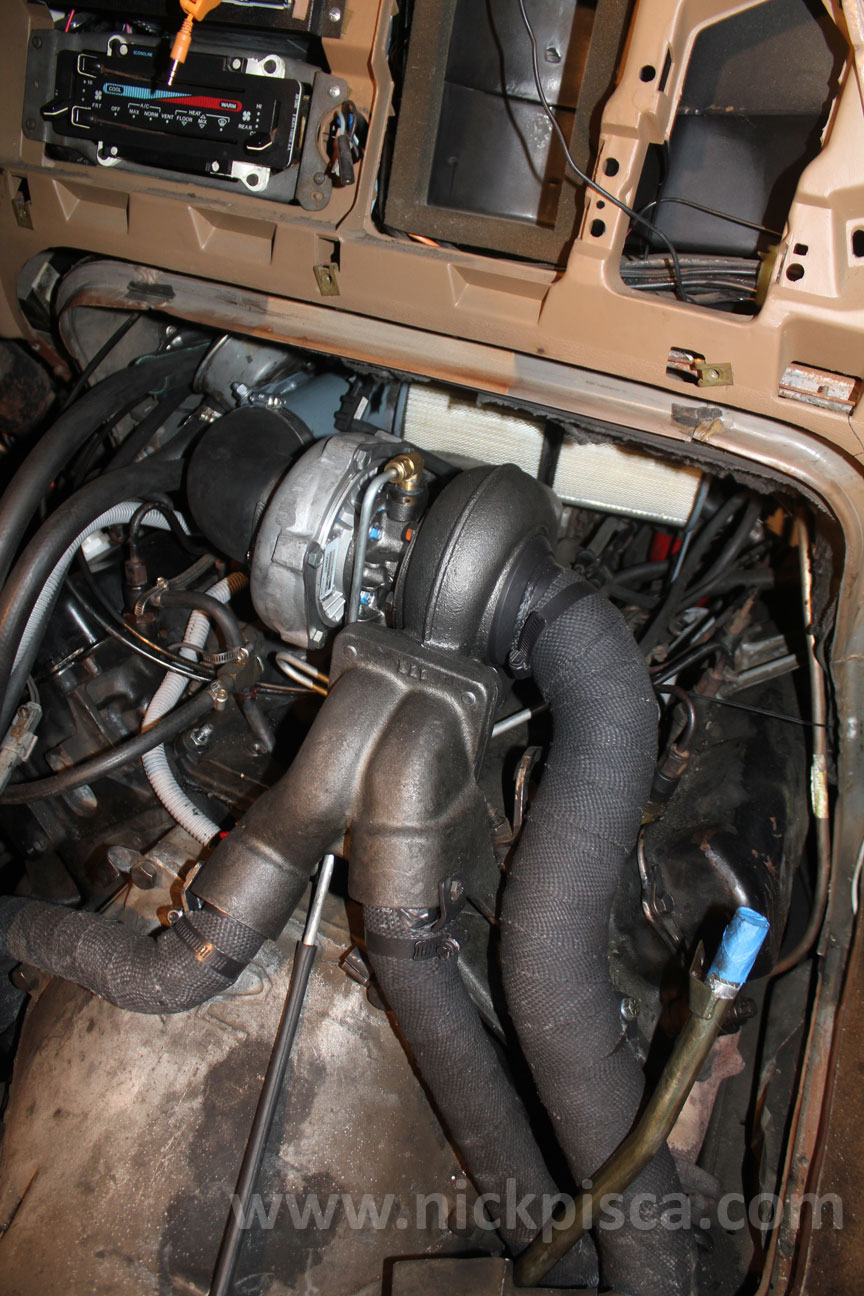
Here’s our final product:
In order to make our down pipe fit, we had to cut away about 8 square inches of heat shield on the passenger side doghouse base. (Tip: Unscrew the heat shield to give you some wiggle room and get better access with the tin-snips.) Here’s the down pipe installed:
Test fitting the air filter holder. This is unbelievably hard to insert into the engine compartment with all the heater core lines in the way.
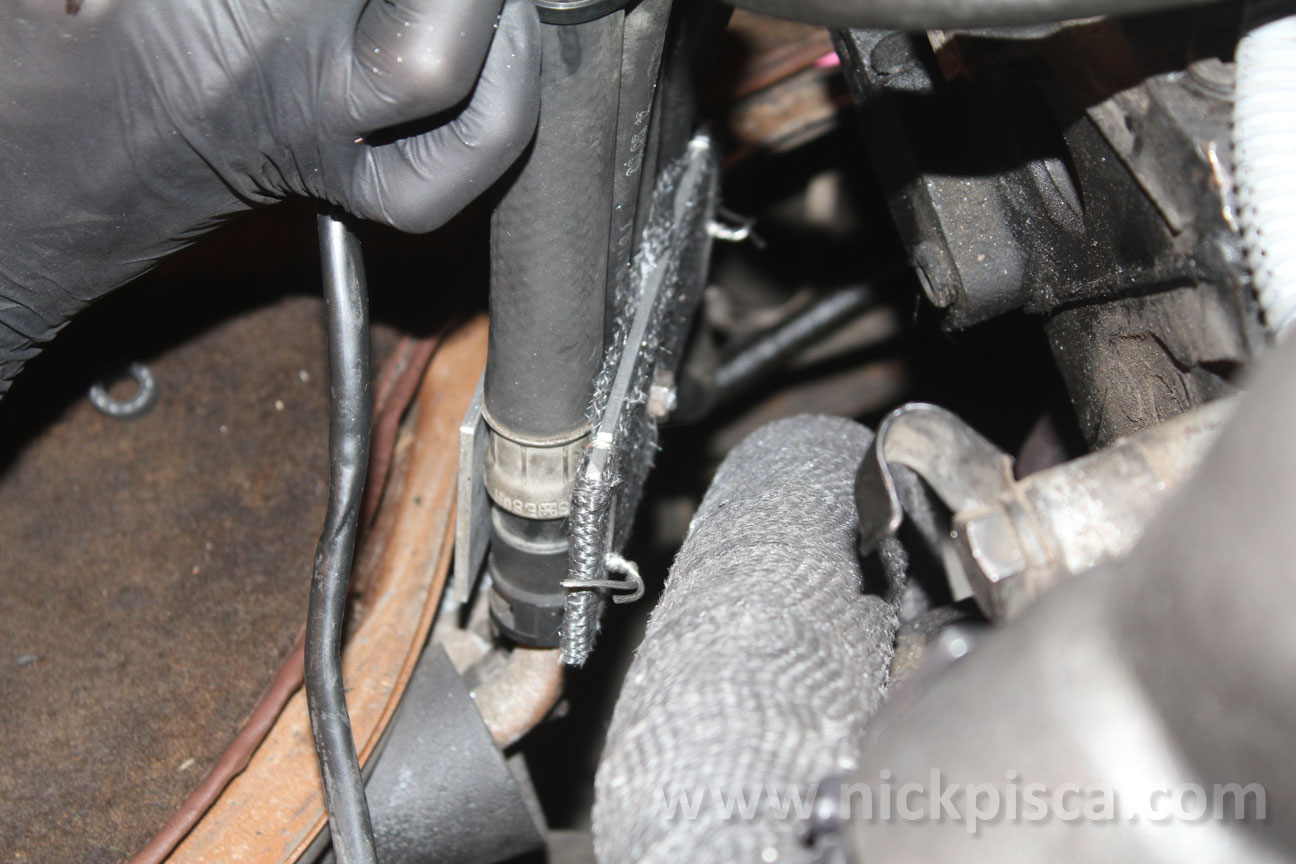
If we are going to anticipate 1200 degree F temperatures, we figured it would be prudent to make some sort of heat shield for the heater core lines and other fuel lines. We made this simple sandwich plate to keep the hoses flat, and keep them as close to the doghouse and away from the up-pipe as possible.
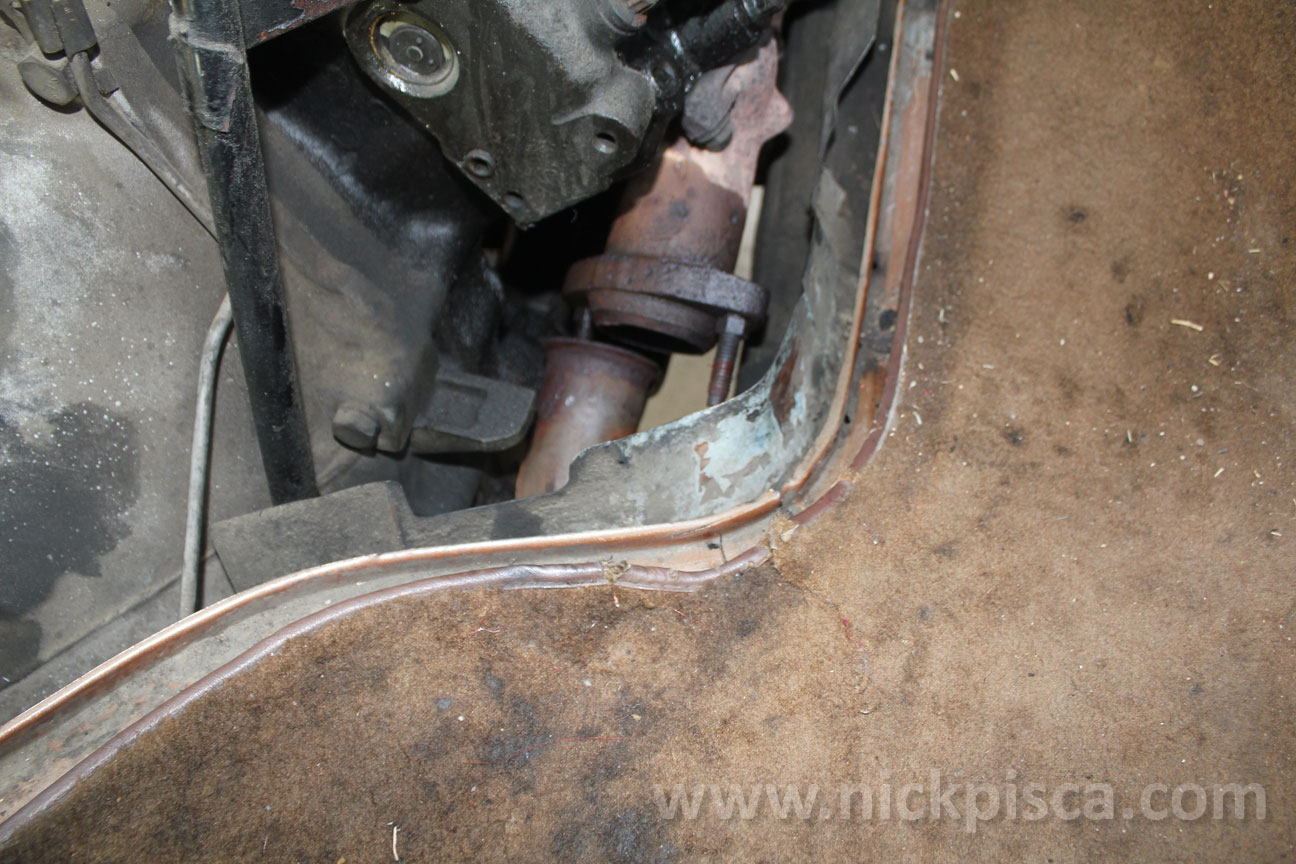
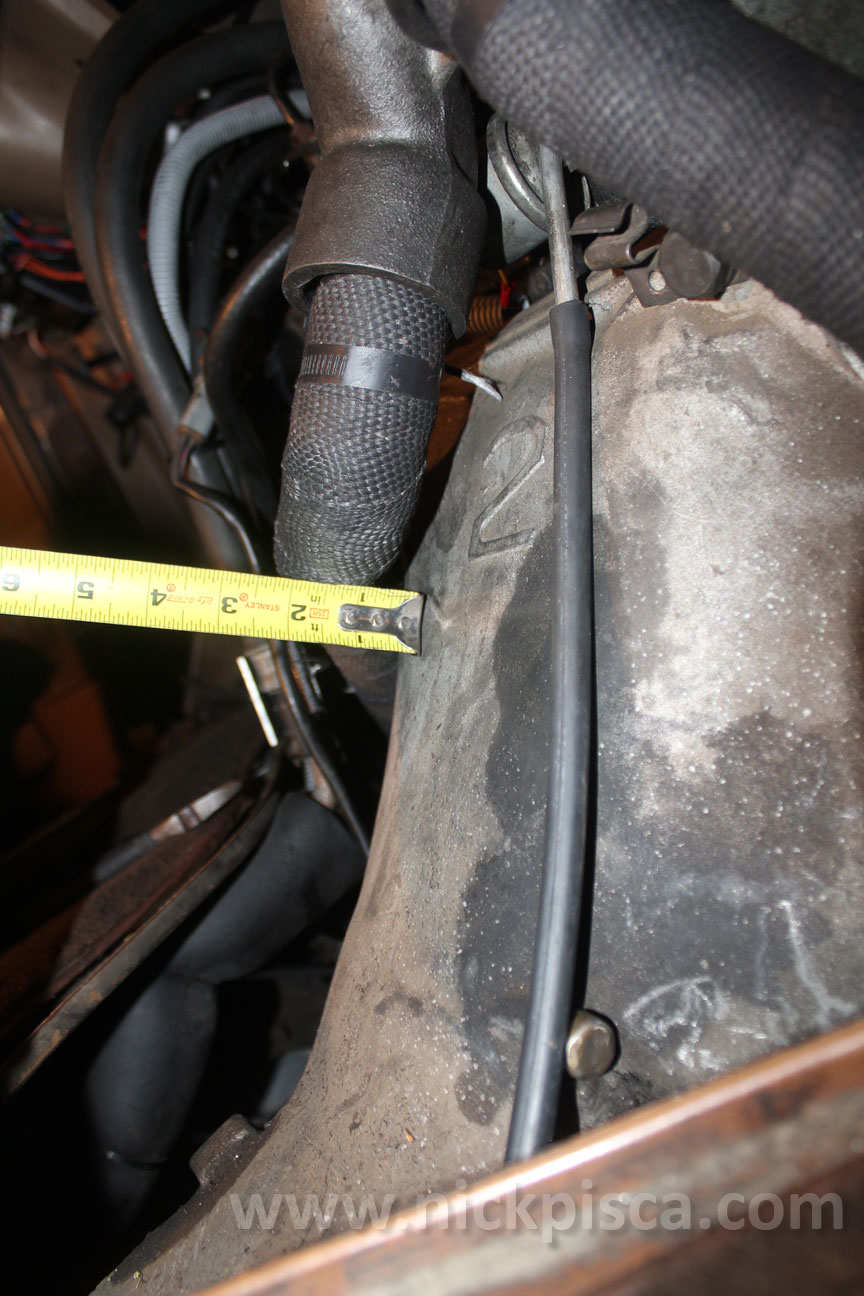
Here’s where we started running into problems. Almost all the tranny stuff we received from Hypermax didn’t fit. When we tried to test fit the up-pipes and kick-down linkage, it never seemed to work. If the kickdown linkage was under the up-pipe, the exhaust would push down on it until the throttle was fully depressed. If we tried to install the kickdown linkage above the up-pipe, we could never get the ends to connect to the IP or tranny. We contacted Hypermax, and after some investigation, they claimed most people with vans didn’t run the kickdown linkage. They also said we could do whatever it took to “make it work.” Here’s a picture of the driver’s side up-pipe and it’s less than a quarter inch from the tranny, so there’s no way it could ever fit underneath.
The tranny dipstick housing sent to us was wrong. They ascertained from our description that we got the truck housing, instead of the van housing. They had to fab one up, which delayed us for at least a week. Luckily, the doghouse actually closed around the truck housing, but kind of pressed into my insulation. For now, it’ll be a temporary plug to keep my tranny fluid in.
The tranny vacuum hose needed to be metal, so that the extremes of temperature from the exhaust don’t melt the rubber hoses. The Hypermax vacuum line didn’t work in any kind configuration we tried, so in the end, we just made a simple 3-bend aluminum line connected by rubber hoses at a safe distance from any exhaust heat.
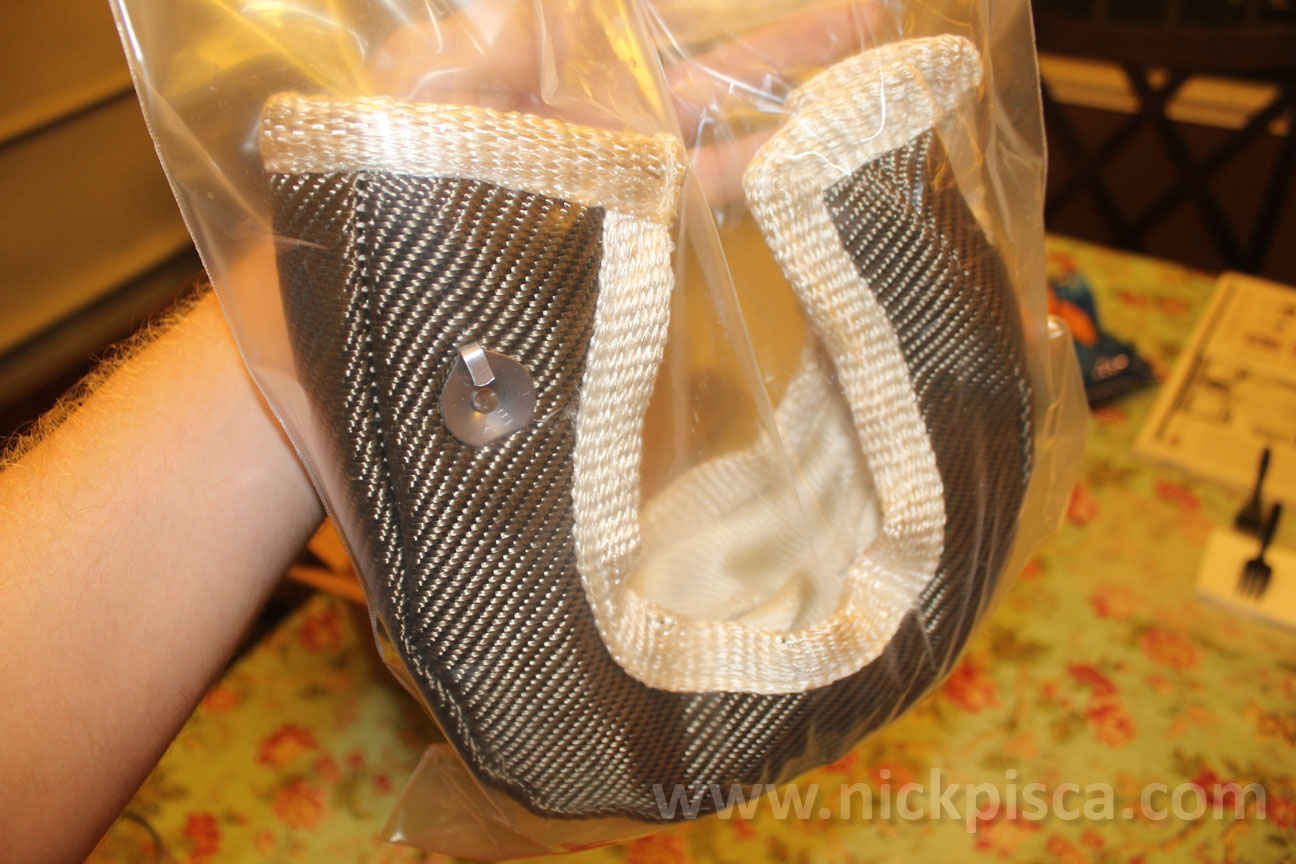
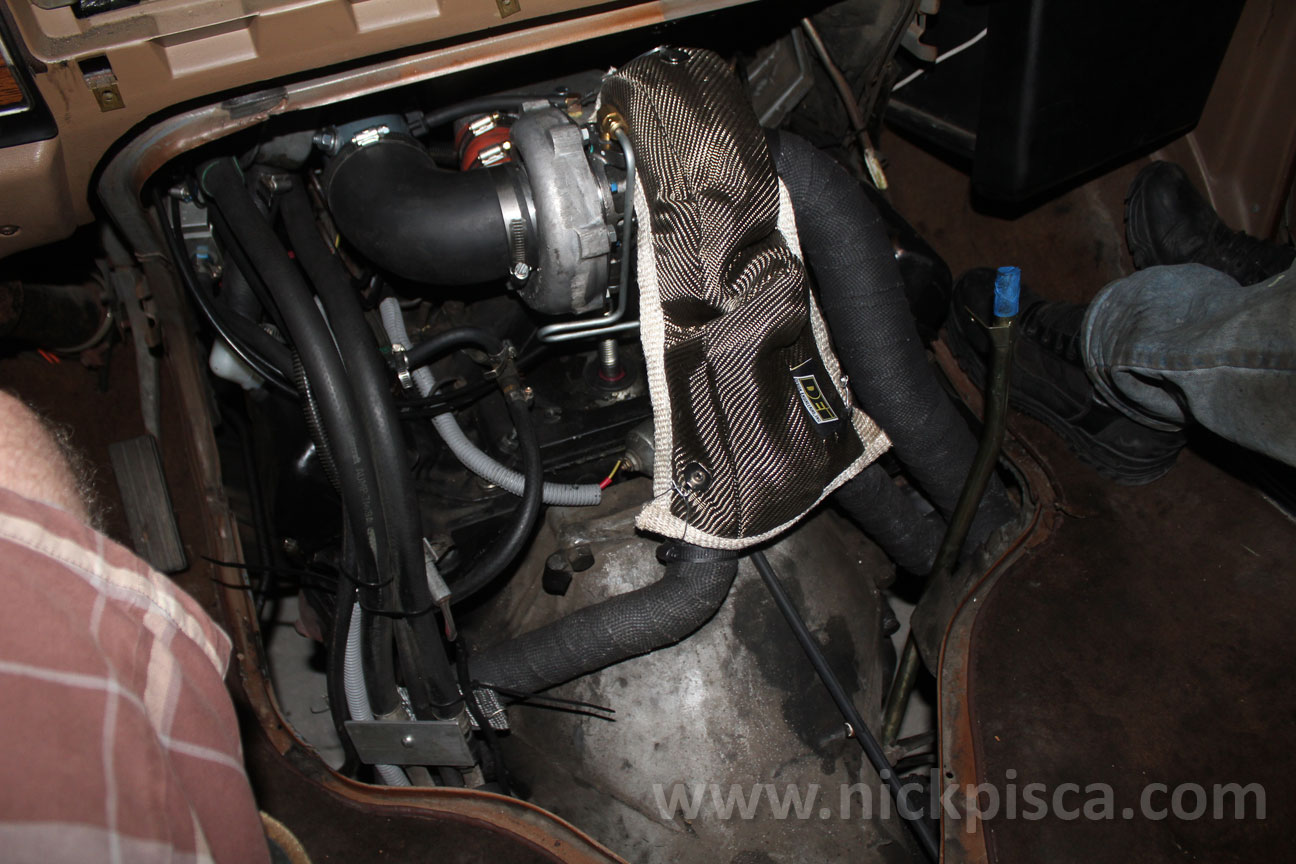
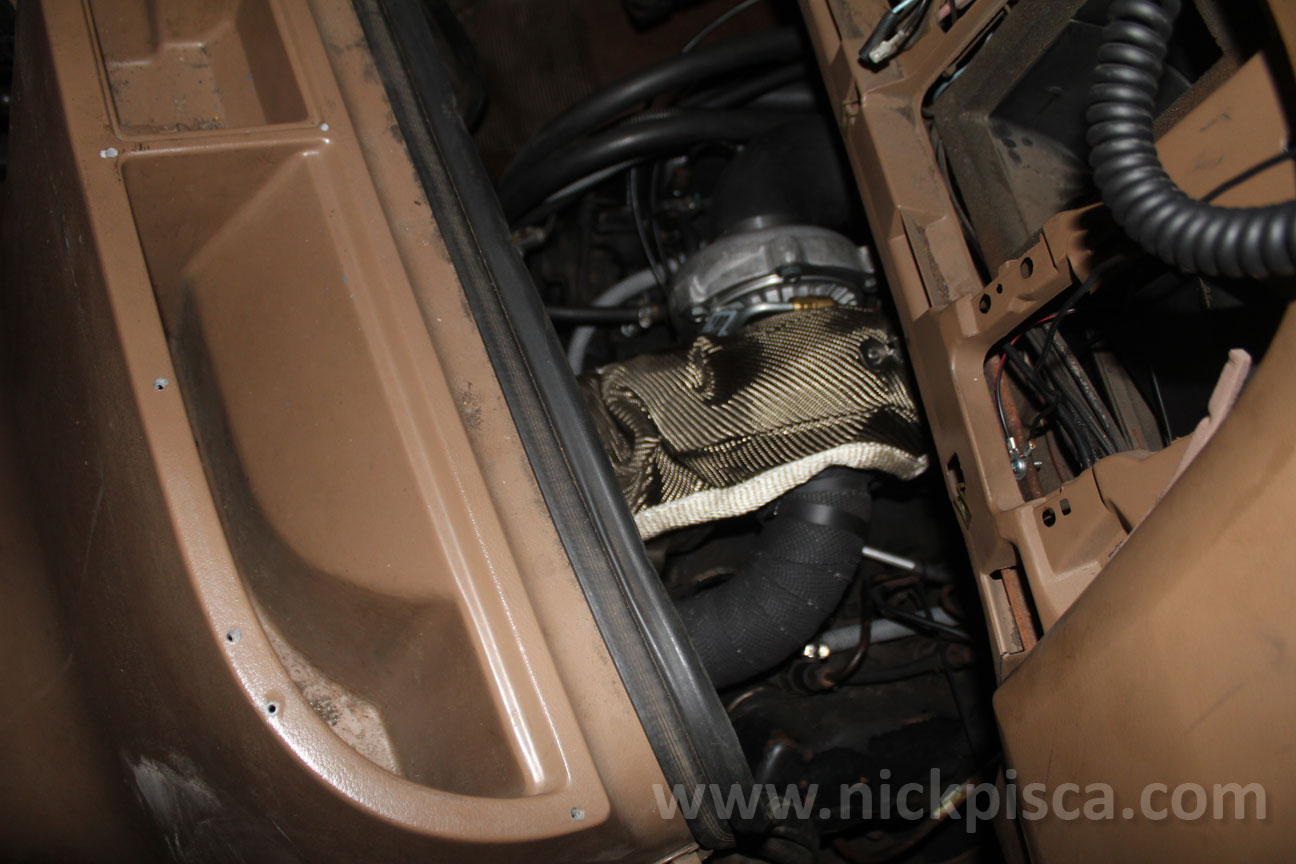
We test drove with the doghouse off, and the heat was unbelievable. Having a doghouse only millimeters from the up-pipes, down pipe, and turbo, could result in melting. I broke down and bought a $150 DEI heat blanket and wired to the system. It works amazingly. With the engine temps reaching four digits, you can touch the turbo blanket with your bare hand without burning it.
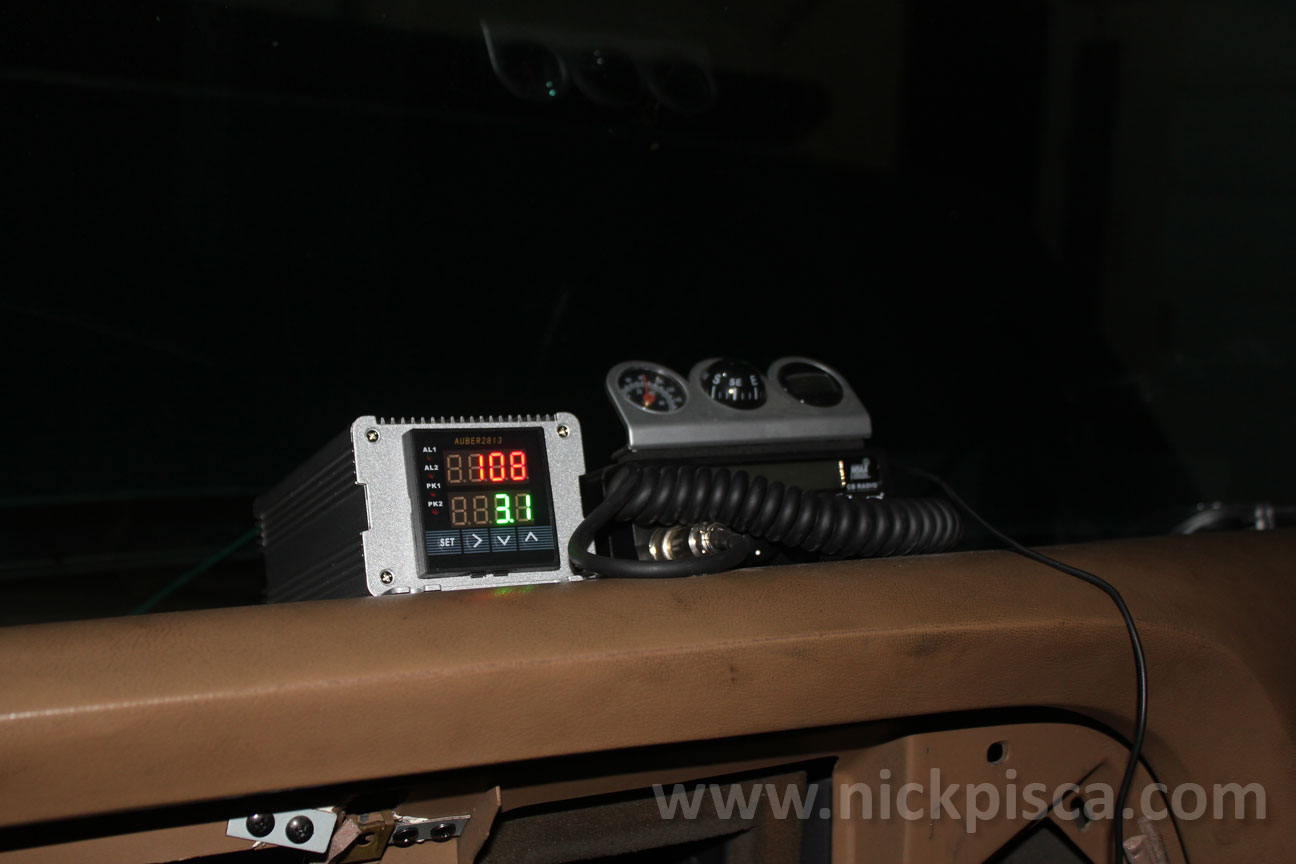
We are using the Auber gauge system to measure EGT and boost. It was affordable, programmable, and very comprehensive. I hope they are durable.
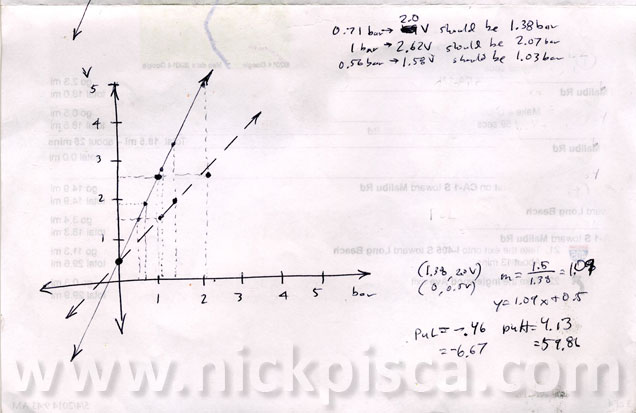
After a few days of test driving, we figured our boost numbers low. I tested the pressure sensor on an accurate air compressor, and it was reading about half the actual pressure. My Auber ranges were exactly as prescribed in their documentation, but they still provided incorrect pressure readings. I re-plotted the suggested linear equation from Auber against a data set that I extracted from a series of test from my air compressor, and plotted that line in relation to the pressure from the Auber equation. My “PuL” was -6.67 and my “PuH” was 59.86 and it’s accurate to approximately a half p.s.i.
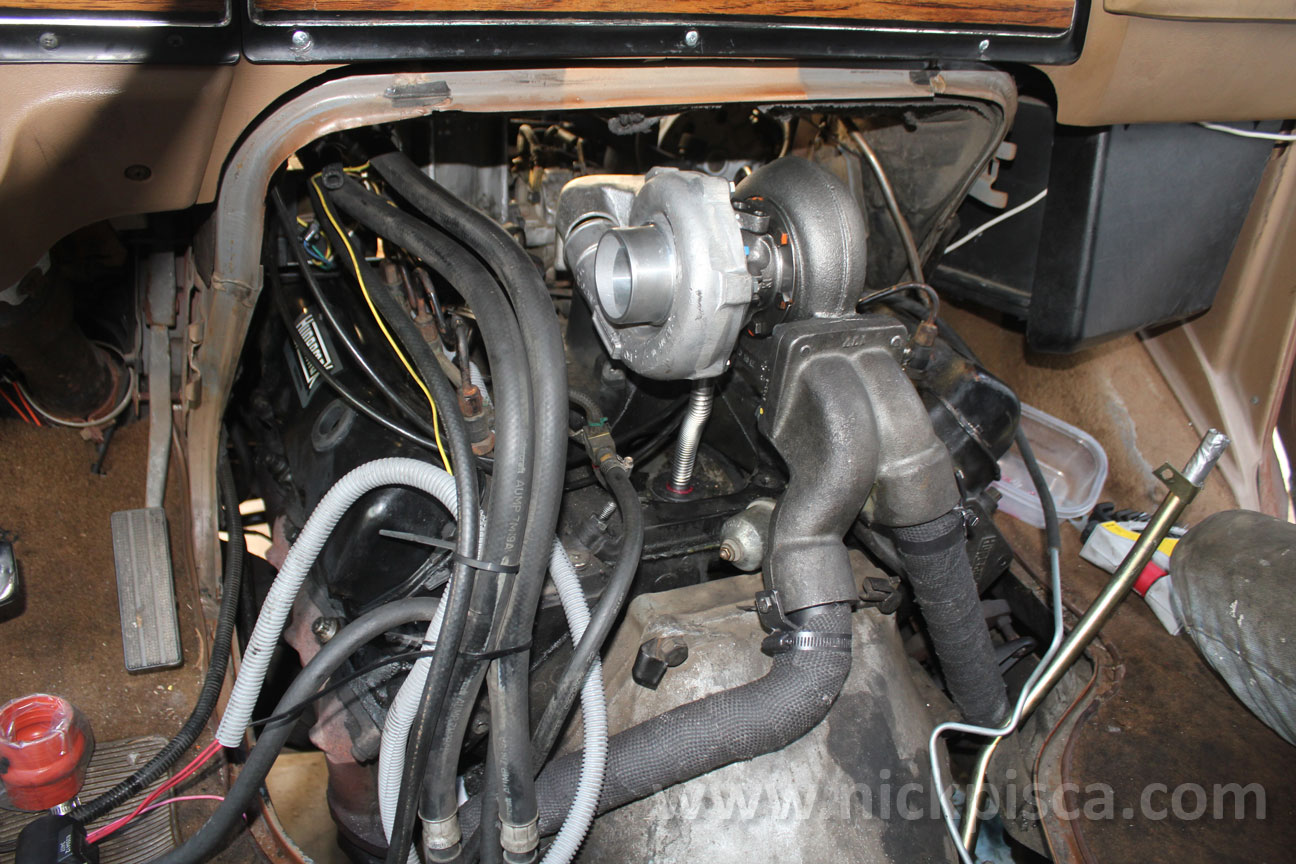
The doghouse barely fits around all this new stuff. I just noticed the doghouse always had some annoying indentation in the pockets. Now it makes sense that they designed it to allocate space for the turbo or air filter housing.
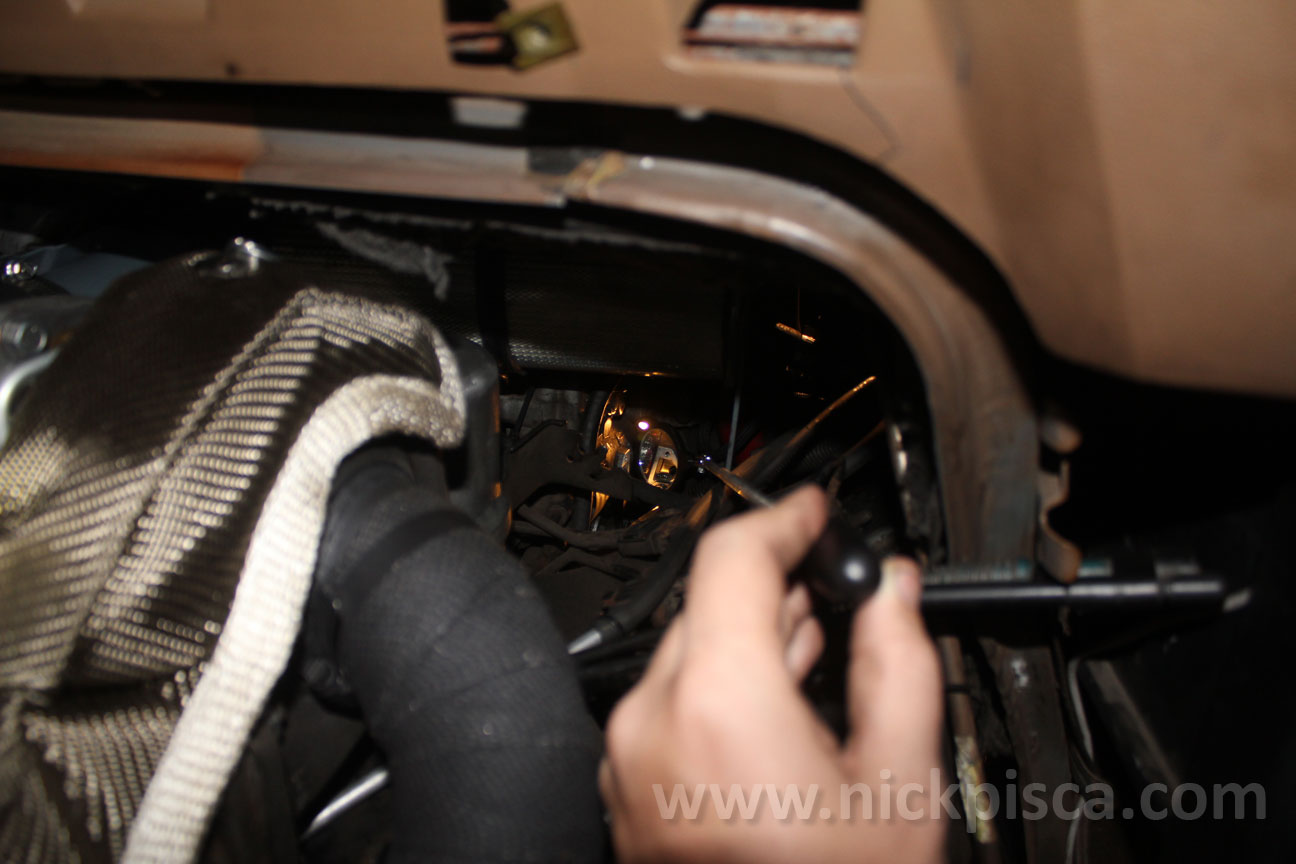
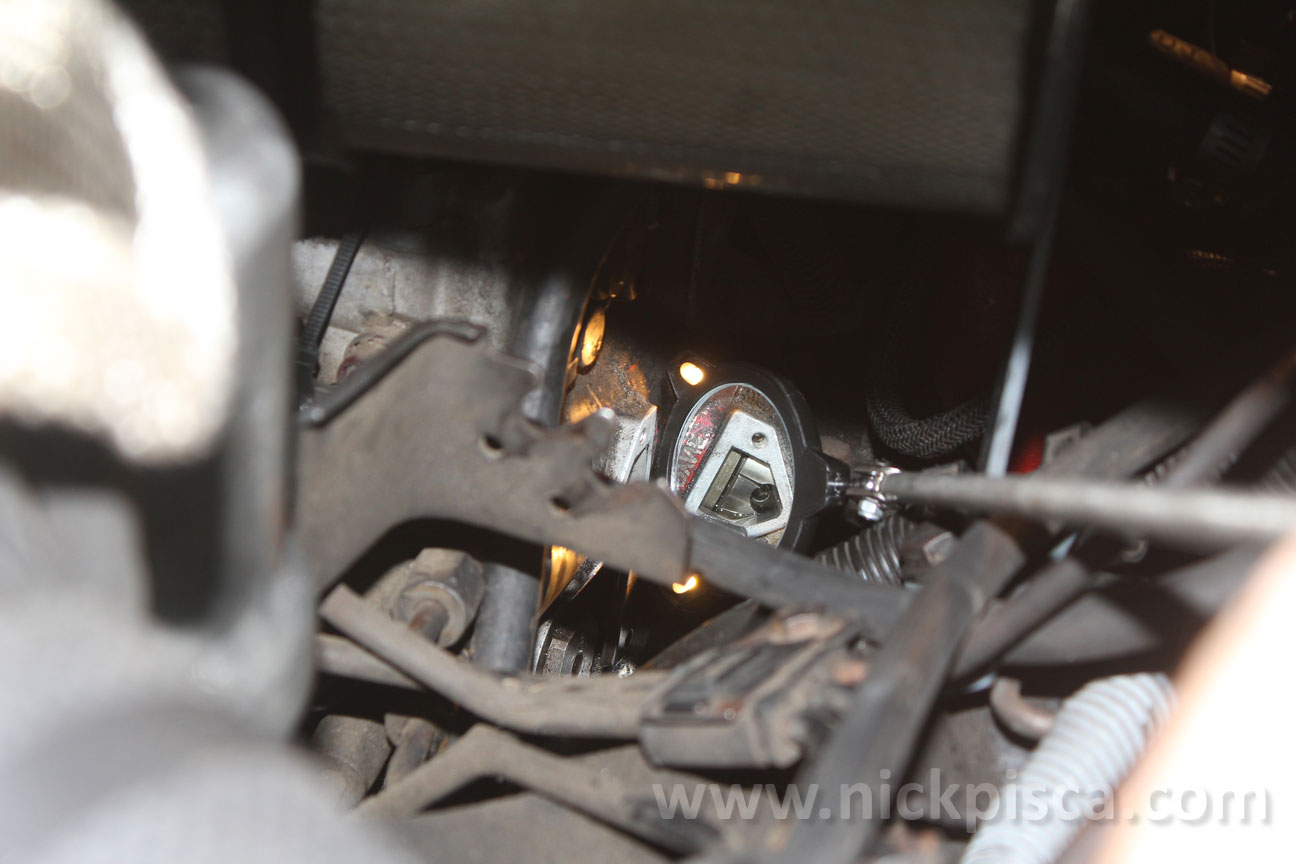
Adjusting the fuel screw on the IP wasn’t too bad. I had to buy an extended mirror with some lights on it, but it was worth it. Looking from the inside of the cab toward the front of the van, unplug and move the throttle linkage and cruise control. Hypermax designed the air filter housing to sit in the middle of the compartment, so it leaves just enough room for a mirror and an arm holding a 5/32” allen. Then all you need is Heman strength to turn the screw.
Here’s the final product: (Note, I’m still waiting for Hypermax to send me a new tranny dipstick housing so the build is 95% complete.)
The results so far….
We still have a lot more driving to do, but so far we have seen boost pressures of up to 8-9psi. Currently I have the IP turned up to 2.5 flats, and I get a little black smoke initially when I give the throttle a good stomp from a stop. Once the boost spools up, the black smoke dissipates. I read up on the Puff Limiter which might allow me to turn up the IP to 3 or 3.5 flats. Being in California, I don’t want to get stopped by the cops for billowing black smoke so I’m comfortable with the 2.5 flats for now. Currently I’ve maxed out my EGT up to 1100 degrees F, so I have room to turn up the fuel if I can mitigate the black smoke.
Acceleration, hauling, and maintaining highway speeds feel much better compared to my non-turbo. I wish I had previously recorded times so that I could compare the results.
Update June 18, 2018:
I’ve installed a Wicked Wheel 2 on this hypermax setup, and it’s basically doubled my boost and lowered my EGT’s about 150 deg F. It’s a worthy upgrade. Read more details on this article below:
Wicked Wheel 2 Installation on a Hypermax IDI Van Turbo Kit [VIDEO]
www.nickpisca.com www.nickpisca.com/diesel June 2014-2018 Copyright Nick Pisca
