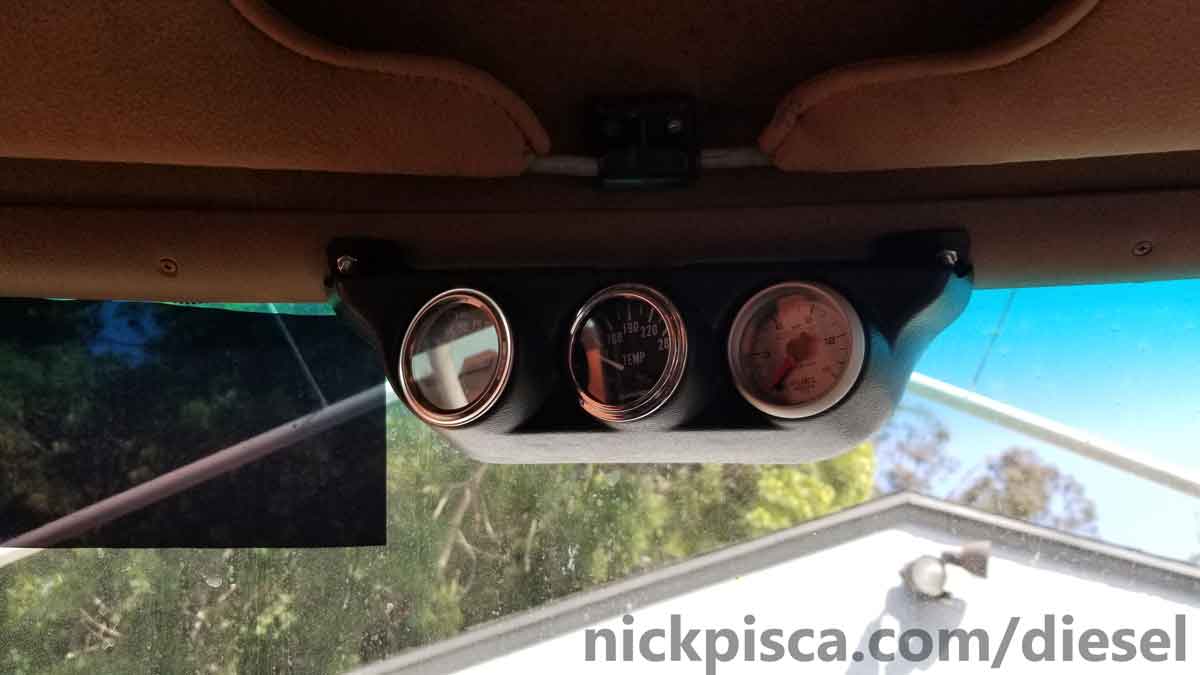
What did I do to my IDI today? I installed 3 new additional gauges and a central overhead gauge pod.
I finally have a real engine temp gauge and crankcase oil pressure gauge. The stock gauges on these old Ford vans are pretty awful, so it’s prudent to upgrade them as soon as possible. I’ve had this van for six years, so I’m long overdue for some real gauges to get some accurate measurements.
Also, I installed a fuel pressure gauge. This was the hardest to find. I wanted a diesel-rated 0-15psi electrical fuel pressure gauge, so that left me with only a few options. I ended up going with an expensive Autometer gauge. Ideally, I wanted all my gauges to be black with chrome perimeter, but since the fuel pressure gauge was almost impossible to find, I’ll have to make due.
Since this is mounted overhead, I had to invest in electrical gauges. The wiring is VERY long to get from the engine bay all way up the pillar to the overhead position. No stock mechanical setup could be installed in this place because the probes and hoses are way too short. Also, I’m glad to rid myself of the mechanical style gauges. My previous mechanical fuel pressure and oil pressure gauges had nylon hoses that leaked. My oil pressure nylon hose leaked on the dash, leaving a black smear in its absence. And my fuel pressure hose leaked on the IP inlet hose, leading to air intrusion and hard starting issues. I’m glad to be done with that mechanical garbage.
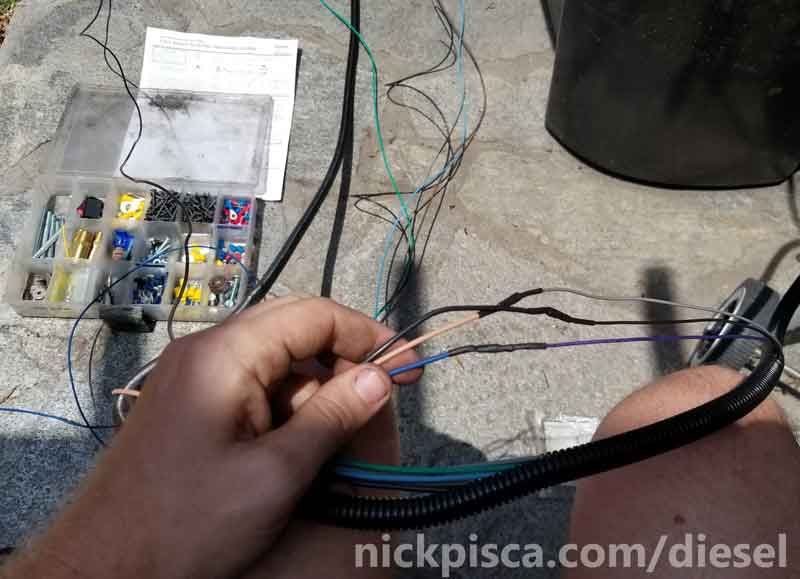
The wiring was tough. To make the job simpler, I bundled my sender wires and combined my power and grounds into one concise wrapped bundle. The bundle started behind a grommet hole (I drilled in the center of the Ford van trim) that ran over to the pillar, behind the pillar trim piece, through the dash, down to the floorboards, and to the engine.
I made a bundle in my backyard so I didn’t have to sit in the hot van. Also, I mounted the overhead gauge pod to the trim. Sadly, the design of the pod didn’t allow me to situate it behind the trim. Instead, I just bolted it to the trim, so now the trim and pod are basically one. In the future, if I need to remove the trim for some reason, I’ll install a quick release for the 6 or 7 wires going down to the pillar.
Also, the Autometer fuel pressure pigtail wasn’t long enough to reach the engine. Not to mention, the pigtail design had end connectors so large, that they couldn’t fit through any of my firewall grommets. So, I called Autometer, and they stated I could cut the wiring to include some extensions. Even though I had a lot of various wire colors, I didn’t have exact wiring to match the extensions, so I had to settle for what I had.
The bundle was about 20 feet long. I thought that was overkill, but I figured it would be better to be too long than too short. Turns out, my overestimation was almost spot on, because once it was completely routed, I only had to clip off a few extra feet. Kind of crazy it required that much length, but considering it routed from the central overhead pod, down the pillar, behind the dash, down to the floor boards, through the firewall grommet, along the frame rail (to avoid the heat of the up-pipe), up to the engine bay, over the block, and to the front of the engine, it required every inch. Bundling was a good plan, because it allowed me to finagle all 7 wires with ease.
I still have to get some rear view mirror glue, but basically it’s all ready to go. My next project is to clean up the wiring on my pillar-gauge-pod, and replace two gauges there. I have a pyro, IP inlet temp, gearvender temp, and auxiliary fuel level gauge located there. I’m still waiting for my aftermarket fuel level sender to be recalibrated, before I tackle that. Also, I plan to upgrade my fuel temp/pressure/bleeder aluminum assembly (to be featured in an upcoming article) so that I can situate my spiffy new fuel pressure sender probe in its rightful place.


