If you have ever needed to undo and adjust your injector line retainers, you likely got just as frustrated as me when trying to tighten the bolts down. The nuts spin loose underneath, so you have to get a wrench underneath and on top to tighten them down. On an old van, with corroded bolts and no room in the engine bay, this can be a huge PITA.
Here’s my lifehack (for lack of a better term) on how to make those nuts no longer become a problem. I used JB Weld to fuse the nuts to the underside of the injector line retainers.
Recently, I did a complete rebuild and engine swap (both articles to be finished very soon) on my 1988 E250 Clubwagon. While I had everything apart, I felt compelled to fix these gawd-awful retainers once and for all. I had been thinking of this for years, but these types of things never get done when you are in the business of life.
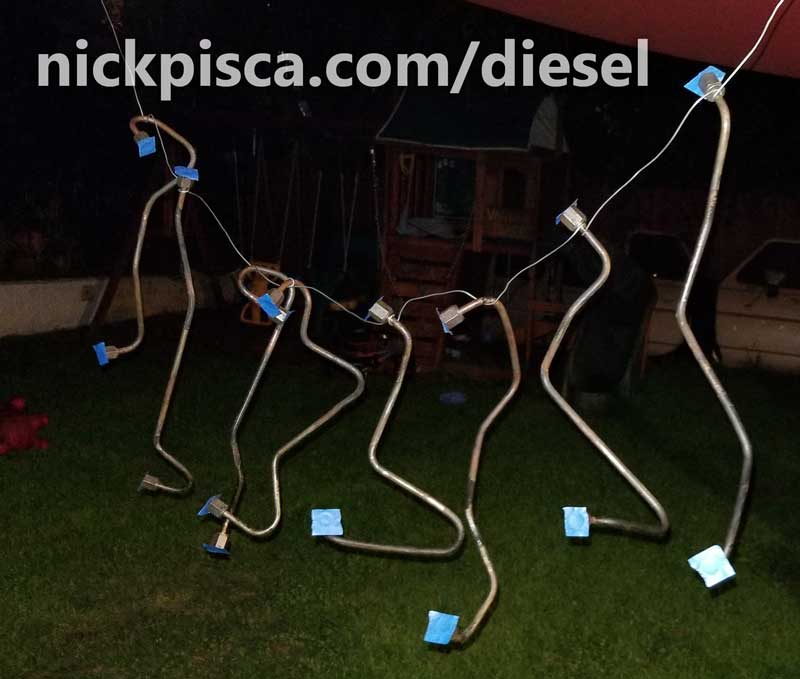
Here are the injector lines from the beast, with the retainers still in place.

These retainers are crucial for a diesel engine. Without them, the metal will be susceptible to metal fatigue and eventually crack. Diesel engines require massive injection line pressure, so the tiniest crack will mean complete failure. So, take care of your retainers!
I pulled off the retainers, but I photographed the lines, so I could put them back together. If you didn’t document your injection system order, not to worry, I wrote an article a while back explaining how to put the lines all back together if you forgot. 🙂

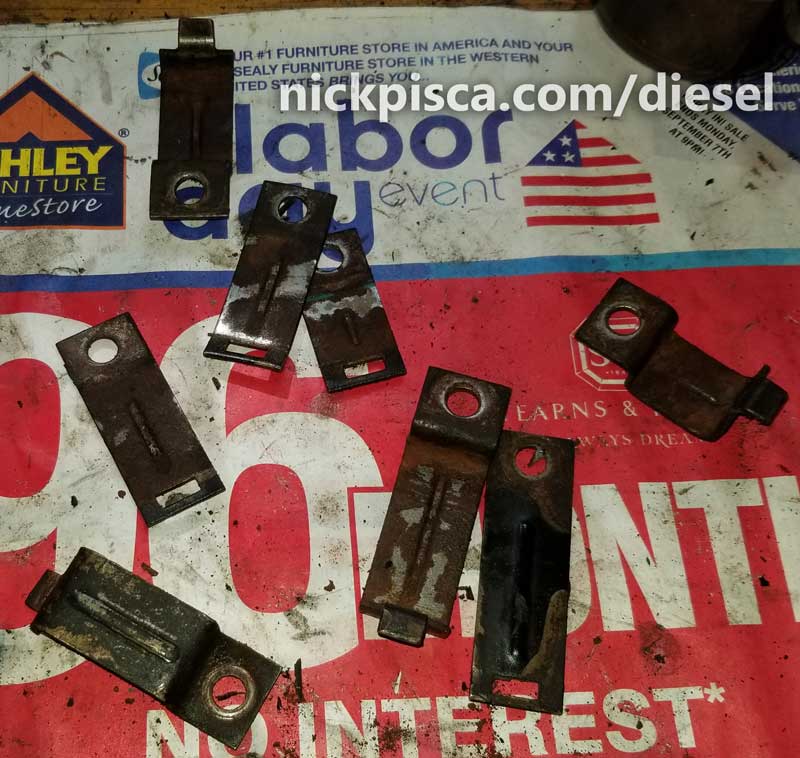
I set the lines aside for now. First, I took a gander at the retainers. They were in shabby condition, with a lot of corrosion, loss of paint, covered in gunk, and some bends from the PO trying to jam them together.
I scraped off the bad gunk and grime, and gave the boys a two-day Evapo-Rust bath. If you are not familiar with Evapo-rust, it’s magic. It’ll pull the rust off of anything in 24 hours flat. I’ve cleaned up nuts and bolts I found completely rusted in the yard, and they looked as good as new. I highly recommend it.
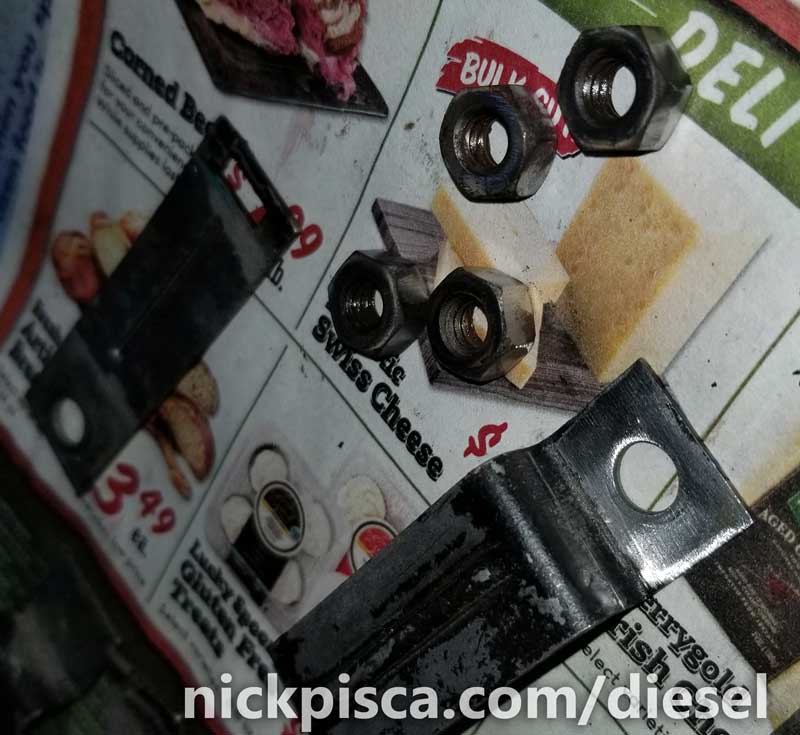
As you can see, the Evapo-rust worked really well. It took off all the rust from the retainers, and it also cleaned up the bolts and nuts too.

I sanded off the paint as good as I could, and then used a sanding disk on my grinder to created a rough mating surface for the JB Weld and metal to adhere. This scuffed up surface will make sure the JB Weld bonds well and doesn’t break off when you are driving down the road. (Note, I would have loved to weld these, instead of using JB Weld, but I didn’t have access to a welder at this moment. Also, I know most of my viewers here probably don’t have a welder either, so this solution seems the most accessible to everyone.)
I also used the sanding disk on my grinder to make a rough surface for the mating side of the retaining nut. They both need metal on metal to make this work. Any gunk or grime or paint will just make the mating surface loose for the JB Weld.

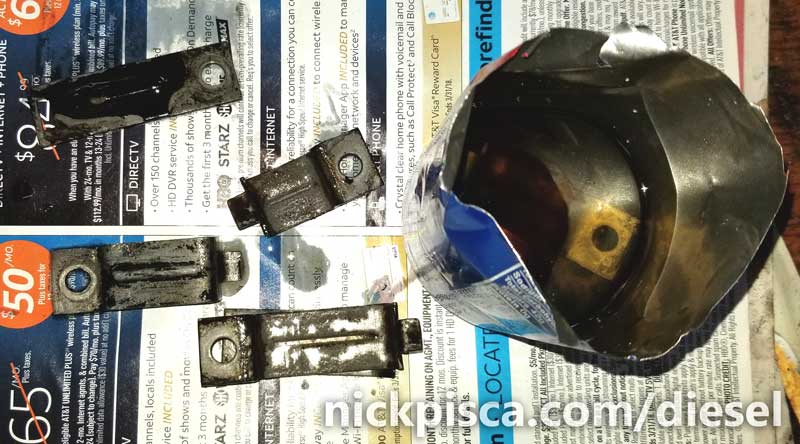
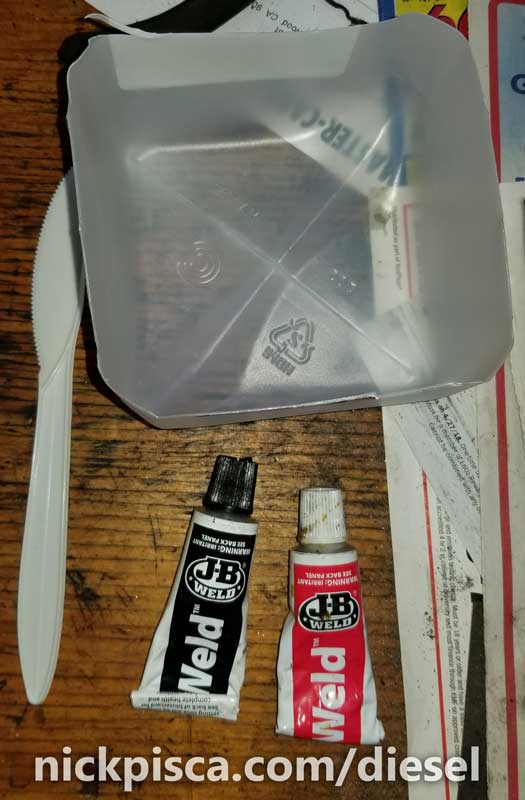
I grabbed a small amount of JB Weld and mixed the tubes together in a milk jug. I used a plastic knife to stir and spread the liquid.
Working quickly, I spread the JB Weld carefully on the nut and pressed it to the underside of the retainer. I was very careful to make sure the JB Weld DOES NOT PRESS INTO THE THREADS OF THE NUT. If this were to occur, I would promptly remove the nut and clean both surfaces and threads, and start over.
Then once the nut is stuck to the retainer, I used the knife to drizzle JB Weld around the nut as well, making like a volcano kind of look. Once this dries, it will hold the nut in place.

While this was drying (JB Weld takes a day or two to completely cure), I used this opportunity to install an engine in my van, but also, I cleaned up my injector lines and gave them a coast of high-temp paint.
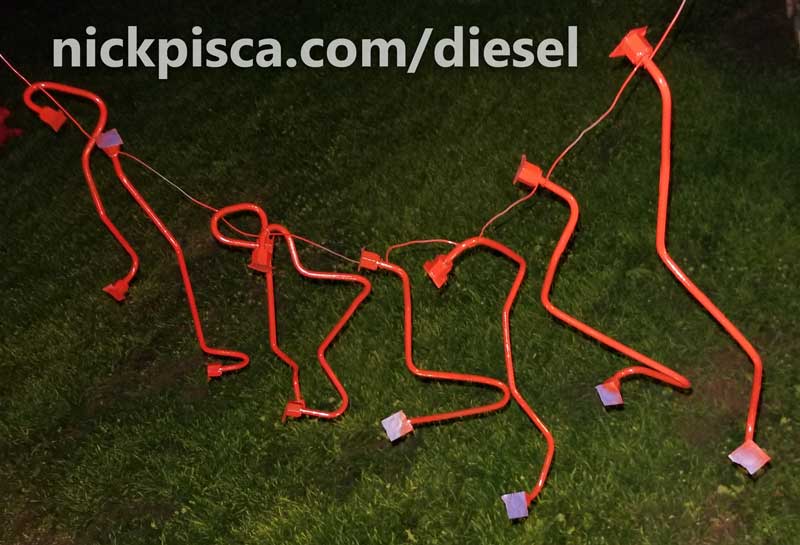
I know the paint will never last (These IDI’s require so much maintenance that I’ll inevitably scuff them up working on other things), but hey, it’s cool, so I painted them.
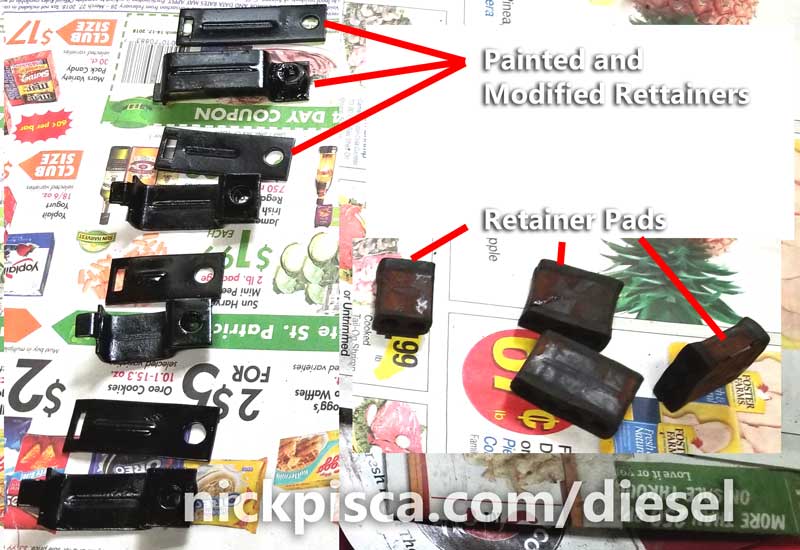
Once the JB Weld cured, I gave the retainers a coat of black paint. Also, I cleaned up the rubber retainer pads so that they weren’t so dusty and grimy.
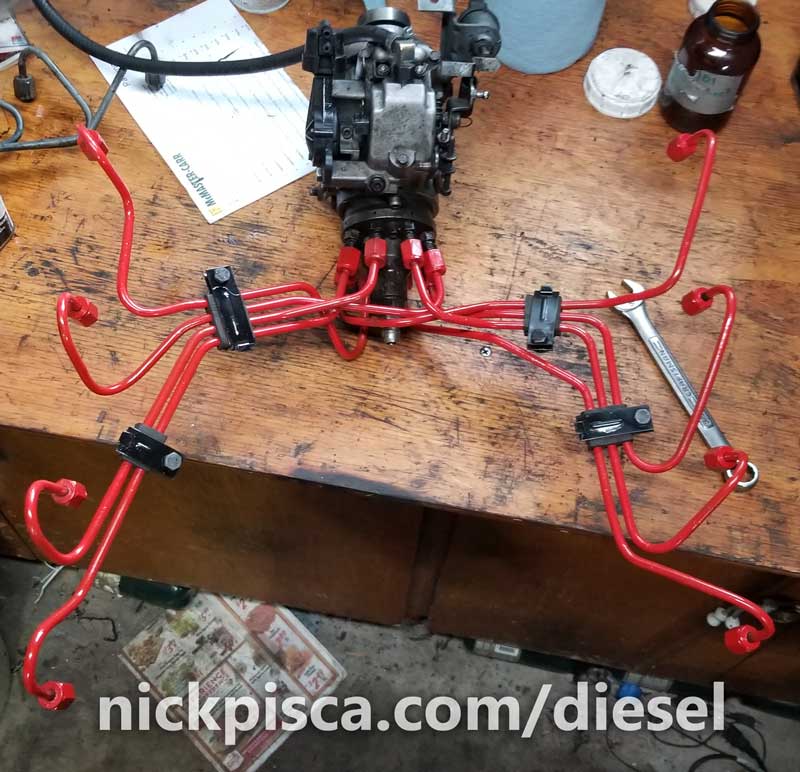
Using my IDI IP Injector Line Order article as a guide, I reassembled my lines and retainers.
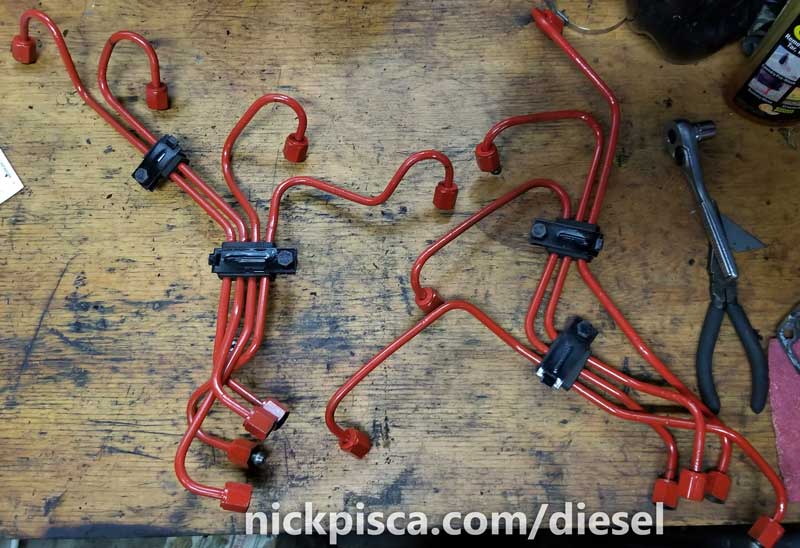
Also, I installed them on the pump to make sure they all fit together properly.
Since I had not put the Turbo Kit on yet, I was able to run the IP and its connected injector lines through the doghouse and mount them on the engine. This saves the step of assembling the injector lines in the engine bay, as seen in this video I made showing how to remove the IP in a van without the injector lines. In the image below, you can see the new lines and retainers behind the Turbo Kit.

That’s it. Now I can tighten down my injector retainers without f-ing round with a second wrench while dangling like it’s Mission Impossible from the engine bay ceiling. Phew!
You might also like this article:
Also, you might like this article too:
No warranty. You are responsible for your vehicle. For novelty use only. Not responsible for anything or anyone. Not responsible for damage to your vehicle, you, or anyone or anything.
Copyright 2000-2018 Nick Pisca 0001D LLC
