Hi all. I thought I’d put my Deep Sump installation on the website. It’s not a difficult installation and a perfect project for DIY’er, regardless if he/she is a novice or expert mechanic.
Why install a Deep Sump?
Installing a Deep Sump for your overdrive is good for a number of reasons. It can aid with cooling, especially if you are driving for extended periods of time, hauling large loads, or traveling at higher speeds. The greater oil capacity and cooling fins on the Deep Sump facilitates this cooling. Also, it has a drain plug, so you don’t have to pull the pan to change your GVOD oil, which can be messy and/or damage the seal. Lastly, the Deep Sump has a temp probe port, so you can register the Overdrive temperature on a dash mounted gauge.
Before we begin…
First, you need a Gearvendor Overdrive. If you don’t have a GVOD, then you might want to bookmark this page for when you obtain a GVOD. Just in case you don’t know what that is, this is an auxiliary overdrive, that is installed at the end of the transmission’s tailshaft housing. This tutorial does not cover the installation of the GVOD, and it assumed you already have a GVOD and you want to upgrade to the Deep Sump.
For this tutorial, it assumes you have a Type J or Type P GVOD. I don’t know if this will work for other units, but it may. Also, this is connected to a C6 transmission, and I’d assume it will work for other transmissions, since the tailshaft housing does not conflict with the deep sump.
From my research, there are really only 2 suppliers of GVOD Deep Sumps. The company Gearvendor makes a deep sump shown in the following image:

It costs $150+shipping+tax and is moderately sized. The company Maximum Overdrive makes an aftermarket deep sump that huge that costs $140+shipping+tax. Shown here:

Ultimately, the Maximum Overdrive Deep Sump (MODS) is the better deal, but there are issues. Namely, the customer service and speed of service. Also, there are some design flaws, but they are discussed near the end of the tutorial and are negligible.
This tutorial explains the installation of the MODS on a GVOD.
Glossary:
MODS = Maximum Overdrive Deep Sump
GVOD = Gearvendor Overdrive
OD = Overdrive
MO = the company Maximum Overdrive
DS = Deep Sump
Some tools you will need:
Socket set
Torx set
Channel Lock Pliers
Parts and fluids needed:
Deep Sump
GVOD pan gasket
Gear oil resistant permatex
2 qts Gear oil (GV highly recommends Lucas 75W90 synthetic)
Preparation:
I received my MODS and there was some preparation. Here is a picture of the unit:
The Max Overdrive Deep Sump comes with some additional parts.
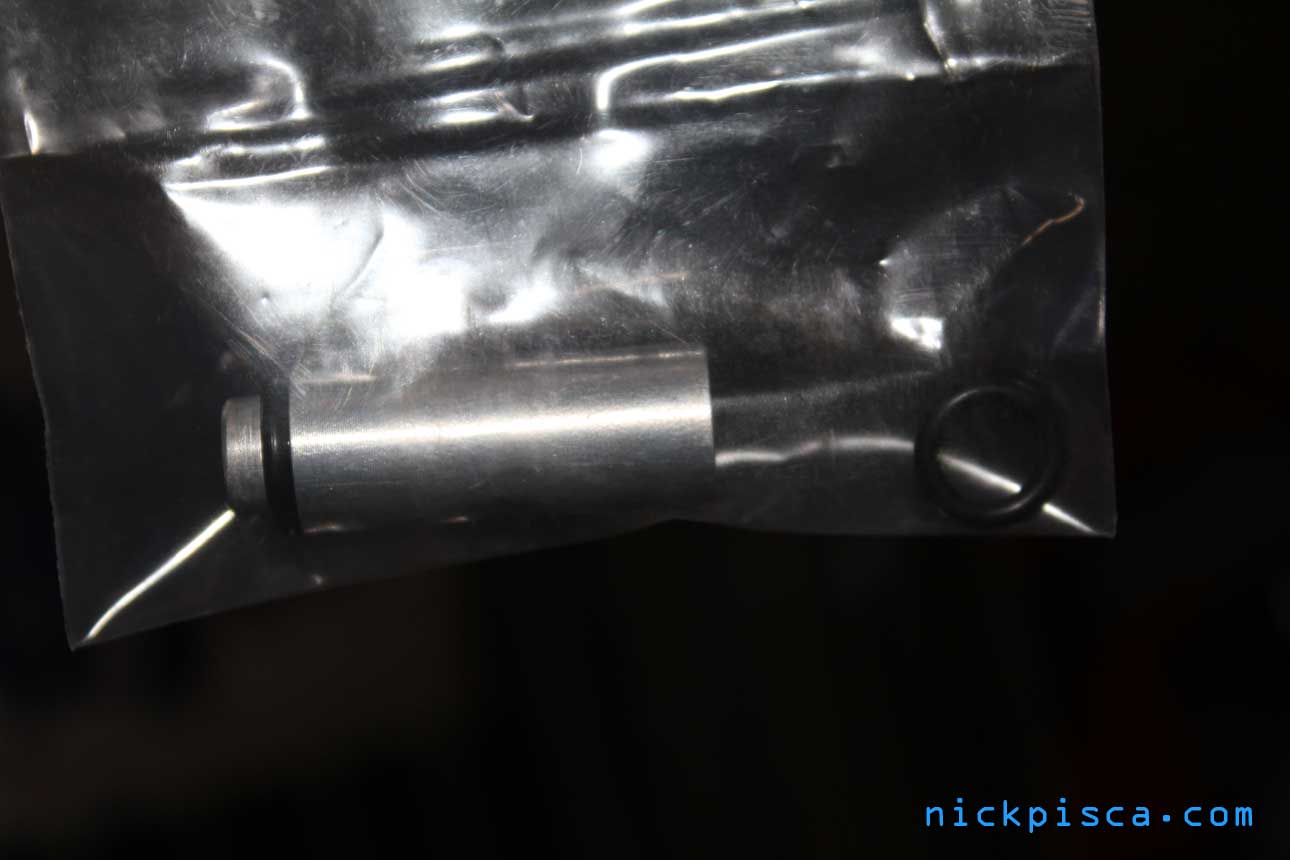
1.) There is an extender tube and two o-rings, which allows the oil pick-up to reach further down into the sump,
2.) A replacement pan gasket, and
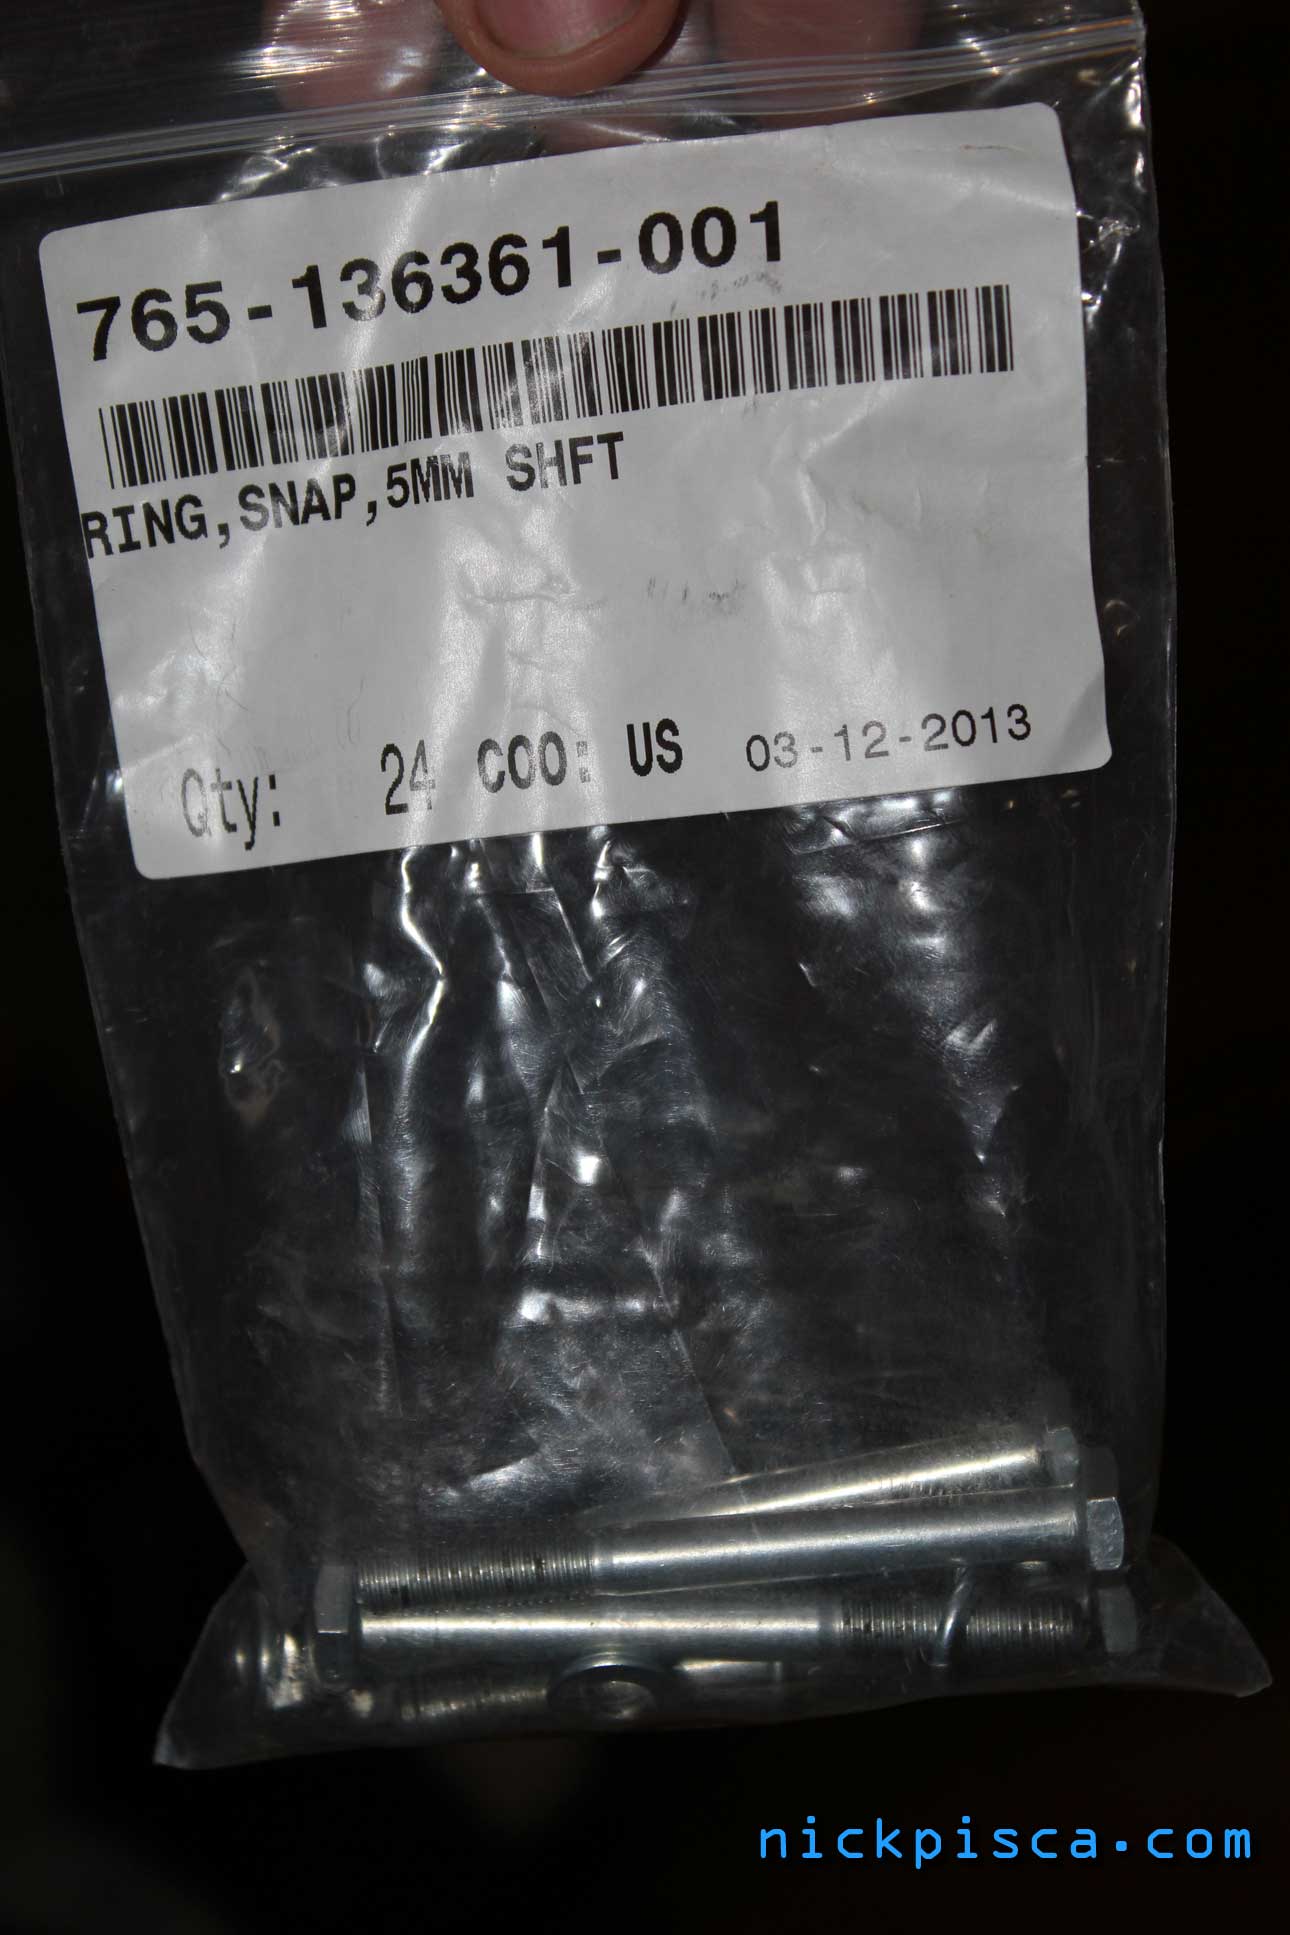
3.) six 2 1/2″ long 1/4″ diameter x 28TPI bolts, with locking washers.
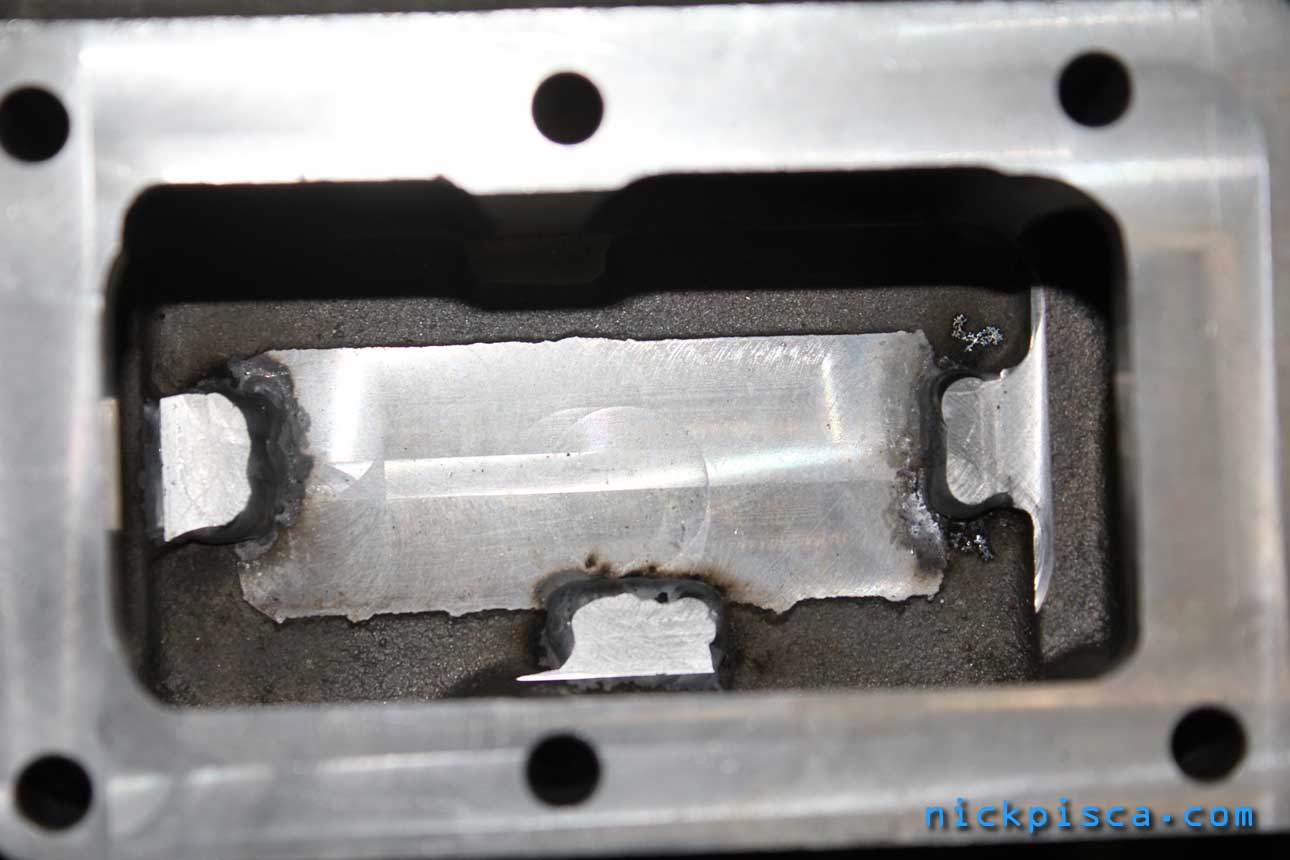
I noticed Max Overdrive bored out some of the side and insides of the casting with a mill of some sort. There were some flakes and metal shavings, so I gave the OD a few flushes of Mineral Spirits to wash out any remaining metal. It was a good idea, because there was a lot more metal on the inside of the DS than I thought. I did 3 flushes until it came up clean. You can see some of the flakes in the next image:
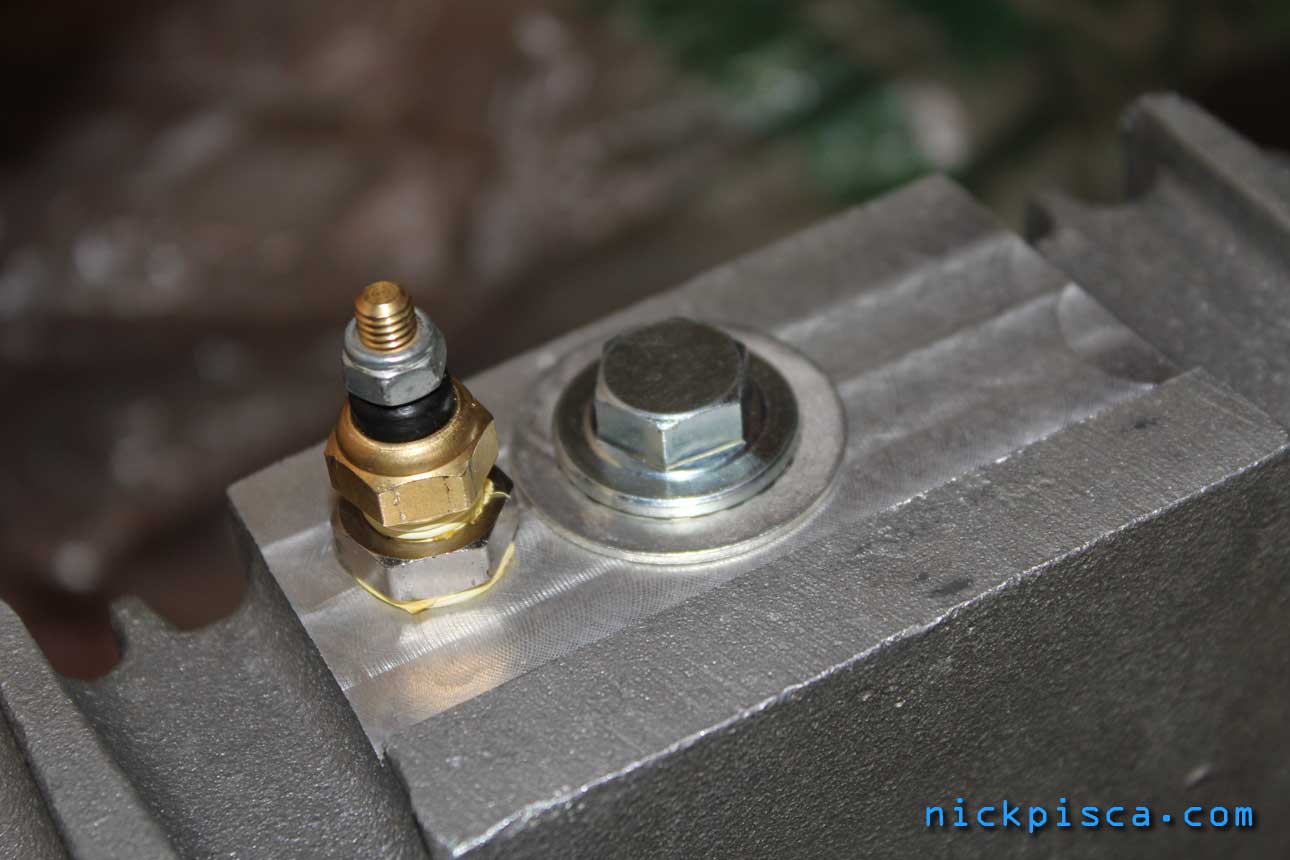
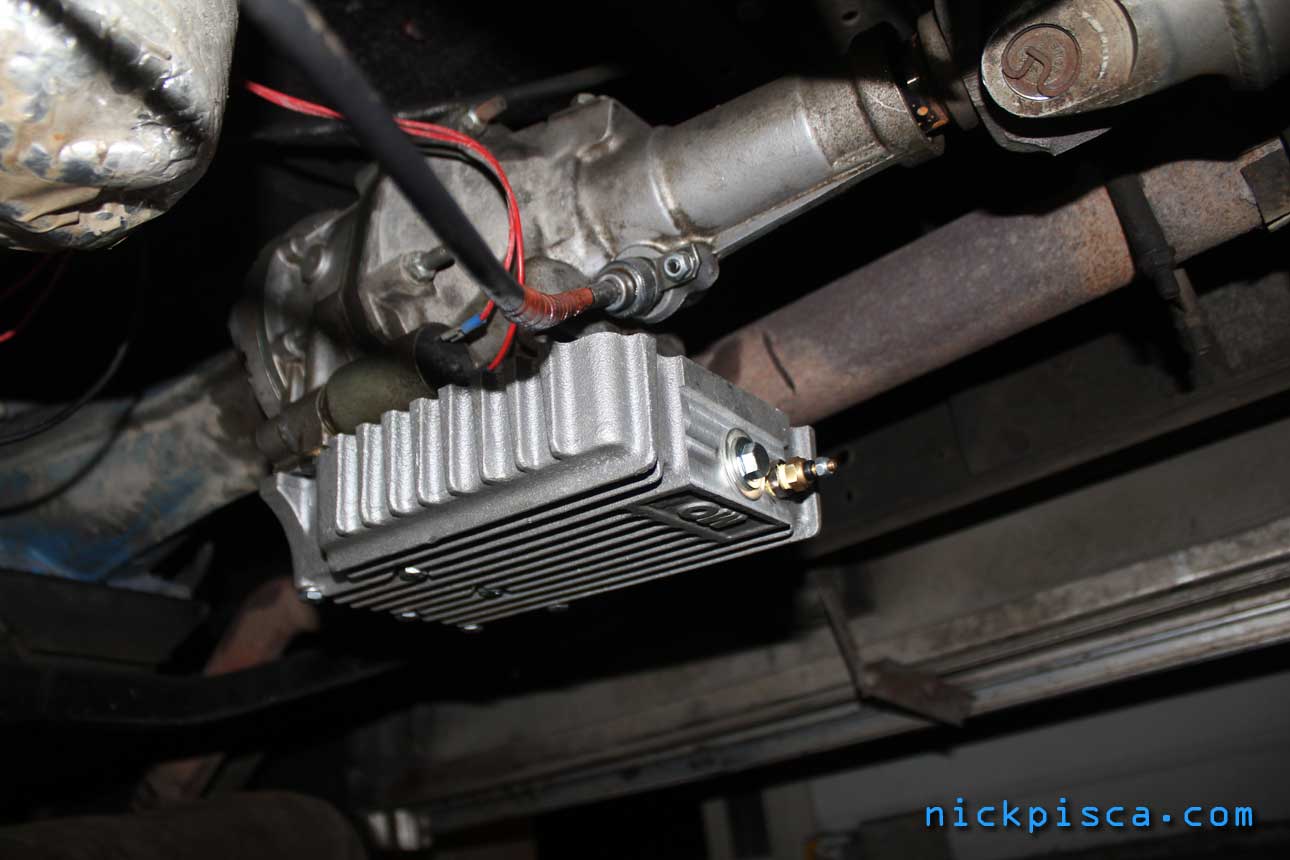
The MODS also comes with a pre-drilled 1/4″ NPT female temp probe port next to the drain plug. If you don’t want to install a temp probe, you should buy a 1/4″ NPT male plug and thread it in. I already had a digital temp gauge installed on my van to give me the fuel temperature at the IP, so I bought an installed a second temp probe that was inserted into this port on the Deep Sump. I use a ON-OFF-ON toggle switch to transfer the resistance between the GOVD temp probe and the IP temp probe. (Note, I used a stainless steel bushing from McMaster Carr to fit the 1/8″NPT electronic temp prob. The bushing has 1/4″ NPT outside threading and 1/8″ NPT inside threading, but there was lip on the inside of the bushing that didn’t permit the temp probe to fit all the way into the bushing. So, if you buy the same bushing, you will need a drill press to bore out the inside of the bushing to allow the temp probe to fully insert thru the bushing. )
Here’s a picture of my temp probe installed next to the drain plug:
Installation Process:
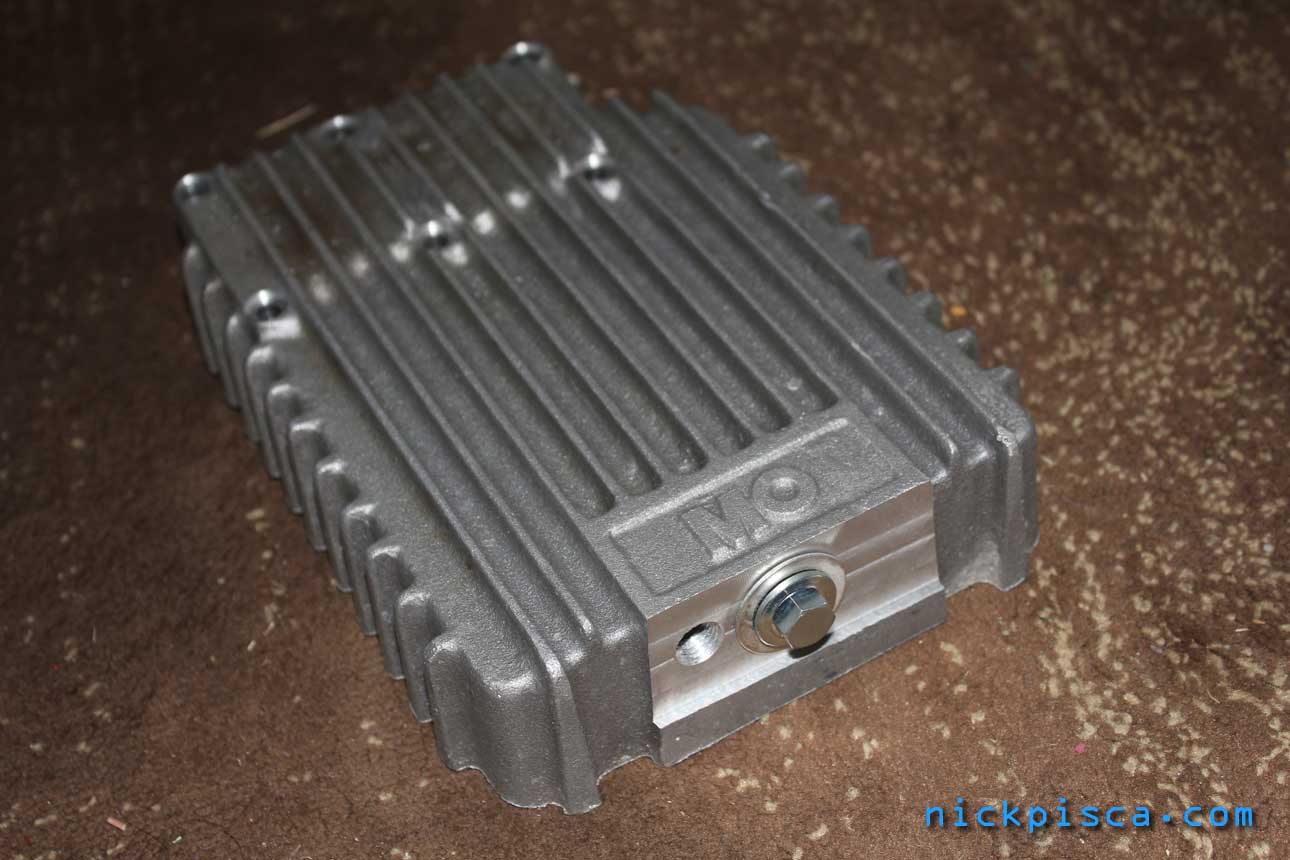
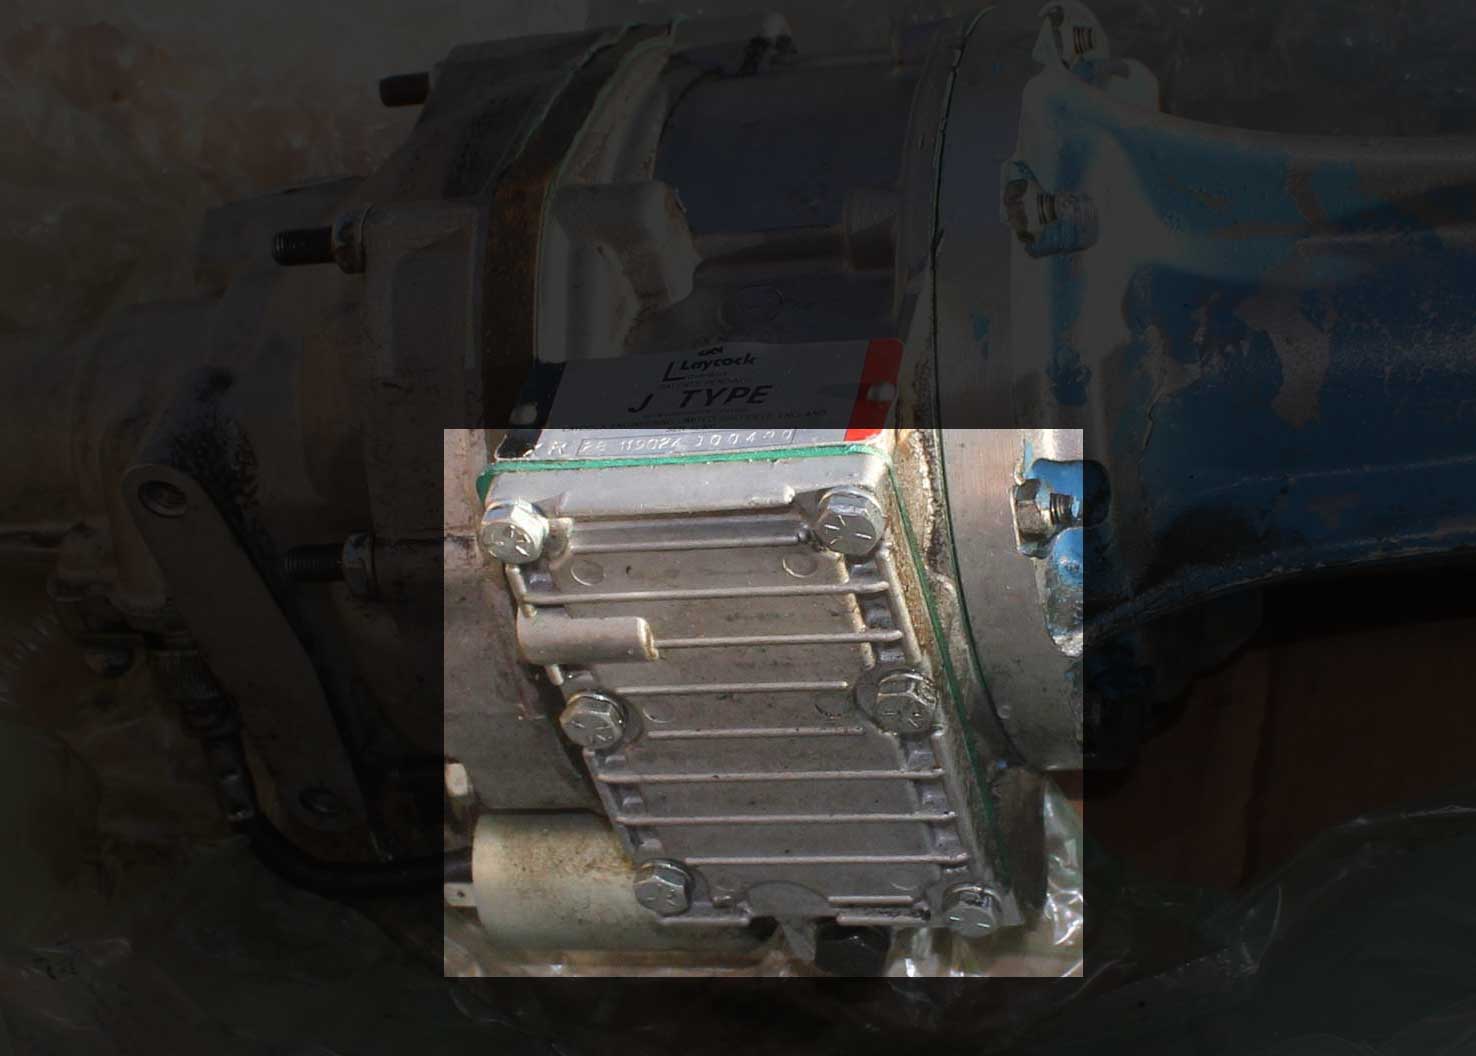
The stock pan is pretty simple. It’s just a basic plate without cooling fins. It technically has a small allen wrench drain plug, but the darn thing leaked so much, that I just permatexed the thing shut and did GVOD oil changes by pulling the pan. Here is a picture of my Type J pan on the OD when I received it:
First, you need to pull the pan and drain the system. The process is simple, just unthread the pan bolts and separate the pan from the unit. Approximately 1 quart of gear oil drained into my collection pan. Be sure to collect all your oil and deposit it to a recycling center after your oil change is complete. Here is a profile of my GVOD with the pan off:
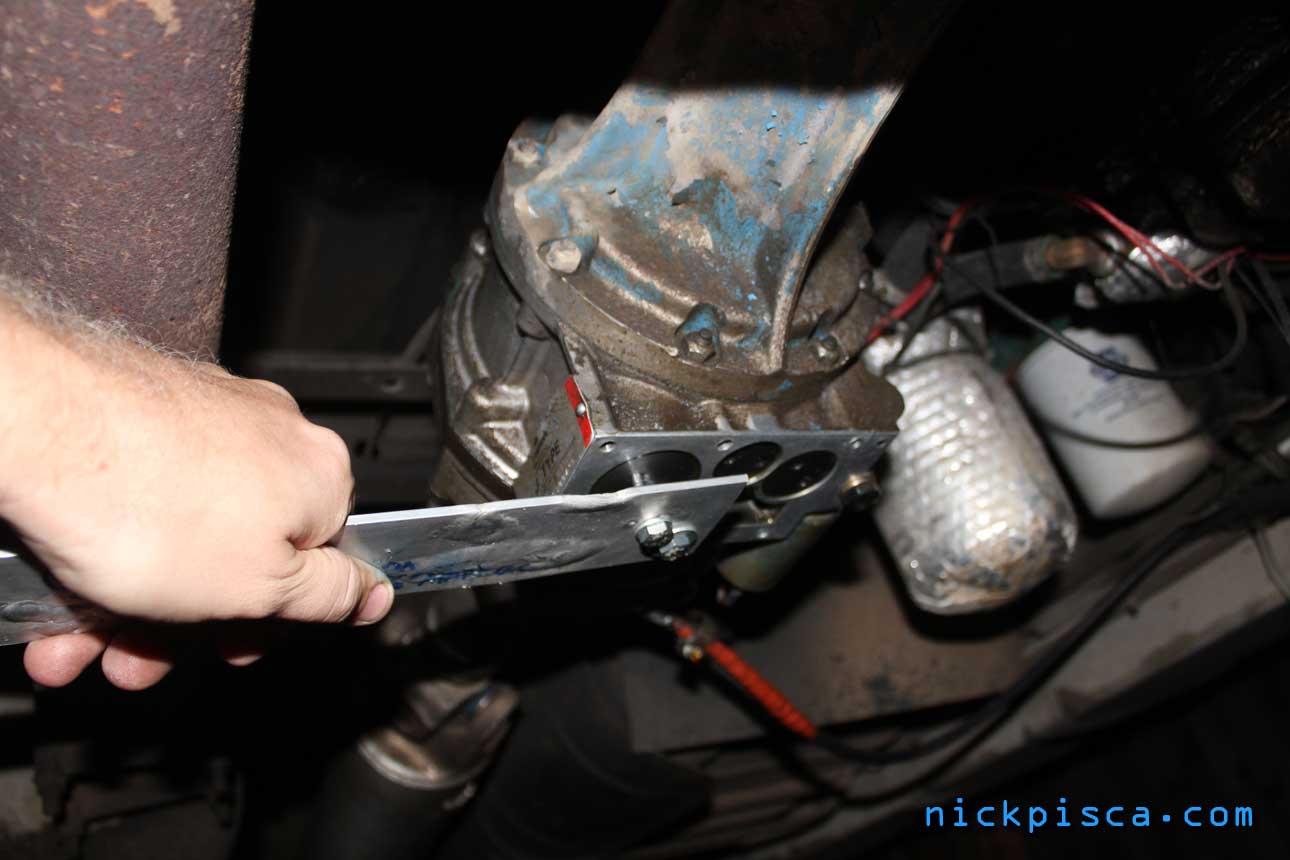
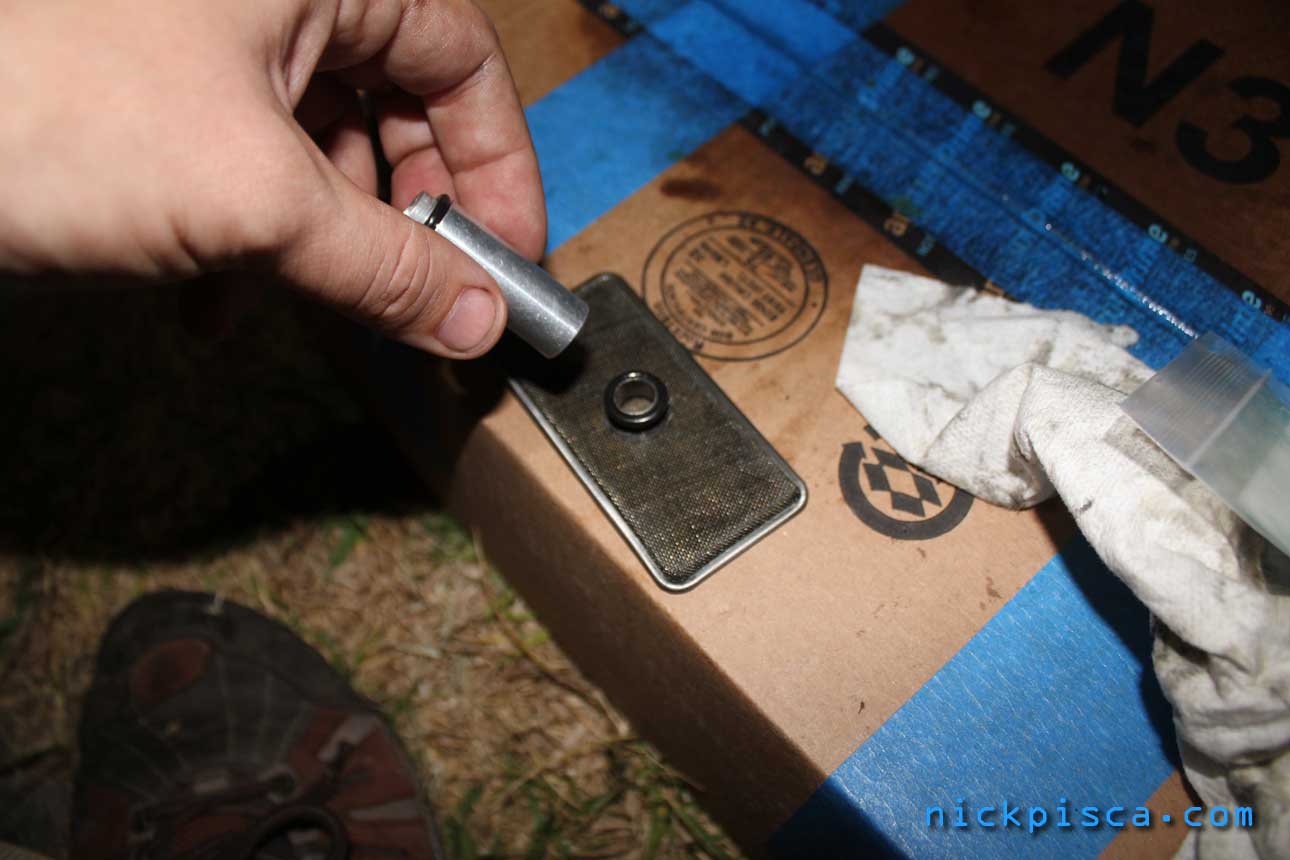
While you have the pan off, you might as well clean the filters in the GVOD. There are two. The first filter is a rectangular screen connected to the bottom of the oil pick-up. This can be cleaned easily with some parts cleaner spray. The other filter is a bit harder to get to. To retrieve it, you need what the GV manual calls a spanner wrench, which I guess is some sort of Austin Powers English English. Instead, I made my own spanner wrench out of a piece of scrap aluminum, and some rounded bolts.
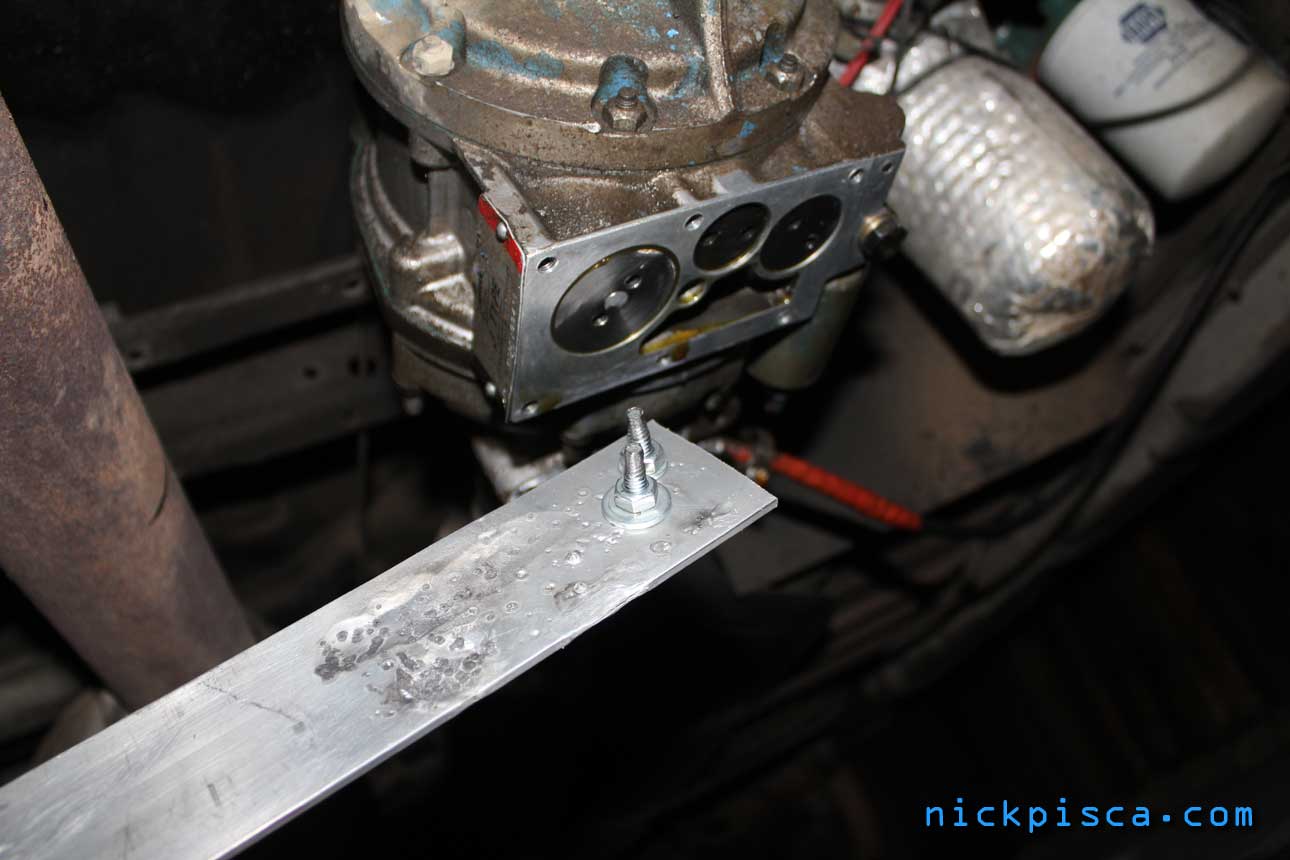
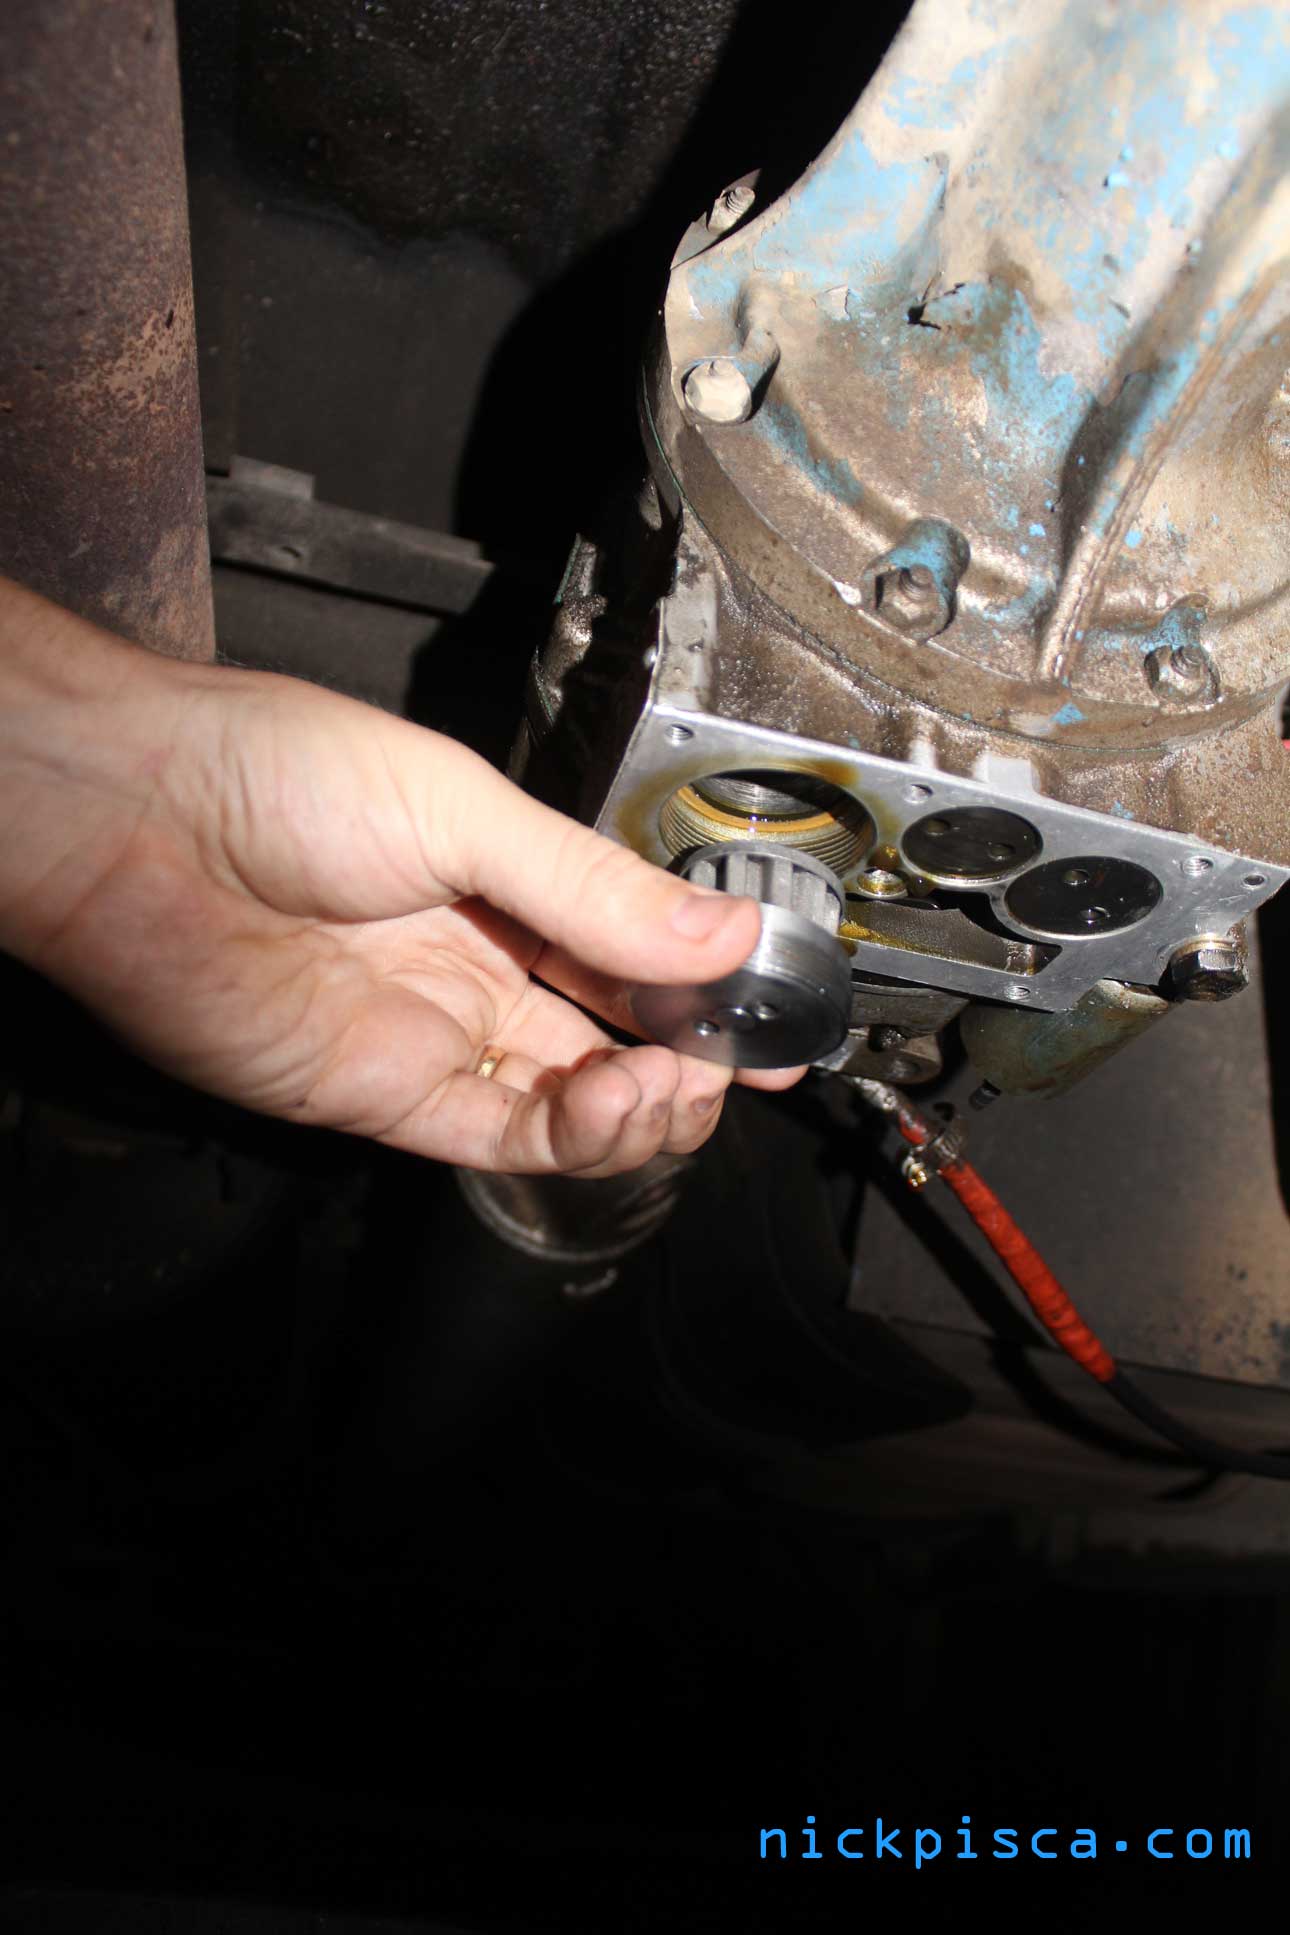
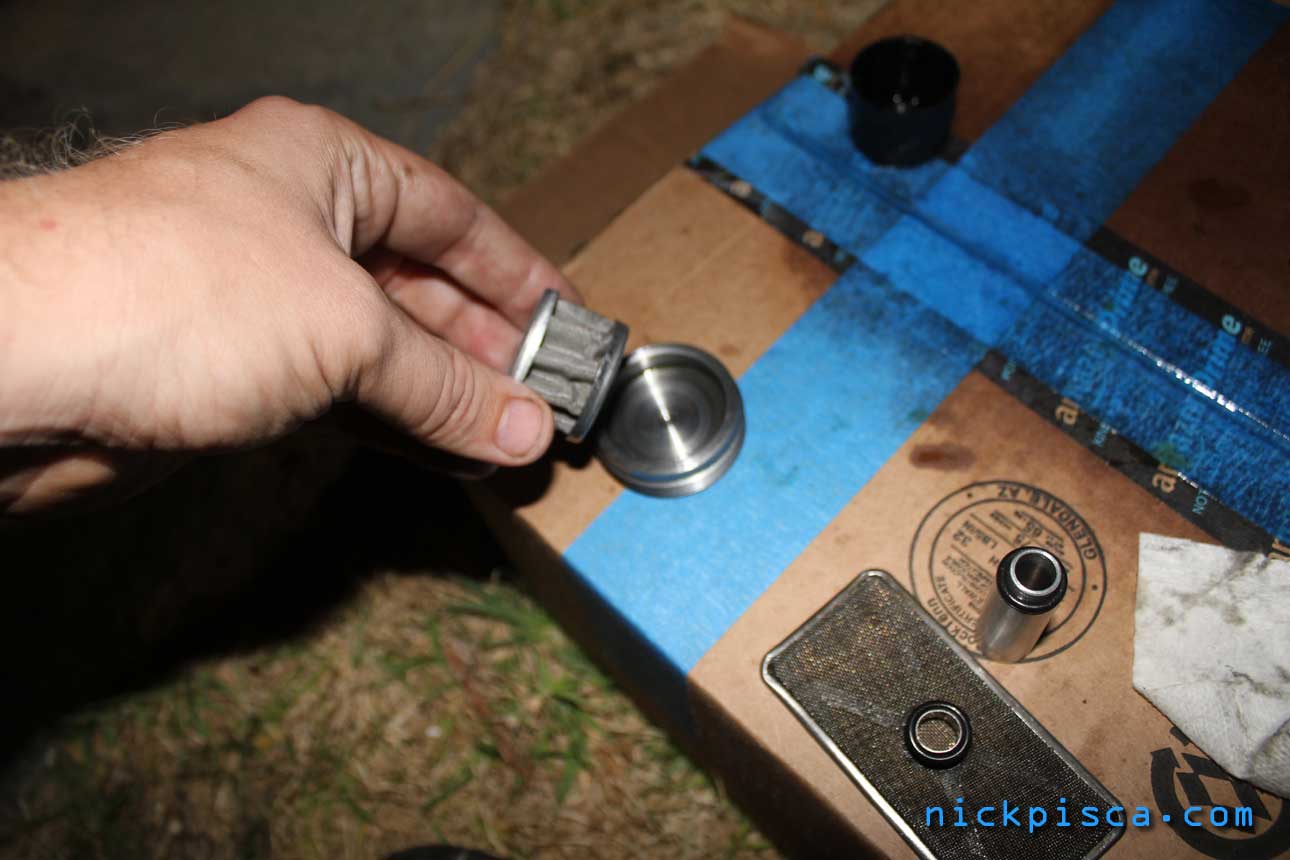
Use this spanner wrench to twist out the threaded cylinder. The filter is above it.
Clean out the filters and wipe down the components of the system. I created a mineral spirits bath in a Mason jar to shake the gunk out of the filter. I think I ended up doing 3 mineral spirit baths until the fluid was clear after a good shaking. Once the internal cylindrical filter is to your liking, the installation of the filter is the reverse of the removal. Also find the extender tube and 2 o-rings in the MODS kit, because you will need them soon.
Place one o-ring on the top of the extender tube. Slide it all the way down to the bottom of the inset of the cylinder. Next, take the second o-ring and place it all the way to the bottom of the connector on the original rectangular screen from the GVOD. Then assemble the extender tube to the connector on the screen. The new screen is just an extended version of the original.
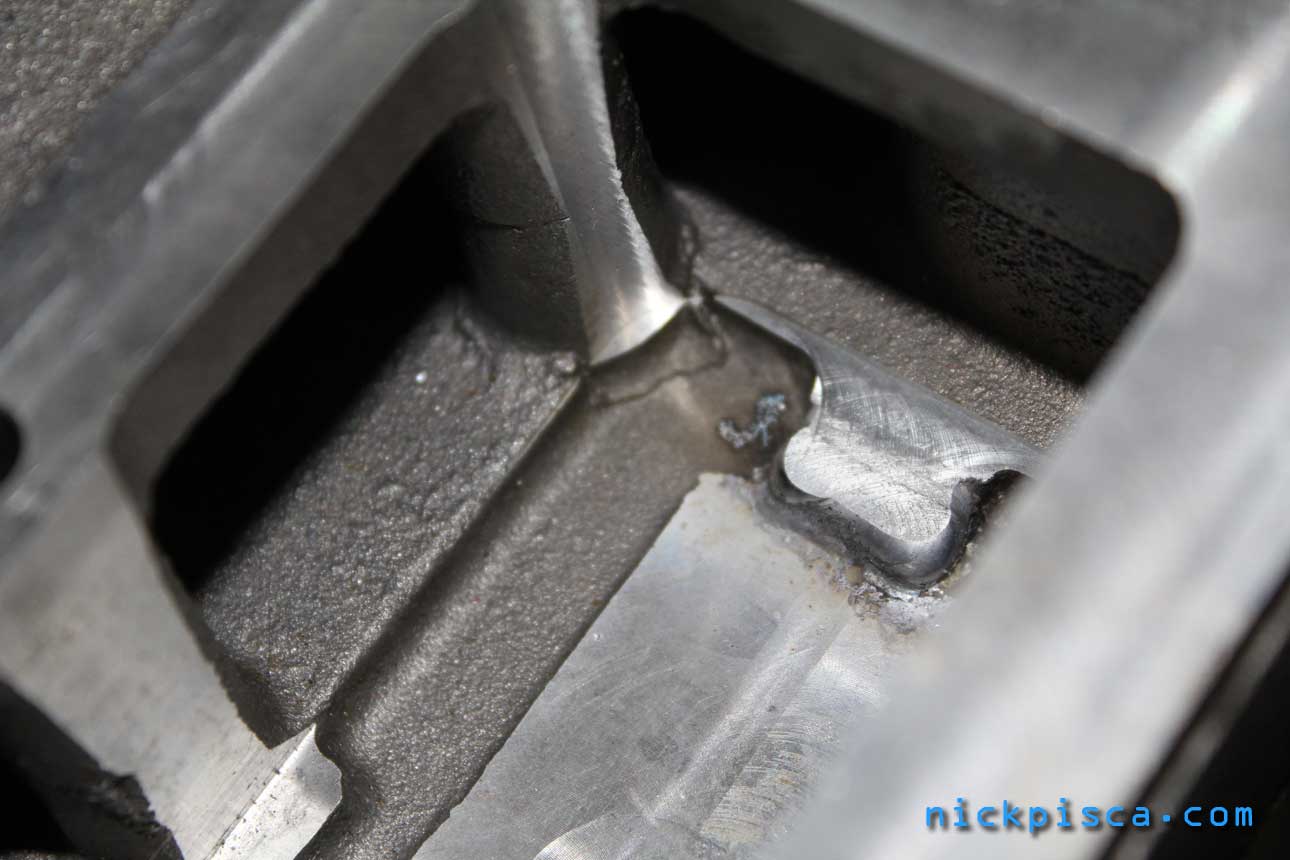
Place the rectangular screen into the Deep Sump. You should see some smoothed corners in the bottom of the sump. The rectangular screen will rest on that smoothed area, with the extender tube peaking out just above the level of the gasket.
Here is a picture of the smoothed section:
The next part is controversial. Find the pan gasket that M.O. supplied with the kit. GV will always say never to use permatex to seal the pan on a GVOD. I have installed mine with permatex+gasket and I have installed mine with just a gasket. Every time I installed it with just a gasket, it leaked, and it leaked A LOT. Every time I installed with permatex and a gasket, it never never never leaked. So, I always use a combo. Ultimately, it’s your GVOD and you decide what you want to do. But for this tutorial, I recommend the combo option.
Place the gasket and permatex on the underside of the GVOD. Always make sure your surfaces are clean and dry prior to placing the gasket. The next step there is no image, and it’s really unfortunate, because it’s very difficult to explain and photograph. You need to do two things at once. 1.) align the extender tube and 2.) align and thread your bolts through the sump into the GVOD. It is really darn tricky. Maybe on your GVOD, the extender tube will fit perfectly and stick up into the bottom of the overdrive, but mine is really loosey goosey and it doesn’t fit snug. Maybe this could be a design enhancement to the makers of this kit at Maximum Overdrive, or maybe my GVOD is just old and had a loose extender tube. Regardless, my tube is sealed with the o-ring, so I’m not worried about it sucking unfiltered gear oil.
The other tricky thing about aligning both the extender tube and sump bolts simultaneously, is that the o-rings need to be pressed for the extender to seal. Soooooooo, that means the extender tube is about 1/16″ bigger than the space allocated for it in the deep sump. By tightening the sump bolts, you compressed the extender tube, its o-rings, and the rectangular screen together in one action. It’s clever, but can be difficult install.
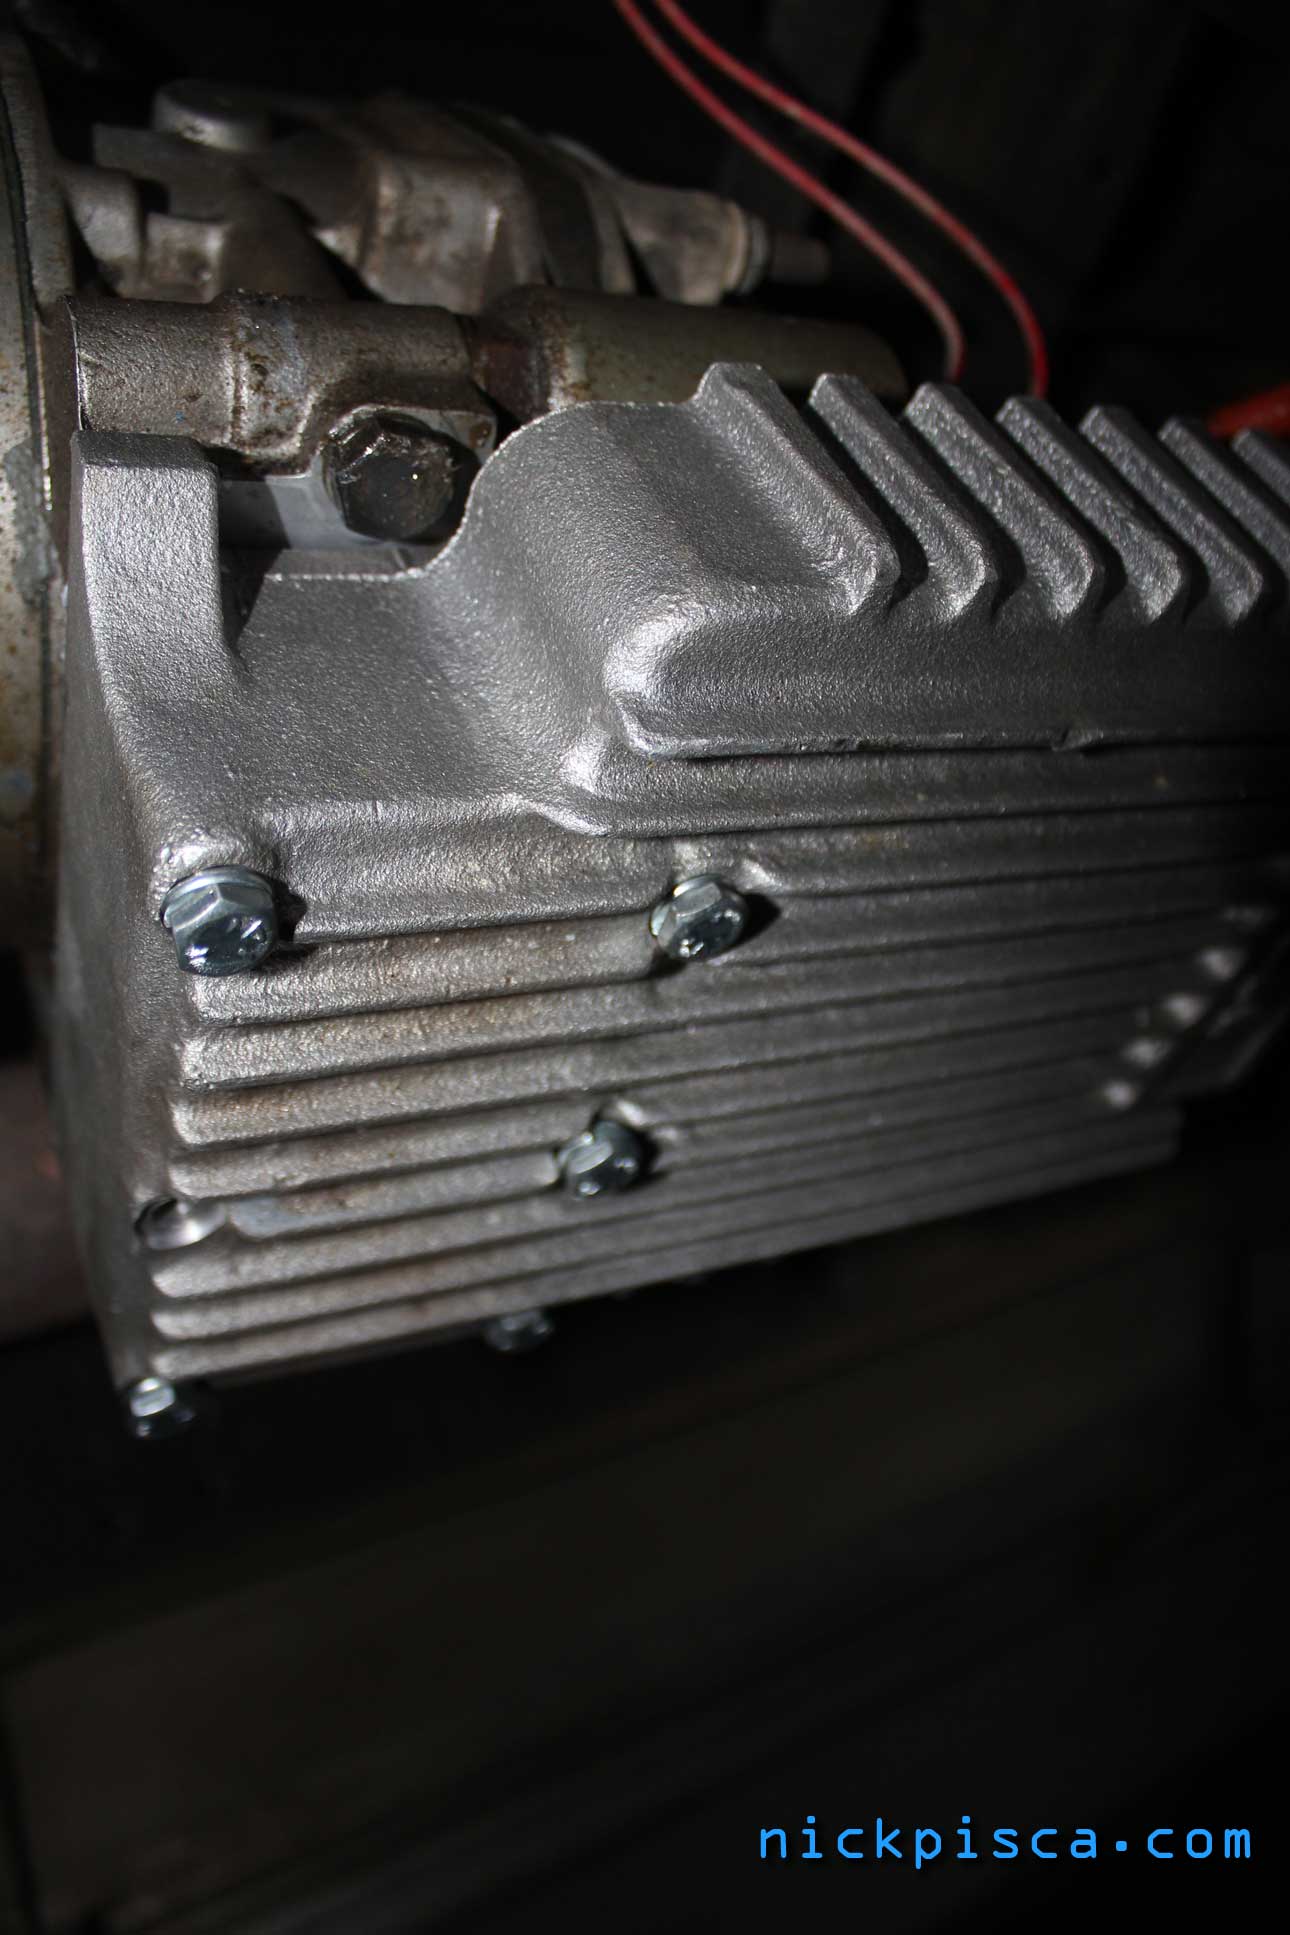
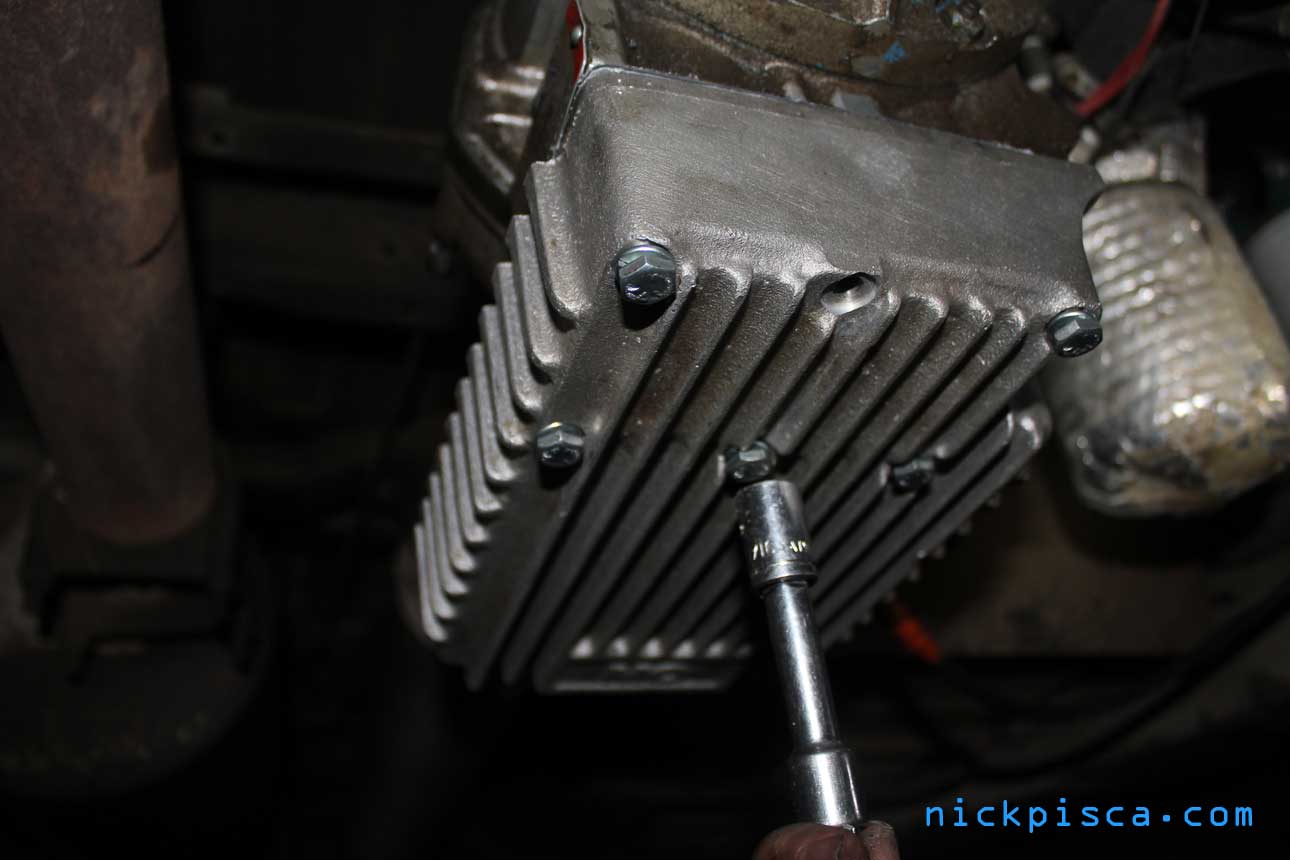
When tightening the sump bolts, follow the instructions on your gear oil permatex for how and when you fasten them down. This is where I ran into another design flaw with the MODS. As you worked your way down into the cooling fins, there wasn’t enough room to get a socket or wrench tighten the bolts down. Eventually I was able to get them fully tightened, but it took a LONG time. I recommend to you and I plan to do this the next time I take the MODS off, but use a grinder to remove some of the metal off near the bolt holes. It’ll save you a lot of grief.
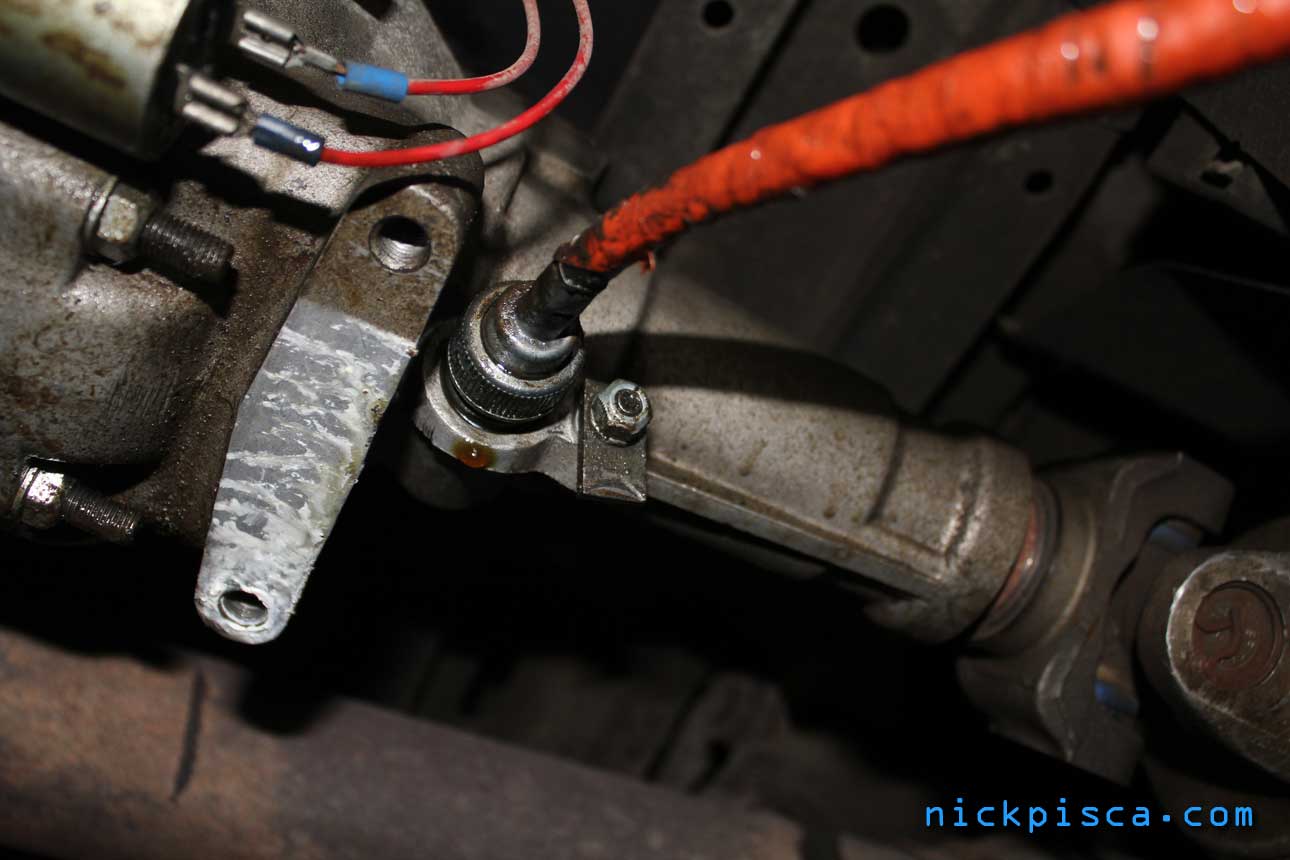
Before refilling your GVOD with new oil, you may want to do an inspection of your unit. My OD was running very hot due to duration and heavy loading, and I ended up having some seals go bad. I noticed a drip underneath my speedohousing seal which I came up with an alternative fix. If your GVOD is OK, then you might want to skip the next few images. They pertain to the removal, installation, and maintenance of a speedohousing. You can see the drip in the image below:
For the Type J, the speedohousing is identical to the TH350 bullet. In the past, I have purchased a new bullet, which comes with a new inner and outer seal. However, due to the heavy loading I have been driving, I have already wore out that outer seal. To pull the bullet, just use a channel locks or pliers to unscrew the cap, then loosen the neighboring bolt to relieve the anchoring pin. The bullet should slide directly out the side of the unit.
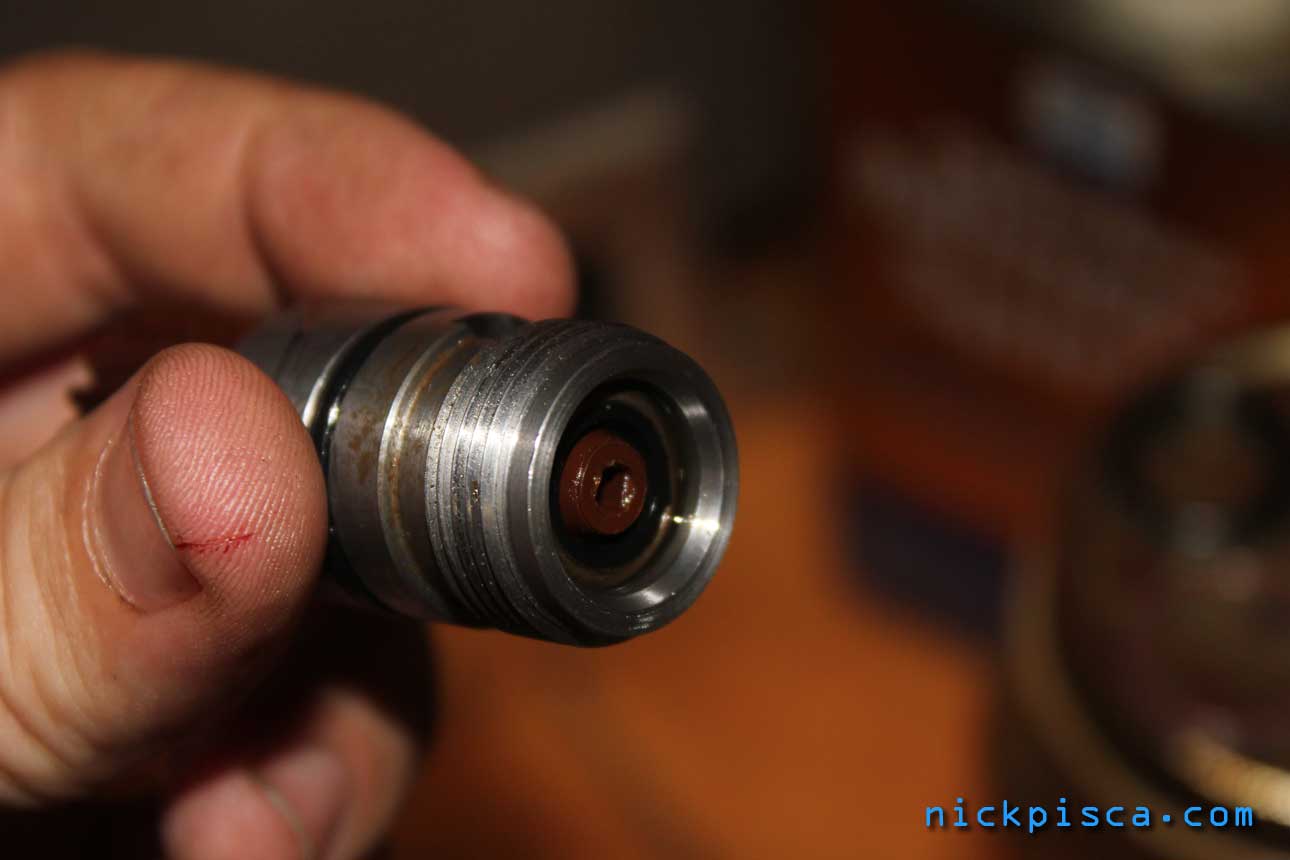
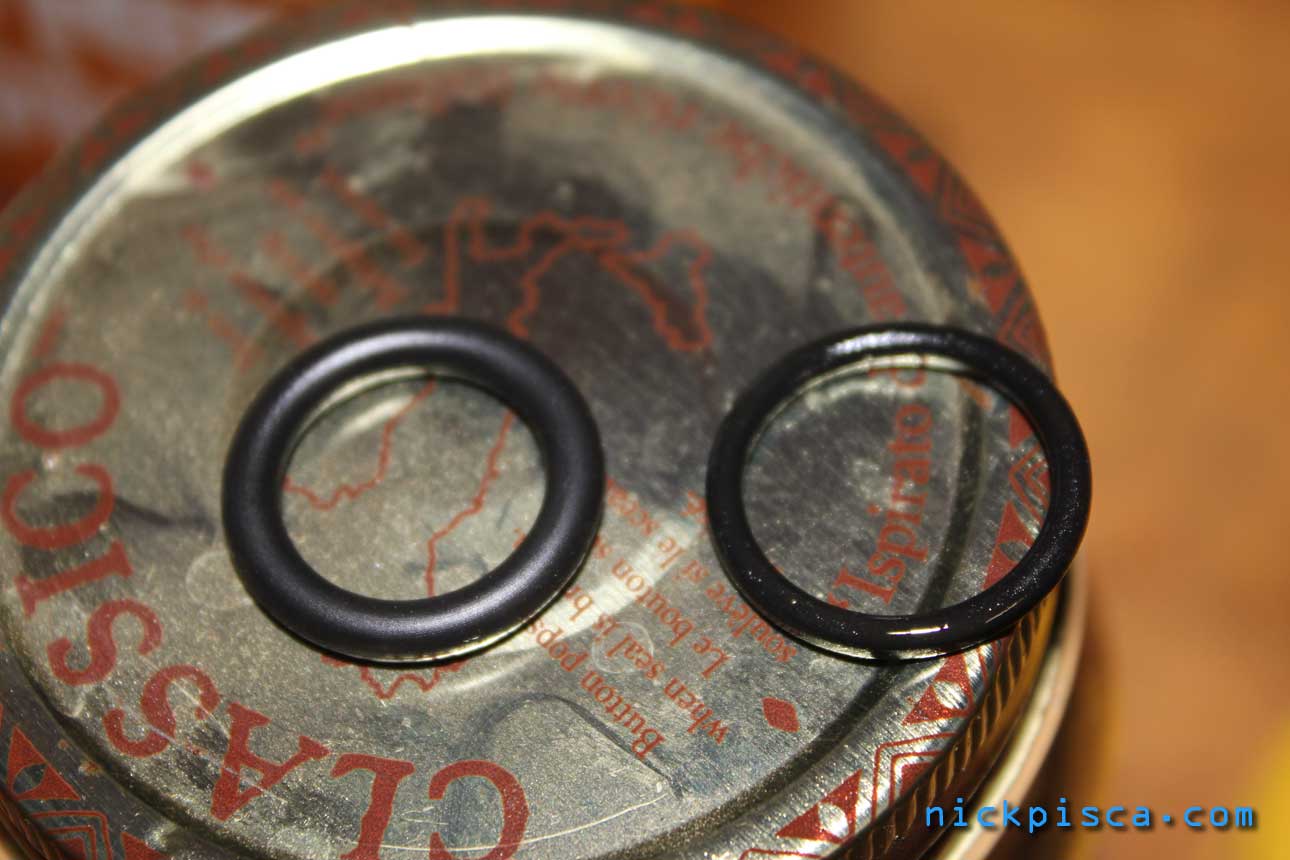
I researched the current outer o-ring, and found a slighter fatter 7/8″ diameter seal. The current o-ring is 7/8″ diameter at .105″ thick. I found this bag of seals at McMaster that is a few hundredths of a inch thicker.
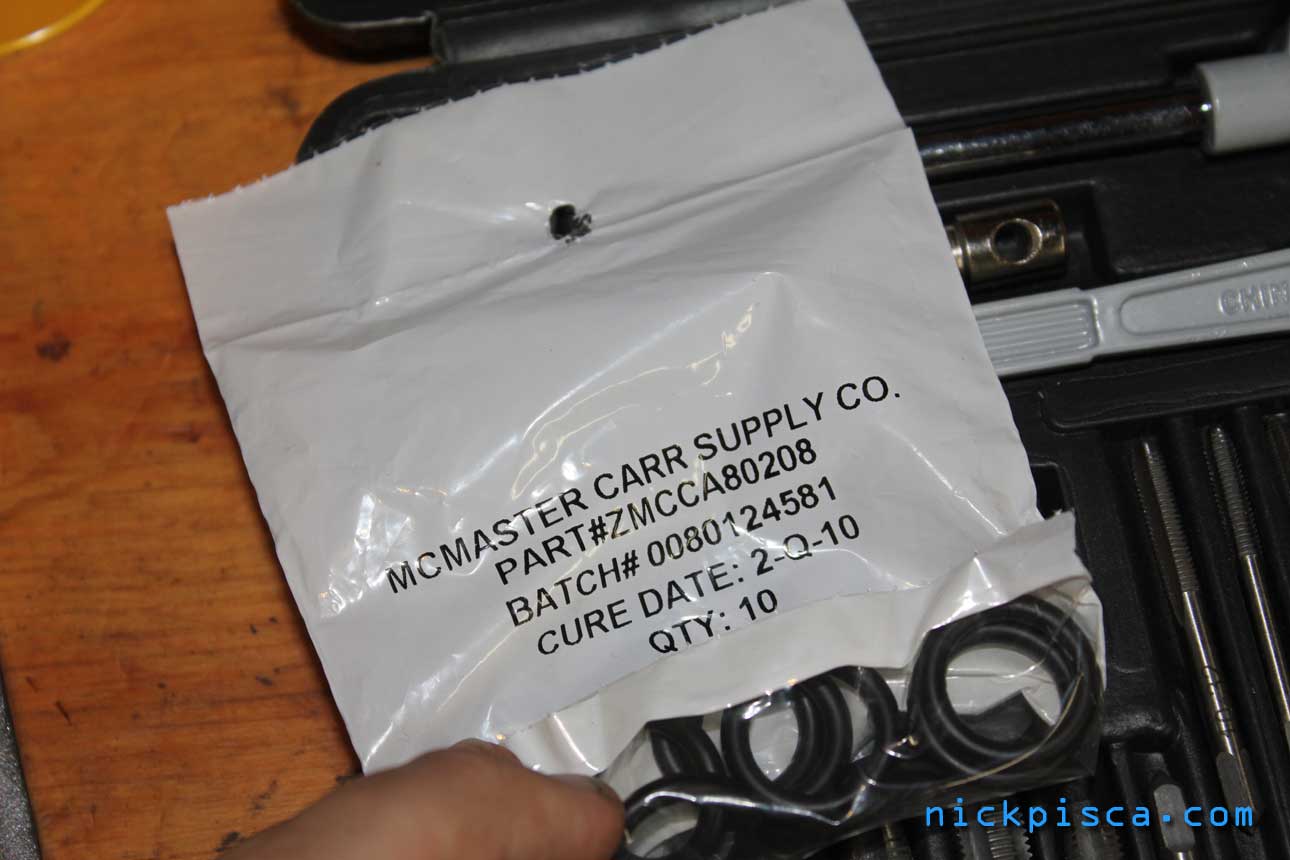
As you can see, the seal is more robust. I’m hoping this will be the last I have to deal with my speedohousing seal issues. 
Reinstall the speedohousing bullet by reversing the steps for removal.
Refilling the GVOD
Once you are comfortable with how your unit is sealed up, feel free to fill it up with gear oil. If you call Gearvendors, they INSIST the use of Lucas oil 75W90 synthetic. They never deviate. I’ve tried. One time I was stranded with a leaky OD, I called GV and told them there is no synthetic in this one-horse town. They said in a pinch you can use Lucas Oil 80W90 conventional. So, please post to this thread if you know of other gear oil brands that you have used and they have worked.
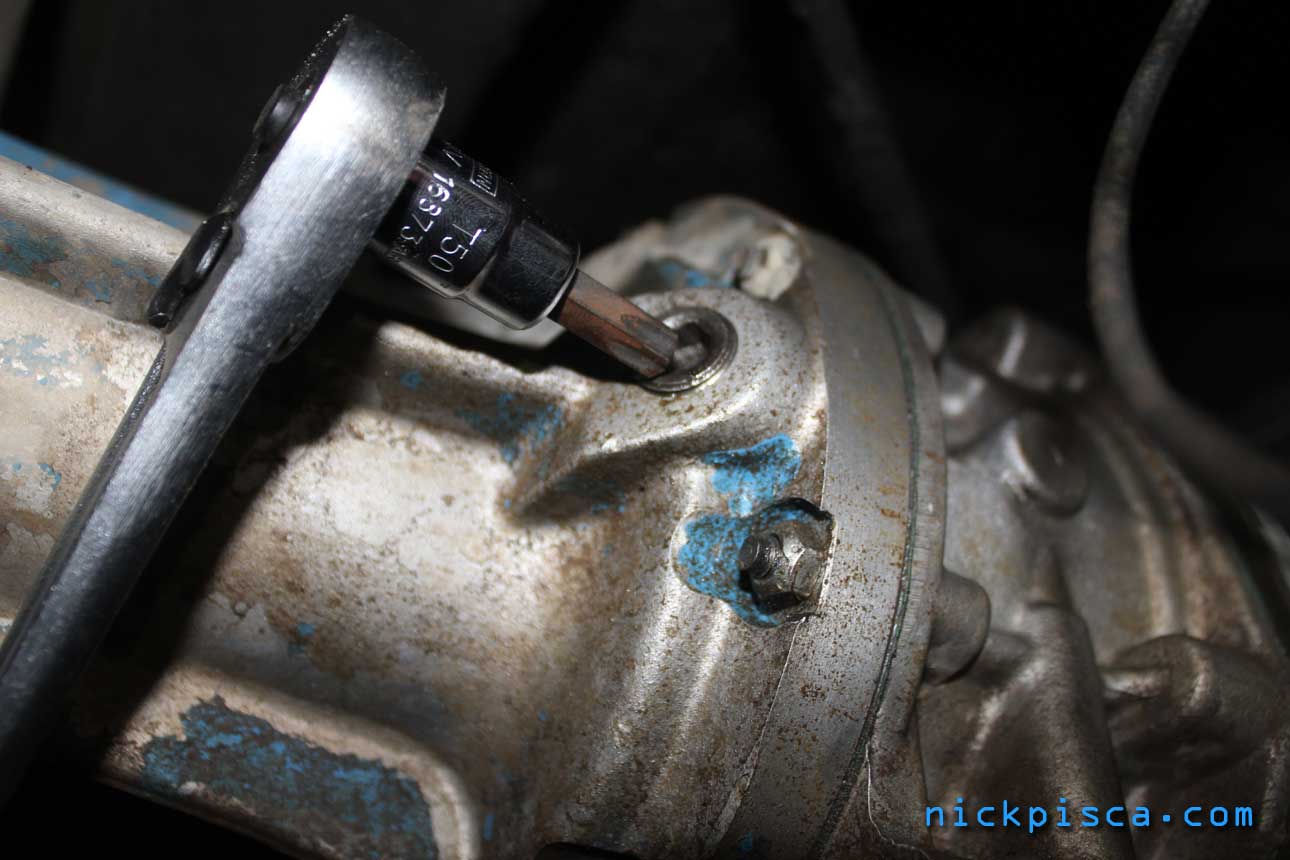
Using a torx socket, unscrew the fill plug at the driver’s side front of the unit. Prior to the Deep Sump installation, my Type J OD held 28oz of gear oil. With the MODS, it now holds 64oz. That’s a 2.25x increase in capacity. 
That’s about it. Once your seals and gaskets are ready for driving, take her out for a spin.
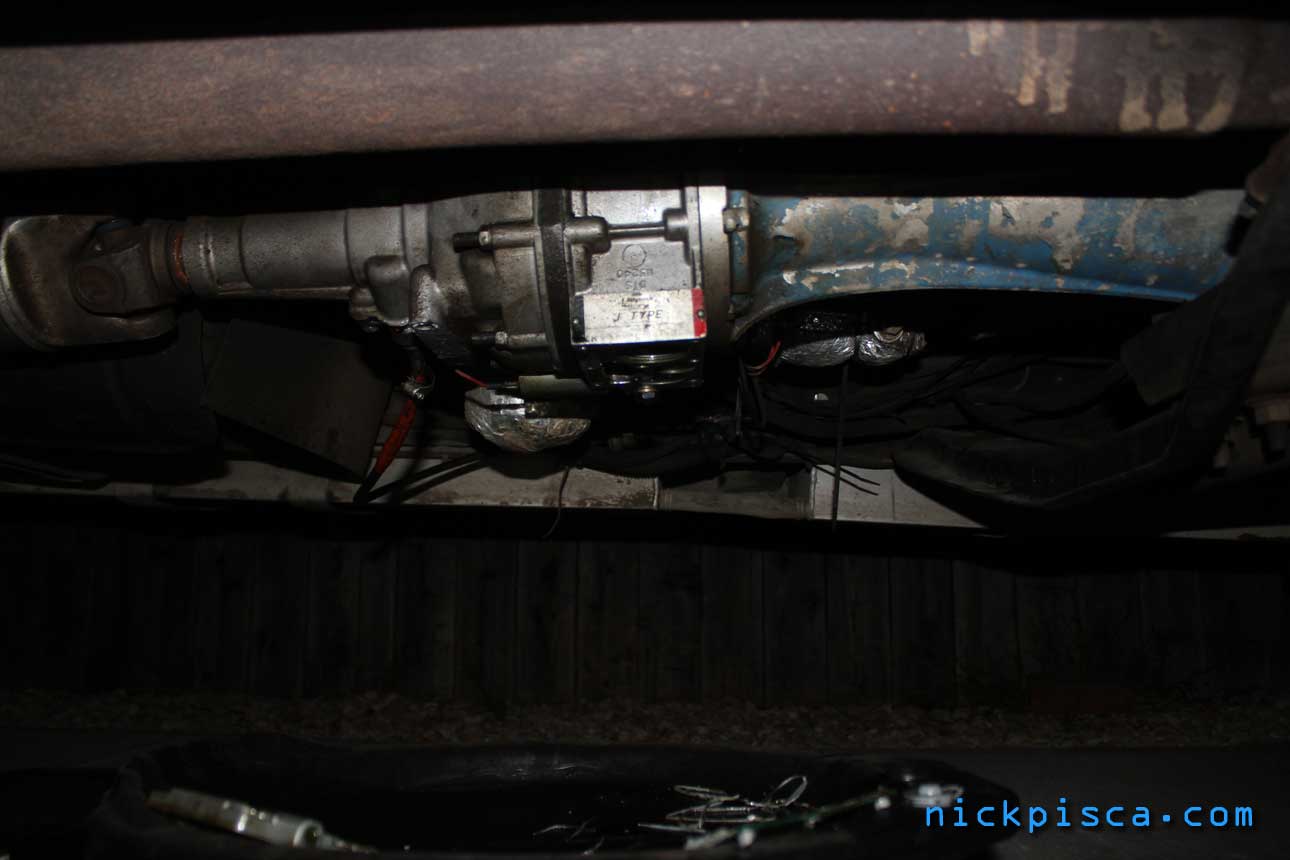
The new sump does sit low. As you can see in the next image, it sits about the same elevation as the tailshaft housing crossmember. My exhaust is the lowest object under my van, but the crossmember and the deep sump now are about tied for second place. Hopefully this doesn’t introduce any problems for the future. Perhaps it will lead to increased cooling due to its access to flowing air. Time will tell.

I have already installed a 18 gauge cord from the temp probe to my ON-OFF-ON switch connected to my temp gauge. I don’t have an image of it though. I took the van out for a spin and everything is running great.
Gratuitous pun….. Let this tutorial put your plans into overdrive.
