
Transcript:
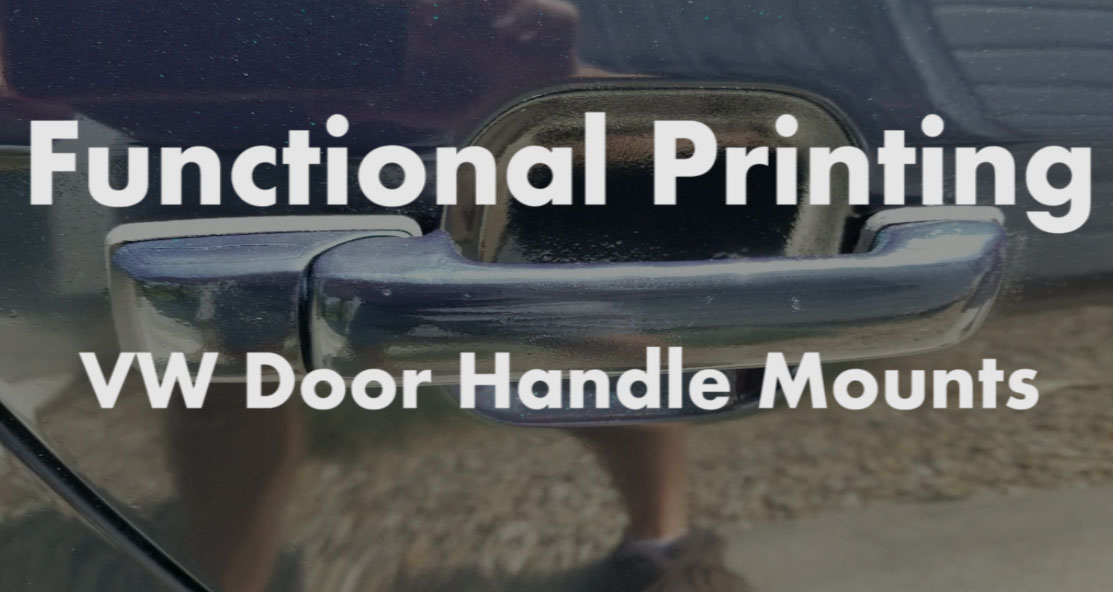
In my recent Jetta restoration project during the coronavirus lockdown, I found another opportunity to use my SLS printer. In today’s episode of Functional Printing: Volkswagon Door Handle Mounts.
If you are interested in getting a set of these heavy duty door handle mounts, click the link in the description below.
1993-1999 Volkswagon Cabriolet Golf Jetta Door Handle Mounts
I spent a few weeks fixing up my shabby Jetta. In the process, I found that my door handles were near rattling and loose. I thought I might need some new door handles, and aftermarket door handle sets are available at parts stores. But it seemed like a waste of money to buy all new handles, when after further examination, the real problem was the mounting hardware.
VW handles have plastic pieces that nest the handle in place. There are three main parts that secure the handle, and the first major component is a C-Clip that holds the mechanism at the proper elevation. The two other parts “seats” that allow the door handles to rest against the surface of the door seal. My “seats” were so deteriorated, that I didn’t even realize I was missing them. I found remnant crumbs of plastic that clung to backface of the door handles.
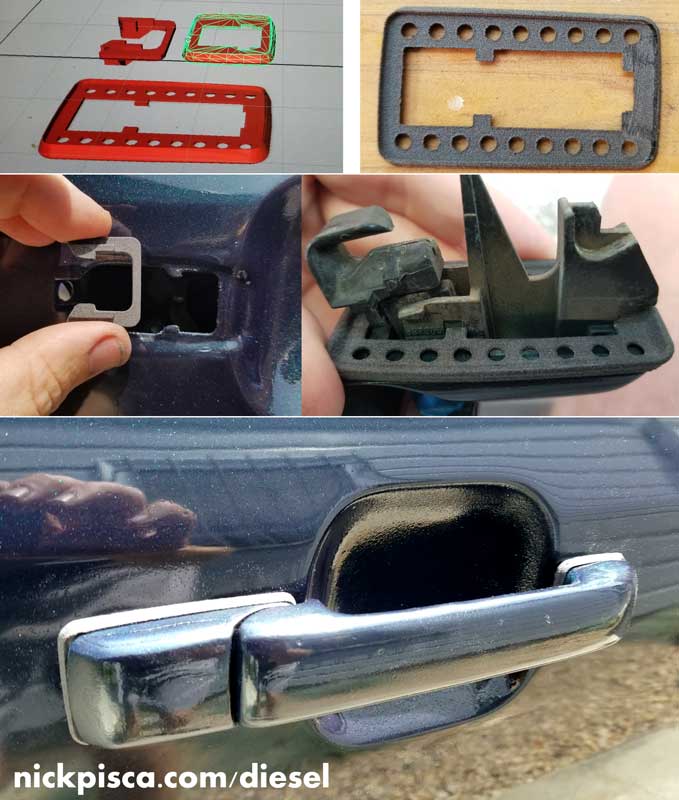
Using the remaining crumbs as a guide, I modeled up a potential version of the handle seats in CATIA. It was a bit of trial and error, because I could only use the crumbs to determine a best estimate for thicknesses and radii. I ended up getting a decent parametric model of what I hoped would be a good supporting seat for the front and rear of each of the four door handles.
Remember, each door handle has a front seat and a rear seat. The rear seat is fixed, sandwiched between the mating surface and the door skin, but the front seat needs to snap in to ensure the movement of the doorhandle doesn’t allow the strip to slide. I even modified the interior design surface to utilize some of the cavities in the door handle so it perfectly snapped at the correct centering. I’m not sure if the original VW seats had this feature, but I’m going to take advantage of this.
Since two of my c-clips were also deteriorated beyond the point of reuse, I modeled up a version of that c-clip as well so that I could have backup copies of that part. It was a good idea to make all four of them, because when I reinstalled the old c-clips, I found that they just crumbled like the broken ones. So my restoration project used all four of the new c-clips that I made.
I ran a few test prints to verify my dimensions were within specs. The job didn’t take too long due to the flatness of the prints, but the c-clips did add to the project thickness. Thanks to the precision of the printing laser on this job, and also considering that I fine-tuned the laser settings on this, I was able to accomplish some very precise plastic thicknesses, like a 13 thousandths surface thickness and a 46 thousandths wall thickness for the c-clips, and it still retained its structural integrity. I was unsure this would actually work until I printed it, and I’m pleasantly surprised at how well it turned out.
Unlike a lot of my more complex jobs, clean up on this project was pretty simple. It’s kind of nice not having to poke around with a dental pick for once. These prints are not completely flat. There are slight fillets and chamfers that allow the door handle to rest in a way that can conform to the door skin. The only wildcard was the c-clips. Even though I knew the structural integrity of the PA12 would be fine, I had some really fine thickneses on parts of the c-clip, so I wanted to be careful. Thankfully, there weren’t any problems, and I was able to clear out the remaining powder in the remaining cavities without damaging the overall object.
I finished up my cleanup process by sealing the objects in a resin, just as an added layer of protection against the elements. The edges of these parts will be exposed to sunlight, but even without the protection, I’m sure it would be fine. I have other functional prints that sit in the sun all day without any deterioration, so this door handle mount should be fine.
Now that the parts are cleaned up and ready to go, it’s time to install them on the renovated Jetta. If you are interested in seeing the whole restoration video, check out the video section of my channel.
The c-clip turned out really precise. It snapped in perfectly. I don’t think people really understand just how impressive this little print is. The retaining cavities on this print are 46 thousandths and 13 thousandths of an inch thick, and it’s still strong enough to hold in place. That just a testament to this laser setup.
Now that the c-clips are completely replaced on all four doors, it’s time to move on to the door handle seats. Since I was restoring the whole car, I figured why not sand, paint, and clearcoat the door handles too. It gives it a bit more of a contemporary look for the 1998 Jetta, considering that most new cars nowadays have painted door handles too. This covered up the wear and tear from the handles nicely, and the dark-grey of my new door handle seats has a nice compatibilty to the handle and skin color.
My new design of the seats perfectly snapped into the cavities of the existing door handle perfectly. This is extra nice because I didn’t want to be fiddling with the seats as I mounted them. The snaps keep it exactly centered in elevation and centered front-to-back. Also the front seats have a similar retainer slot that uses the existing door handle nibs to ensure that part also resides in the center-most orientation.
I attached all the seats to each door handle. All of the handles are the same, except for the front drivers side, which has the key hardware. My design is compatible with non-key and key handles.
Now it’s time to install the newly painted and mounted door handles. Let’s see how this works out.
The door handle installs by placing the frontmost support into the door skin, and rotating the rear into its slot. Making sure the handle is slid as far to the front as possible, I pushed the handle against the door skin. Then I pulled the handle toward the back of the car. Simple. A torx screw is used in the door jamb to keep the handle in place.
It turned out really nice. I was thinking of painting the plastic door mounts with a black paint, but I like the dark grey color of the plastic more. I goes well with the dark green paint.
It was a great project, and if you are interested in buying a set of these door handle mounts and clips for a late 90’s VW, click the link in the description below.
1993-1999 Volkswagon Cabriolet Golf Jetta Door Handle Mounts


Recent Comments