Holy cow. Well, the whole axle needs a lot of TLC, but it’s not impossible.
As I wrote about in the Quadravan Tear Down article, there was a major clean up. Let’s focus on one part: The Knuckle.
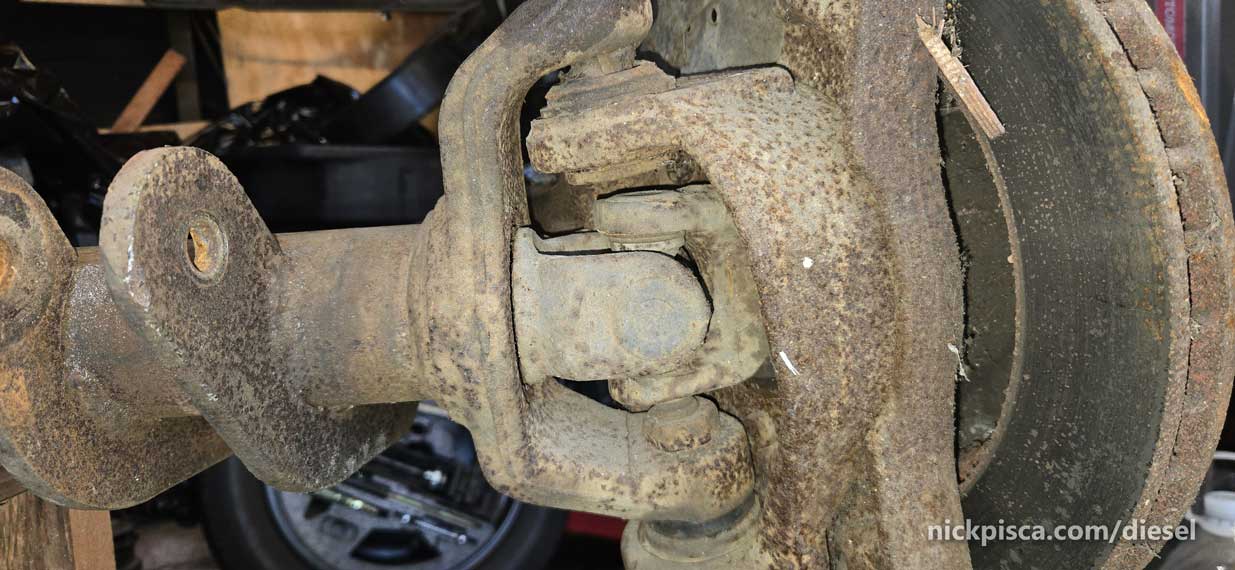
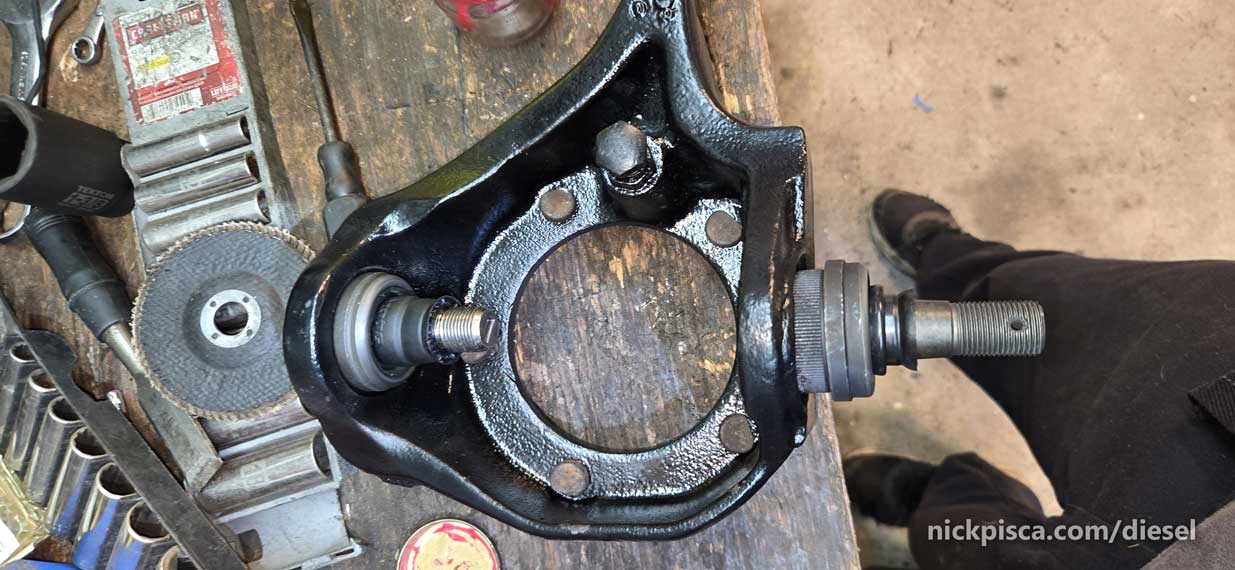
It’s hard to tell under all the rust, but there are separte parts to that knuckle assembly.
The assembly consists of the axle, axle shaft, u-joint, connected to the knuckle by two upper and lower ball joints. The knuckle supports the spindle and brake caliper holder. There is also a rotor shield wedged in the setup.
Check out the Tear Down Article to see how we took the Warn Lockout hubs out, rotor, and brake calipers. It’s not that complicated, but it saves a bunch of steps if we assume we’re down to the spindle race.
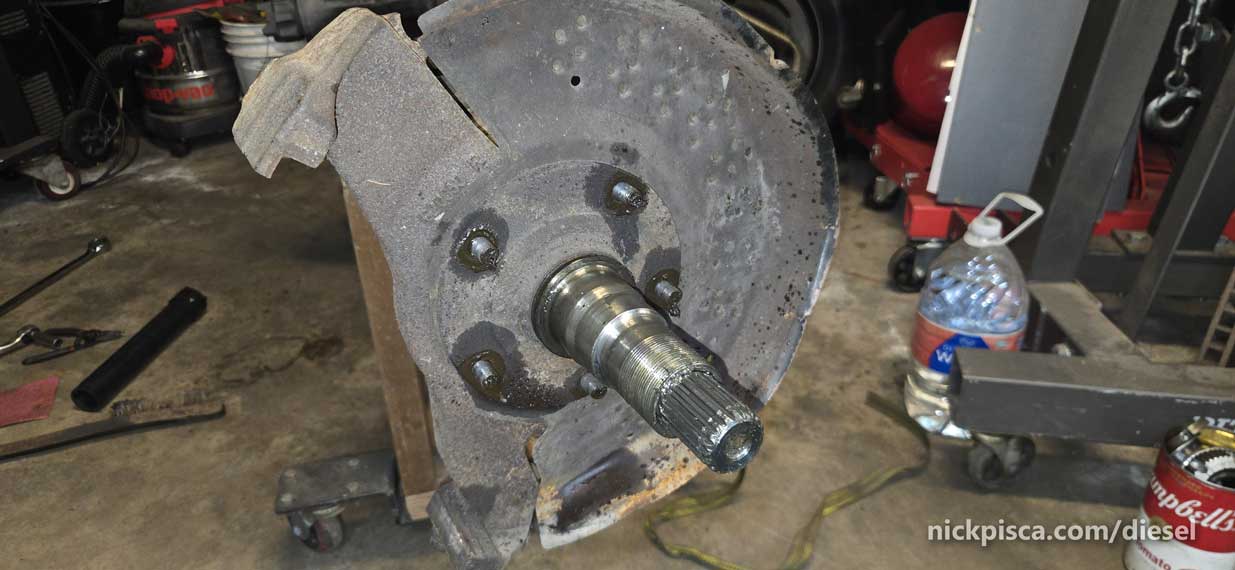
The spindle race has to come out. If you take the nuts off, that doesn’t mean anything. The spindle is rusted into the knuckle like a mating wolf. The only way I figured out how to get that spindle off was by tapping it with a ground-off tip masonry chisel. Check out my video below:
The spindle separates, like this:

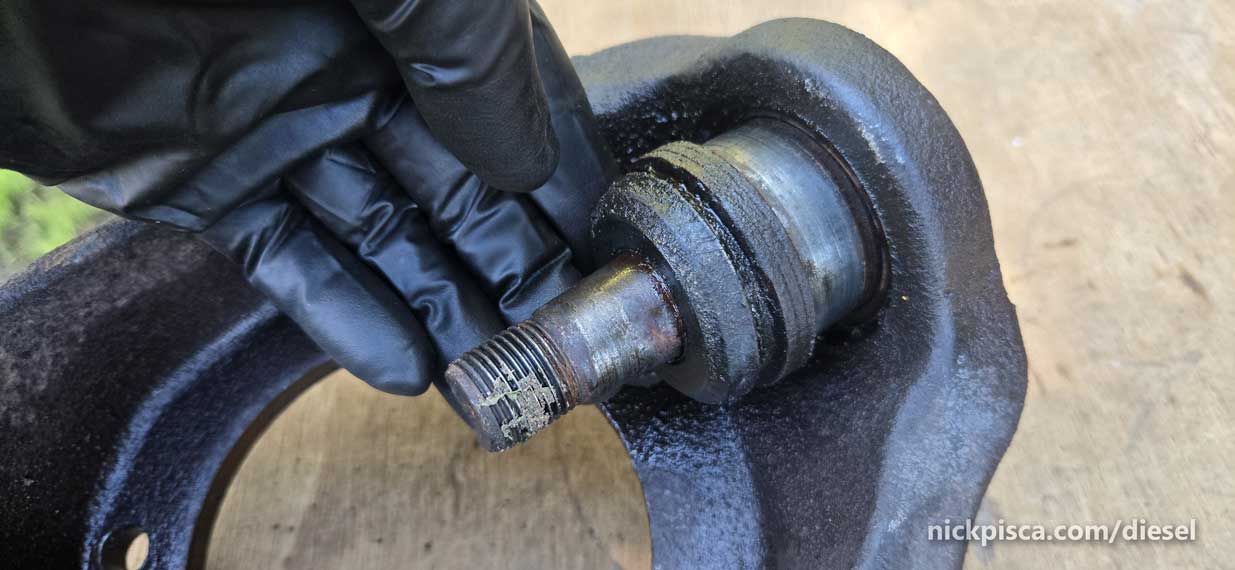
With spindle off, now you can wrench off the ball joint nuts and retainers. That’ll let you pull the knuckle off the axle.

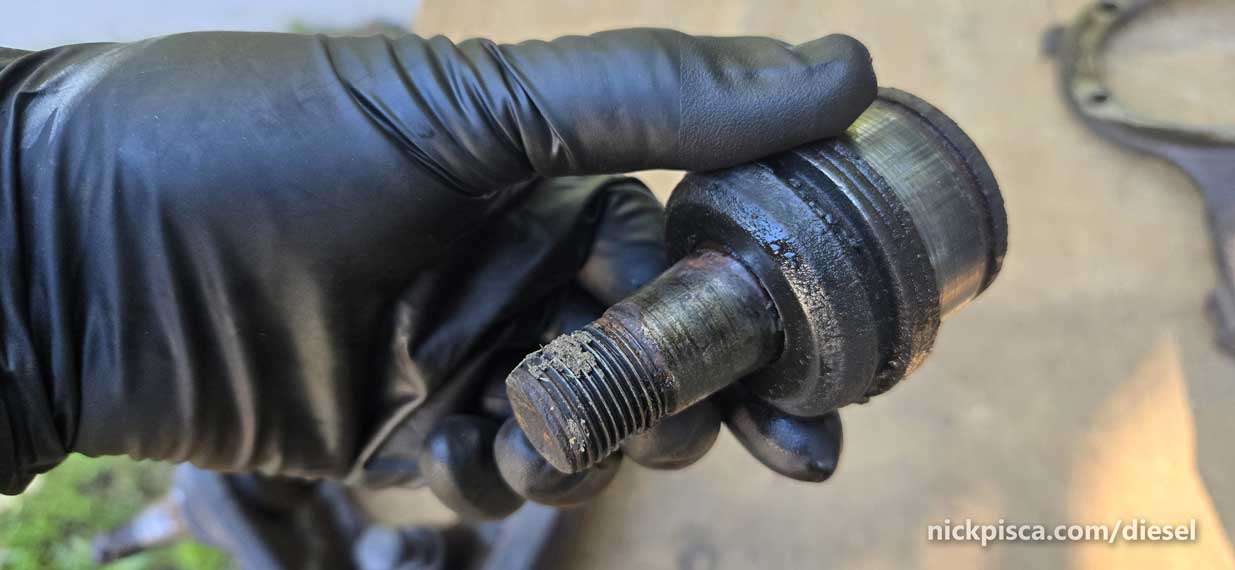
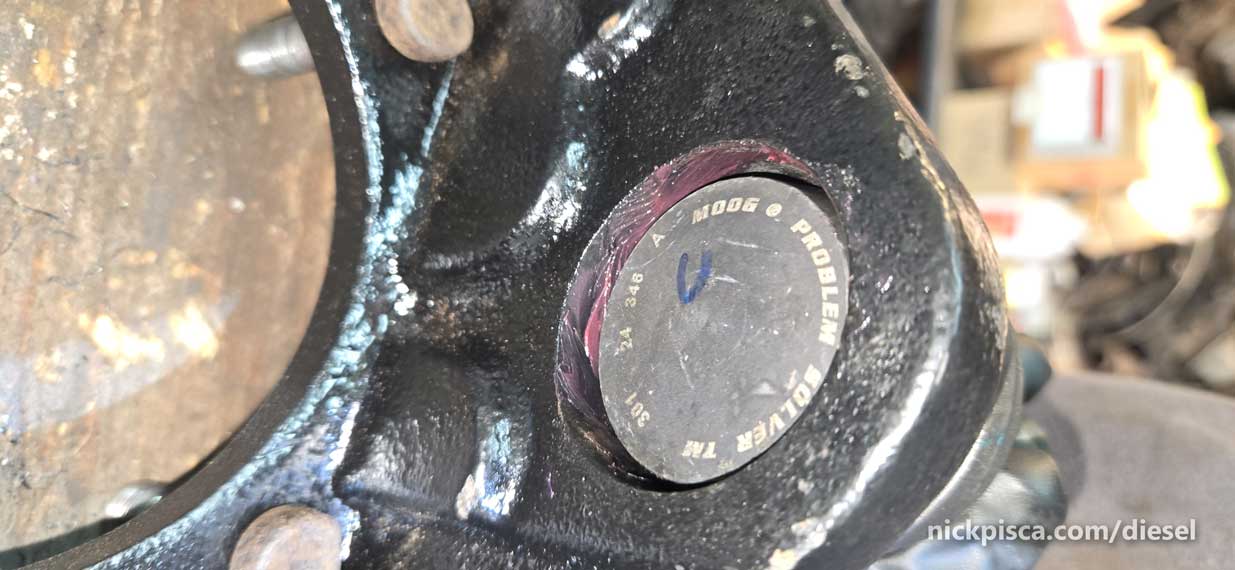
Using a hammer, I popped out the ball joints. They were completely shot, and there are fancy king-pin style replacements for this, but I’m going with standard ball joints.
The brake caliper holder, and the rotor shield come off easy. They don’t mate with the knuckle as tight as the spindle.
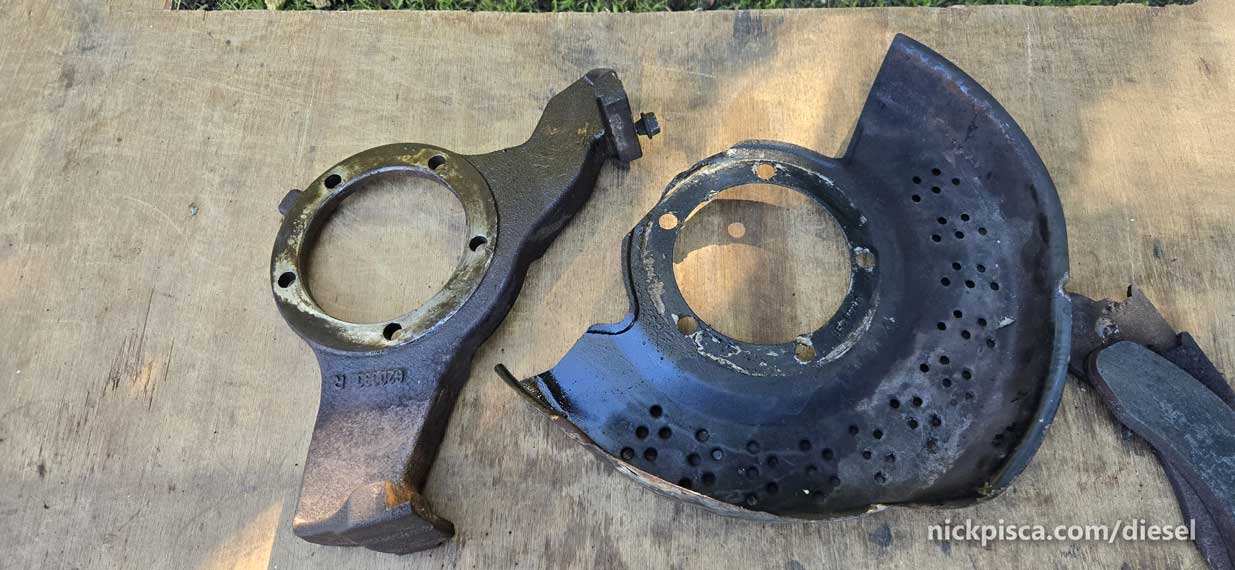
My rotor shield is made of sheet metal and is really damaged. It looked like they would need to be completely replaced, but after googling around, the replacements aren’t prevalent.
I’ll try to clean that up and maybe do some metal work. Using my anvil, vice, and ball-peen hammer, I got it pretty darn nice.
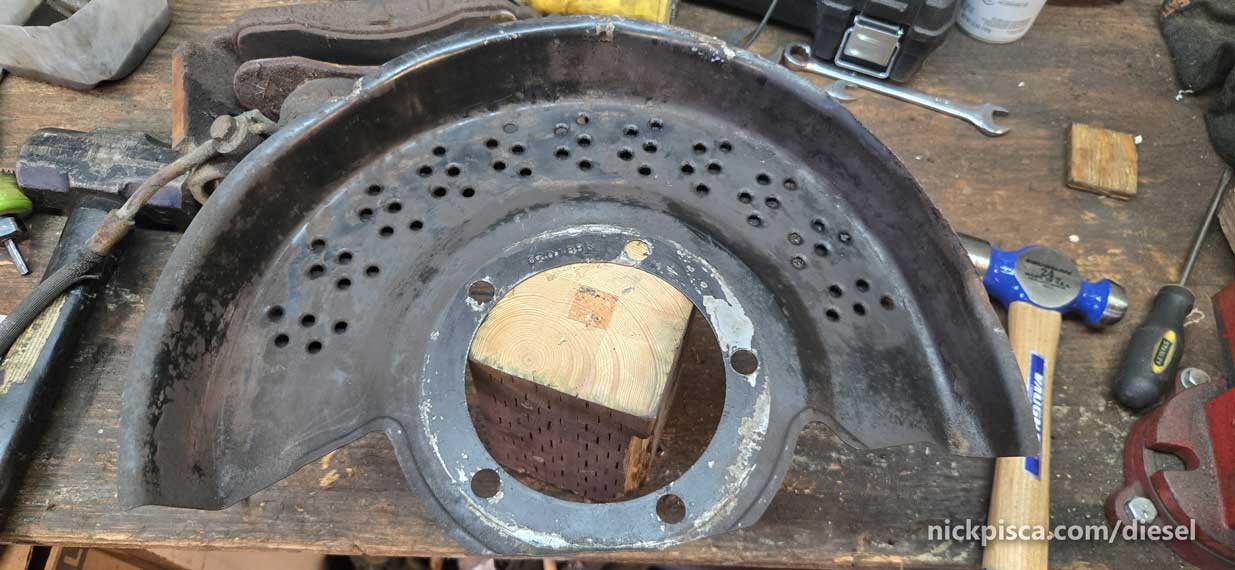
Need some sanding, rust removal, and some filing. Some new primer and a coat of high temp paint:
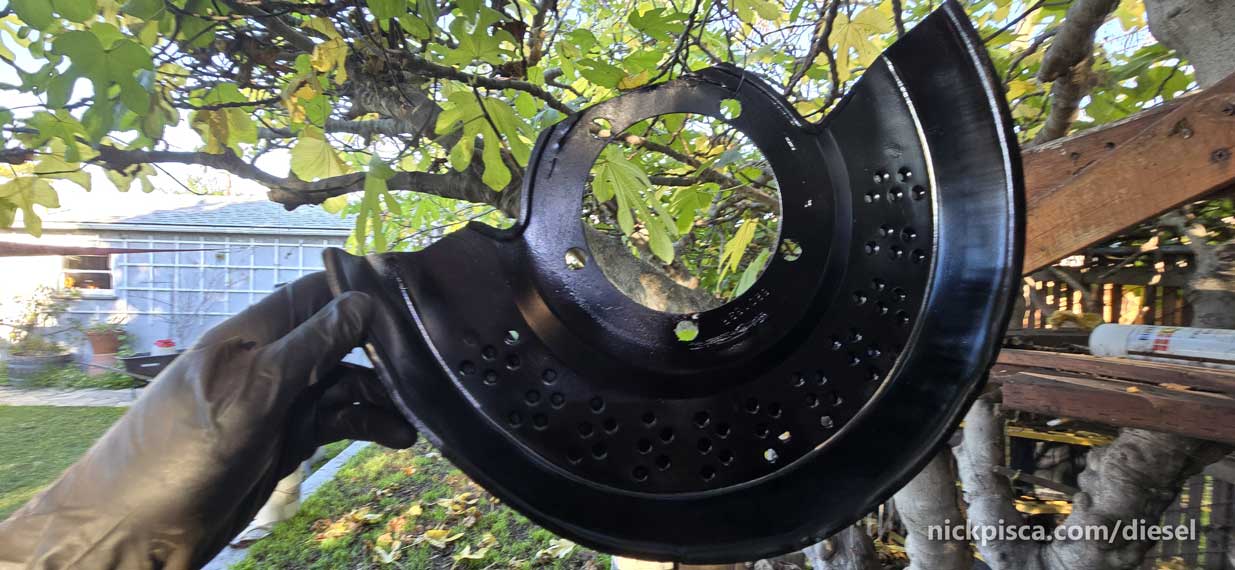
Good as new.
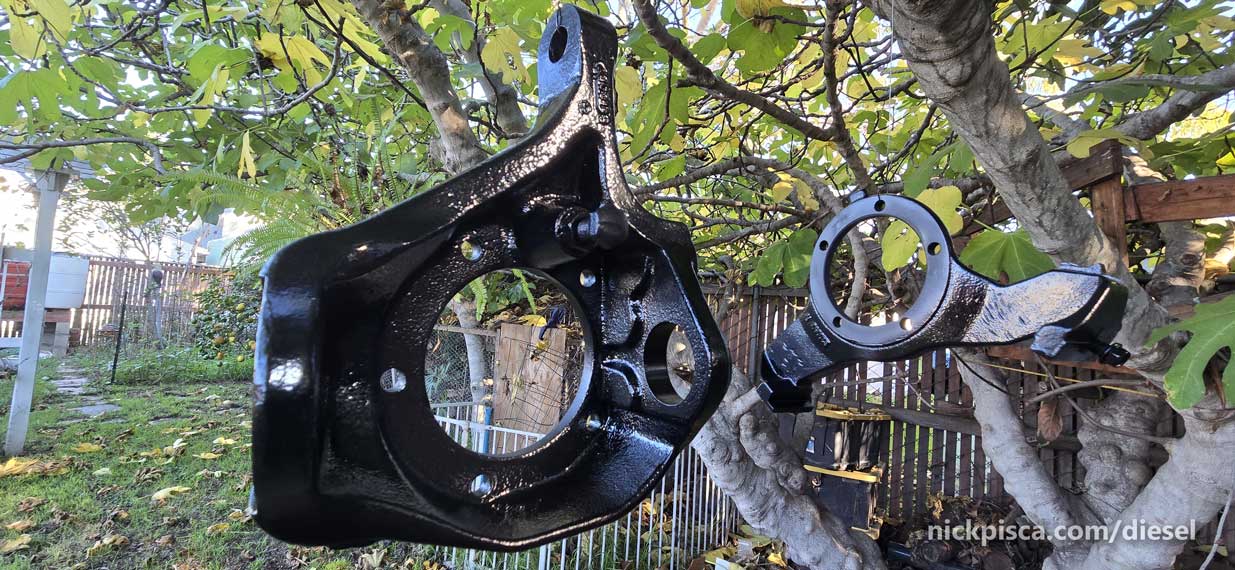
While, I’m cleaning up the parts, might as well add some primer and paint to the knuckle and brake caliper holder.
These old ball joints are going in the trash.
You can rent ball joint tools at AutoZoo and the other parts stores, but I have a 20-ton press that makes short work of installing new ball joints.
If you are looking for my ball joint part numbers, go to the Main Quadravan article and check the top of the parts list.
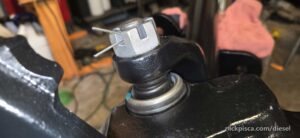
ON THE UPPER BALL JOINT, you need to rotate the ball joint in a way so that the grease fitting will point to an accessible orientation. I marked my threads with a marker so I knew to point it away from the axle.
There isn’t an photo of me pressing the ball joints They are really simple to install. Any youtube video will show the pressing process.

Slide the knuckle on the axle, cap the ball joints with the nuts, and torque the nuts down to spec. I can’t torque them right now. Without any weight on the axle, the ball joint just spins.
I have to wait until I install the axle on the van before I can weight it down for specs.
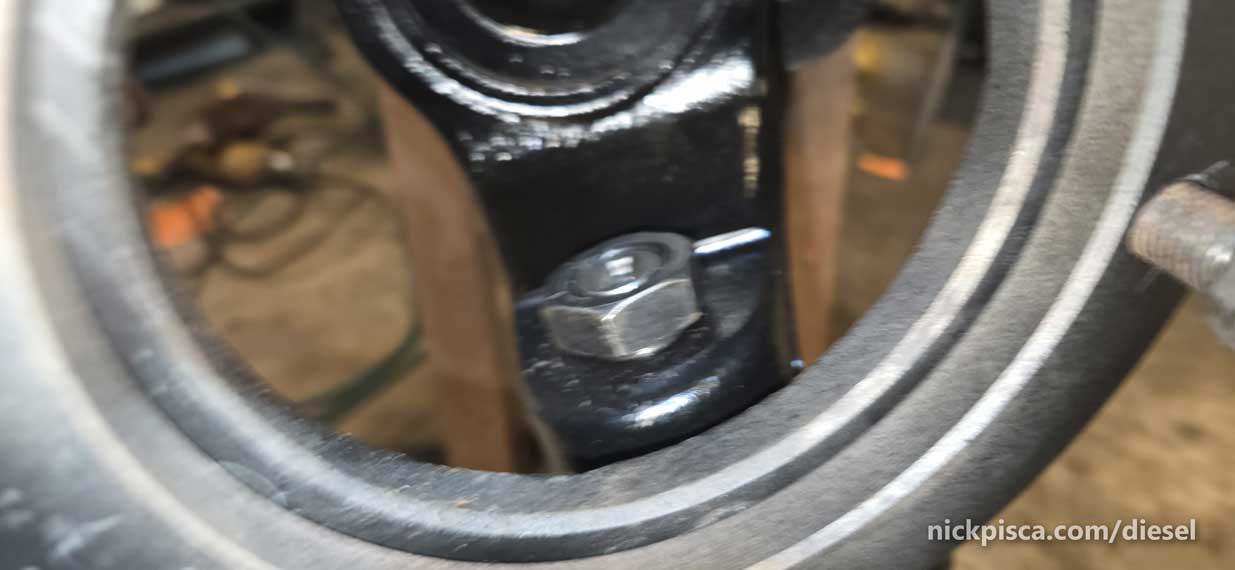
The upper nut is way bigger. The lower nut is smaller.
That’s about it. I can’t put the spindle on until I get the axle shafts installed, but I have to do the differential gear swap, pinion swap, carrier swap, and replace the inner seals for the shafts.
ONWARD.
