Every part on this axle assembly needs some TLC, but the radius arms were a whole new project. When I broke down the axle and suspension, I started noticing some issue, but now that I’m doing the full restoration, it’s getting bad.
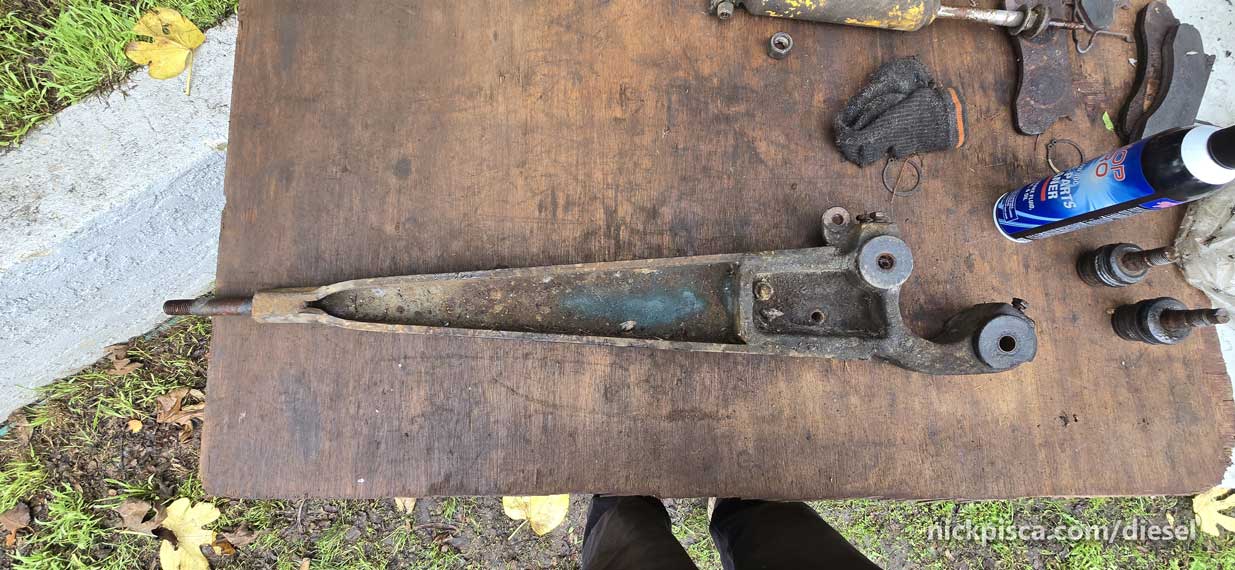
At first glance, everything looked old and rusty, but useable.

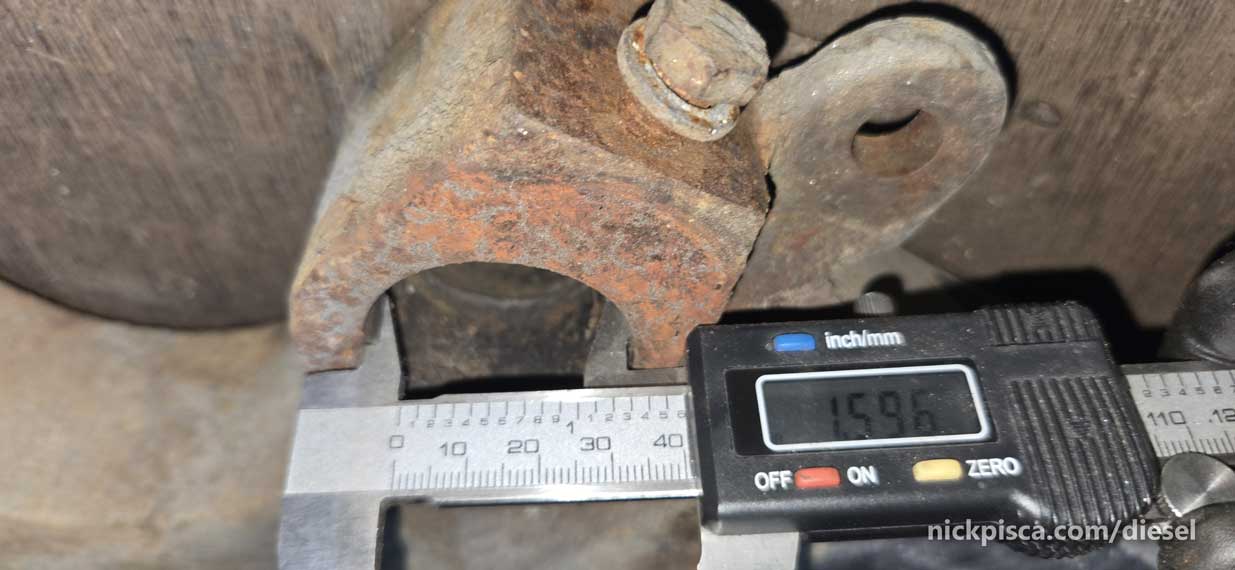
Flipped over and some wear and tear. The bushings need some replacements. I hope they are still available.
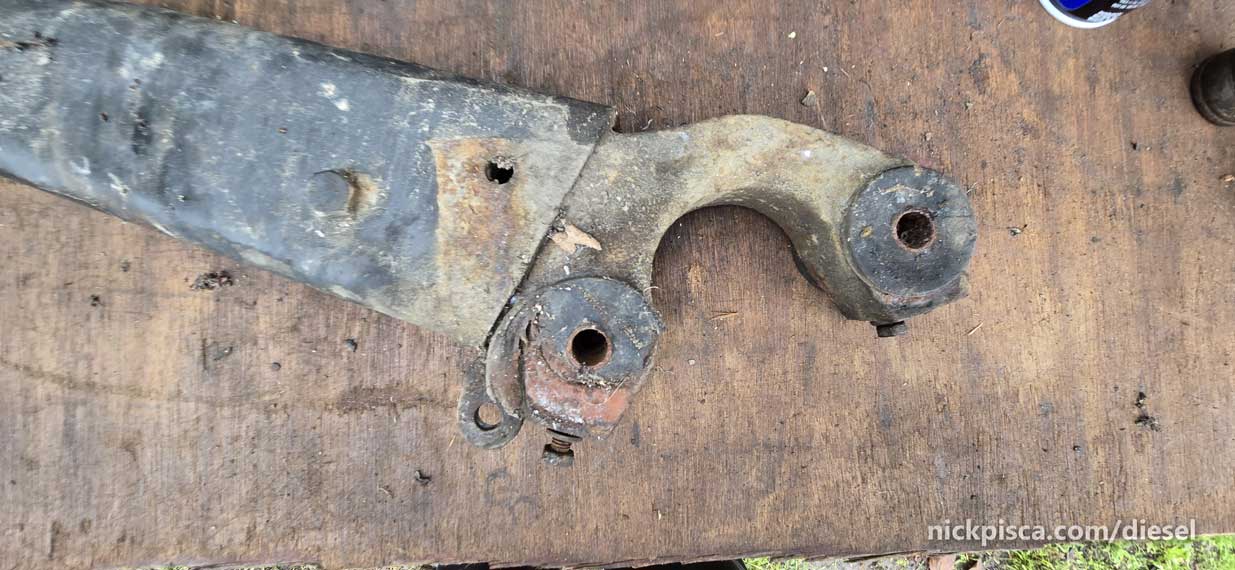
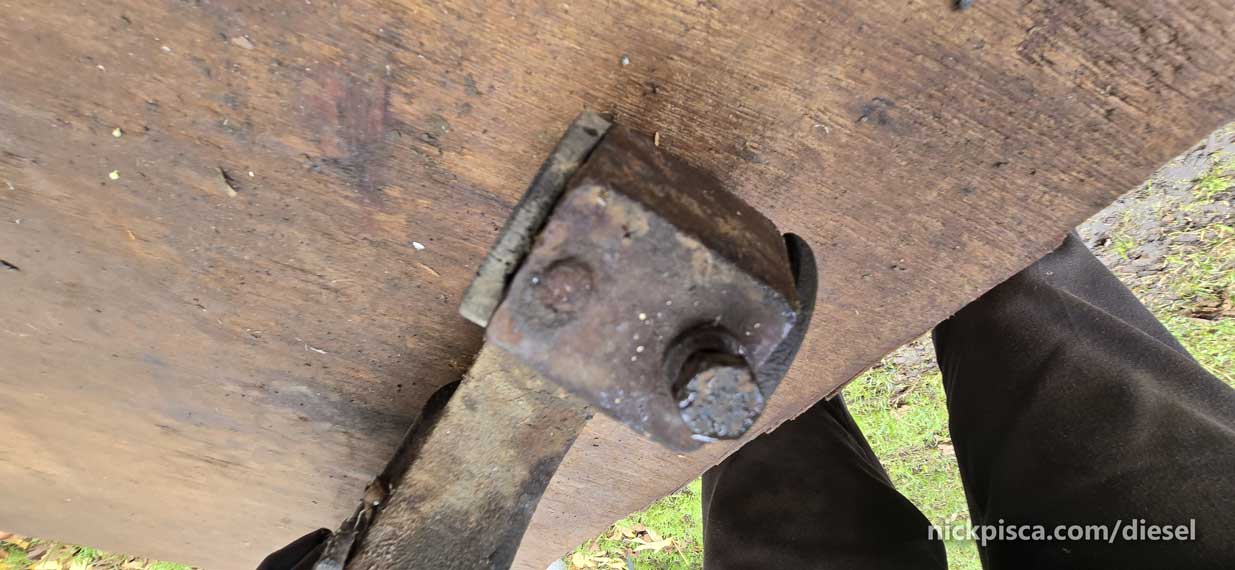
Uh oh, this bolt is busted off. That will need to be extracted, maybe with a welded nut or something.
The bushings appear to be from “Lord Kinematics, Erie PA. U.S.A. CB 1106-1”
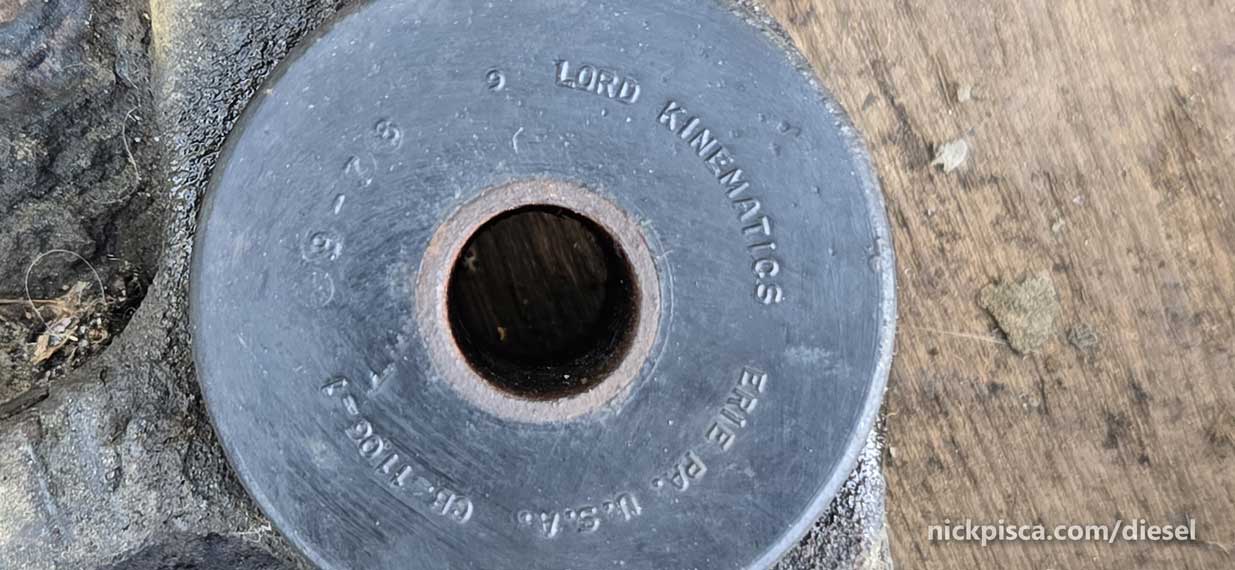
A quick google search didn’t find much from Lord Kinematics anymore. Likely out of business since the 90’s. I did find some distributors that could find a replacement bushing, but they wanted $35 PER BUSHING. And they aren’t even a direct fit. That’s 1/4 my budget for the whole axle restoration, just for radius arm bushings.
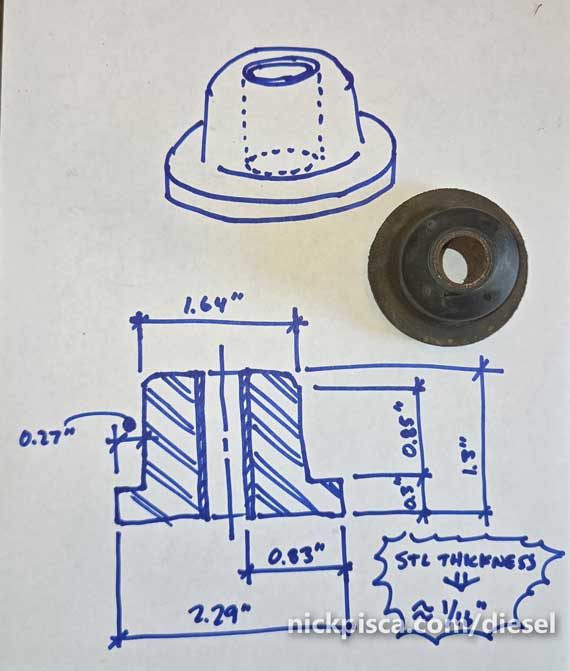
I’m cheap. But also, I have a lot of tools and resources. How hard could it be to get or make a rubber (or rubber-simulator) to be a shock absorber for the radius arm? I drew up a simple dimensional sketch to see what I could do.
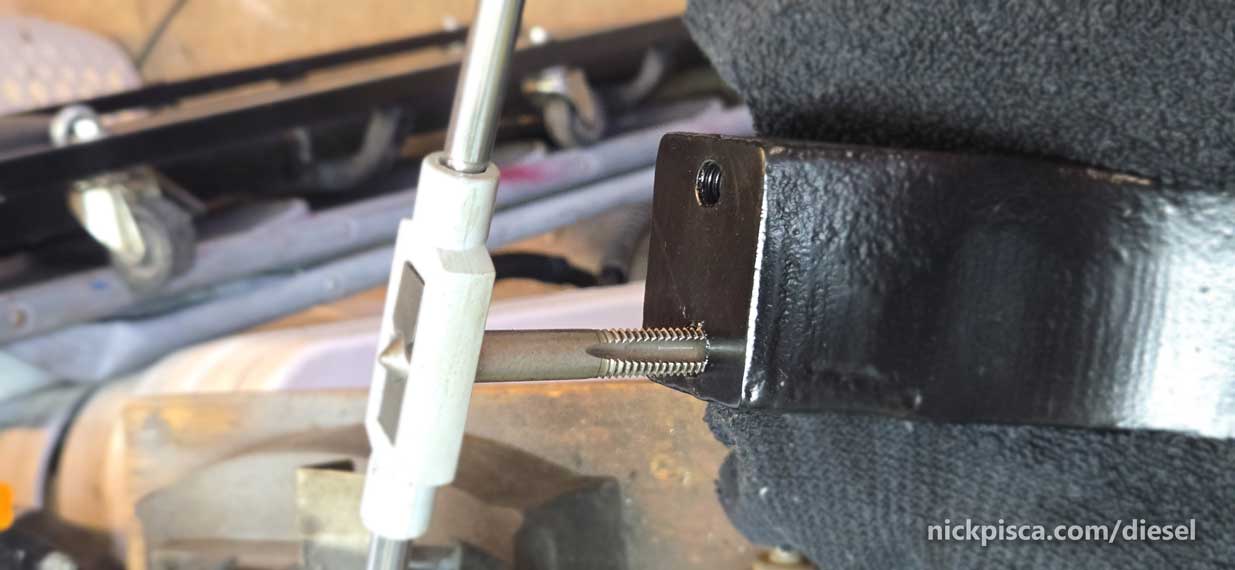
First things first. Let’s get that busted bolt out before working on bushings. My buddy Shawn tried to weld a nut on that bolt about four times, and we never could get it
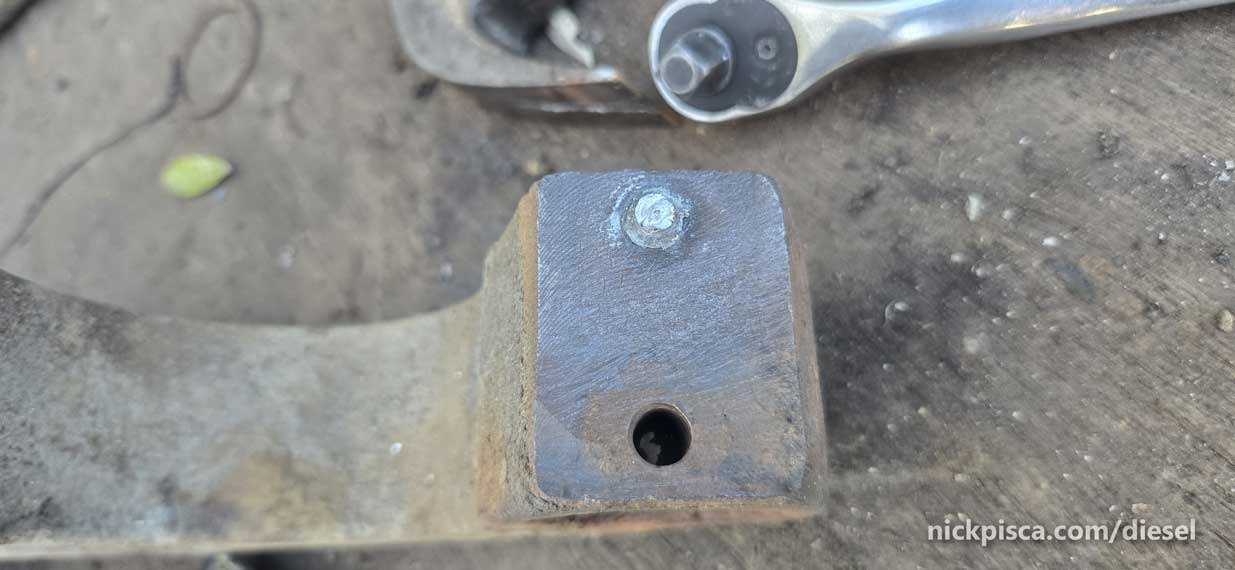
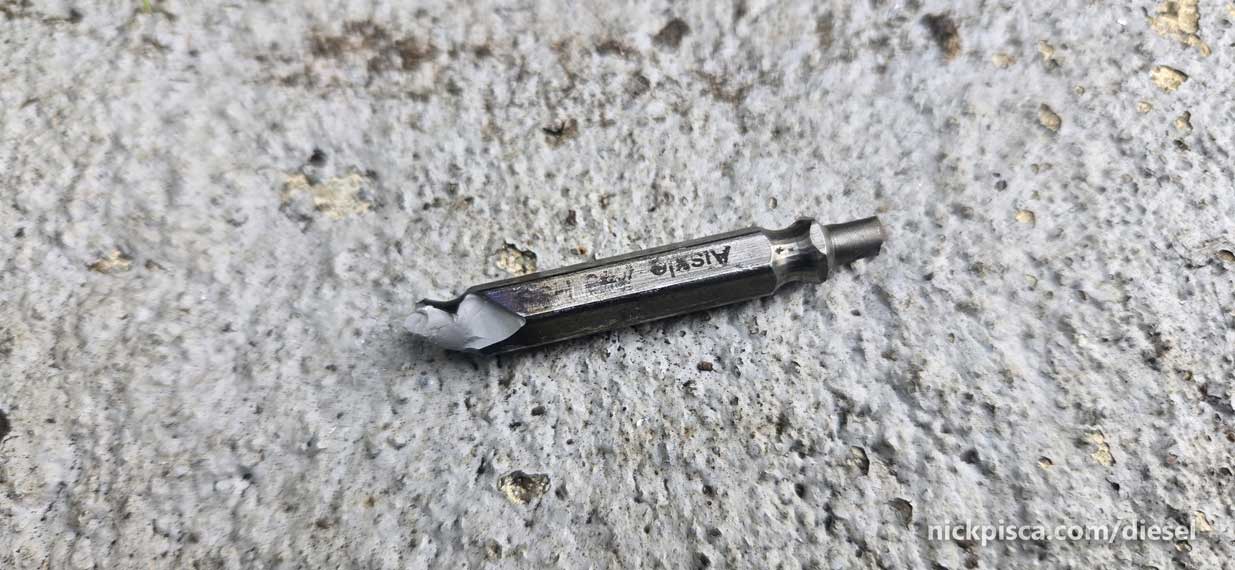
I didn’t want to waste his time with more welded nuts, so I took it back to my shop and use an Easy-Out to extract it.

Looked like I was getting good traction, but SNAP.
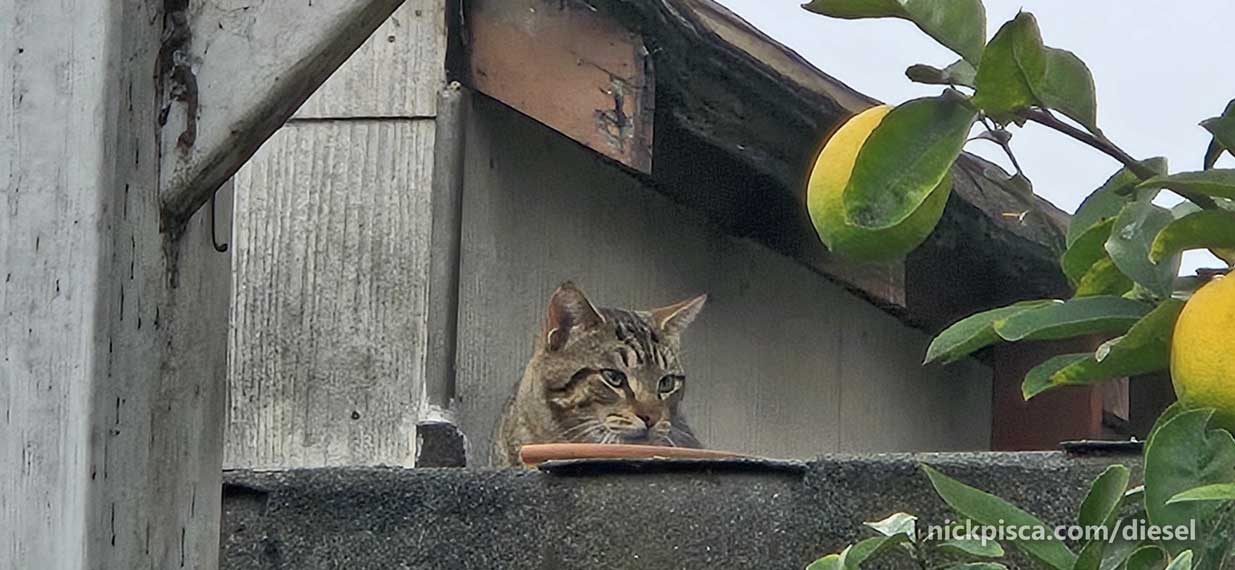
Well that sucked. The neighbor cat sat atop their shed watching me curse up a storm.
Now, I’m left with using the tap and die set to cut a bigger threaded hole. (I wire-wheeled, primed, and painted the radius arm before attempting the new threads)
New threads are metric. I don’t like that, but it’s the closest to the original size, so that I don’t get too close to edge. M10-1.5 x 40mm Hex Head Bolts, Carbon Steel Grade 8.8
Why the hell didn’t I take a picture of the restoration of the radius arm? IDK. It was a lot of sanding, wire brushing, paint stripping, and de-rusting…. Plus some priming and painting. Anyway, just trust me, it’s much cleaner and more rust resistant now.
So, I need some kind of bushing. Rubber, plastic, nylon, …. it’s up for debate. So I started some options:
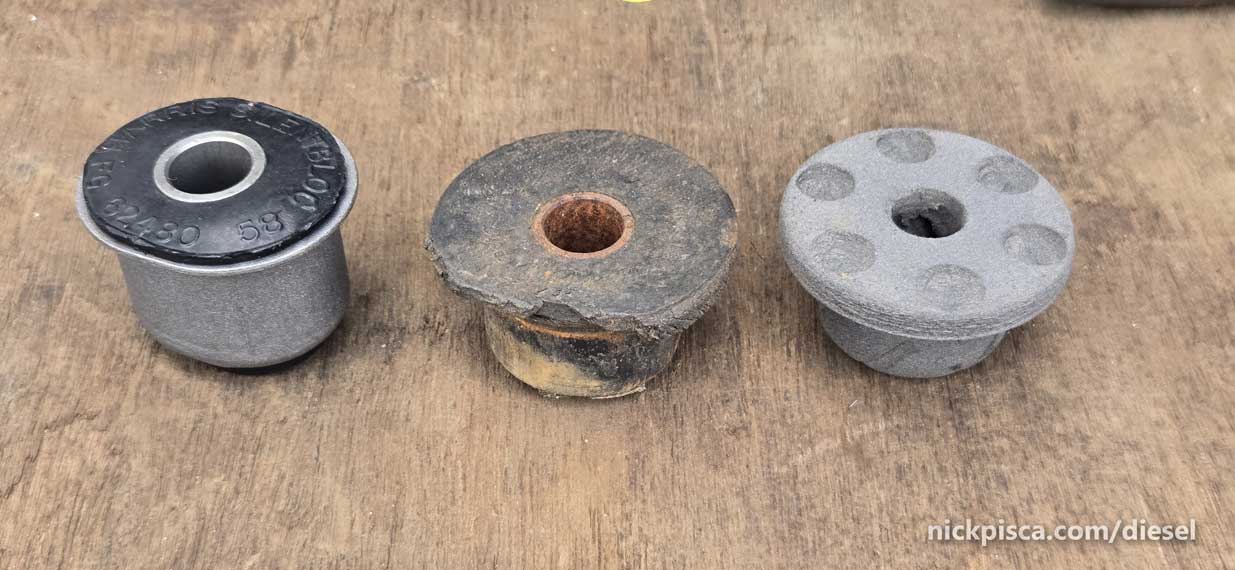
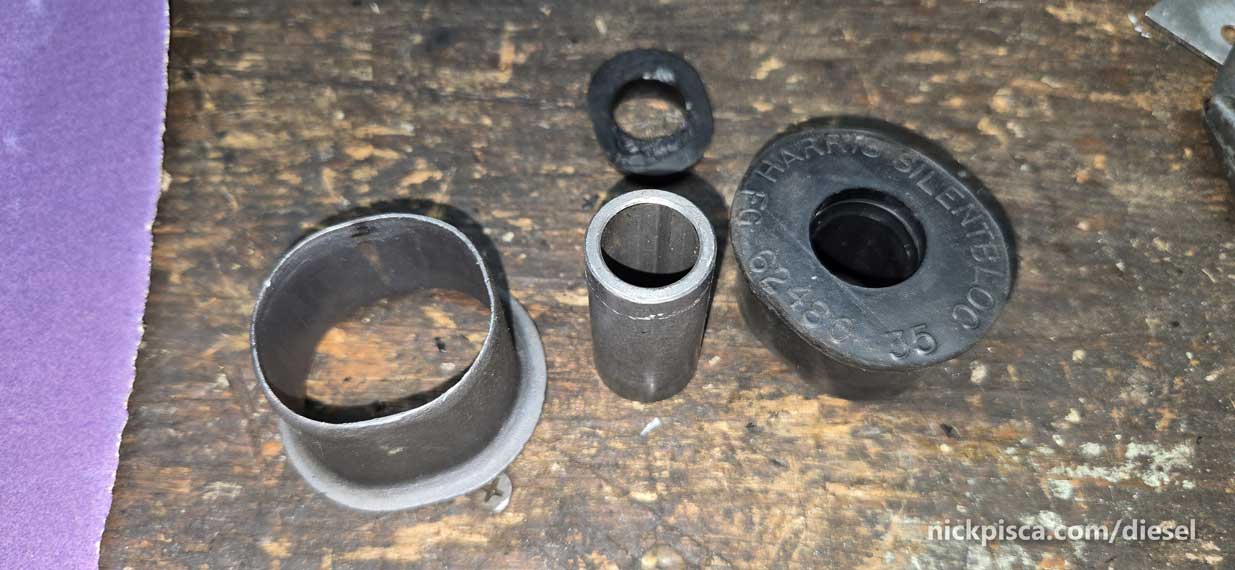
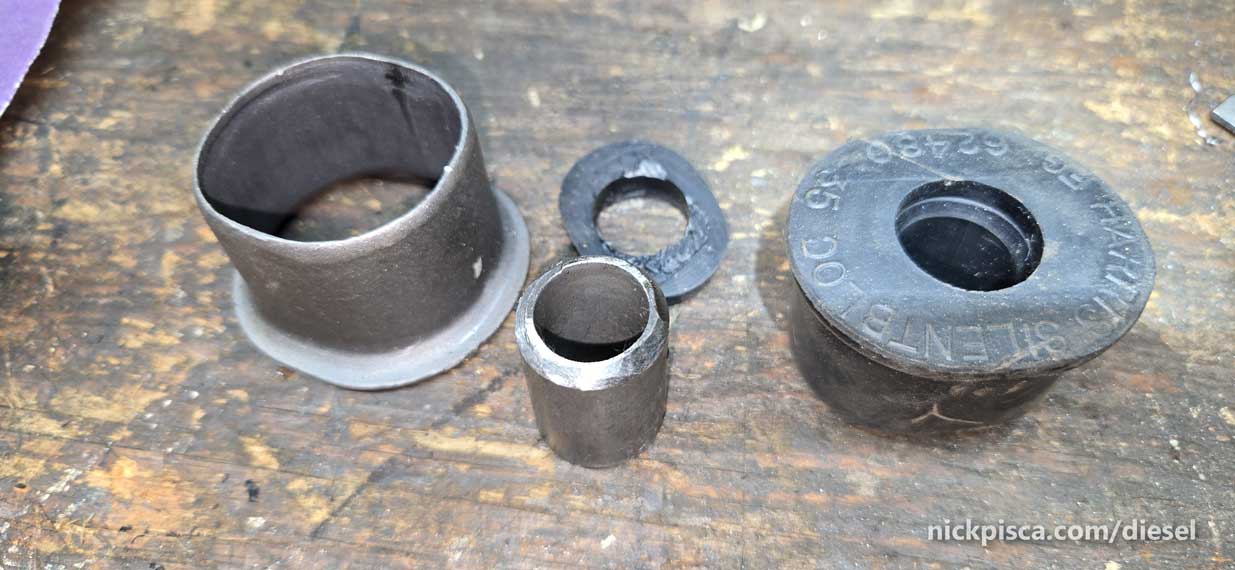
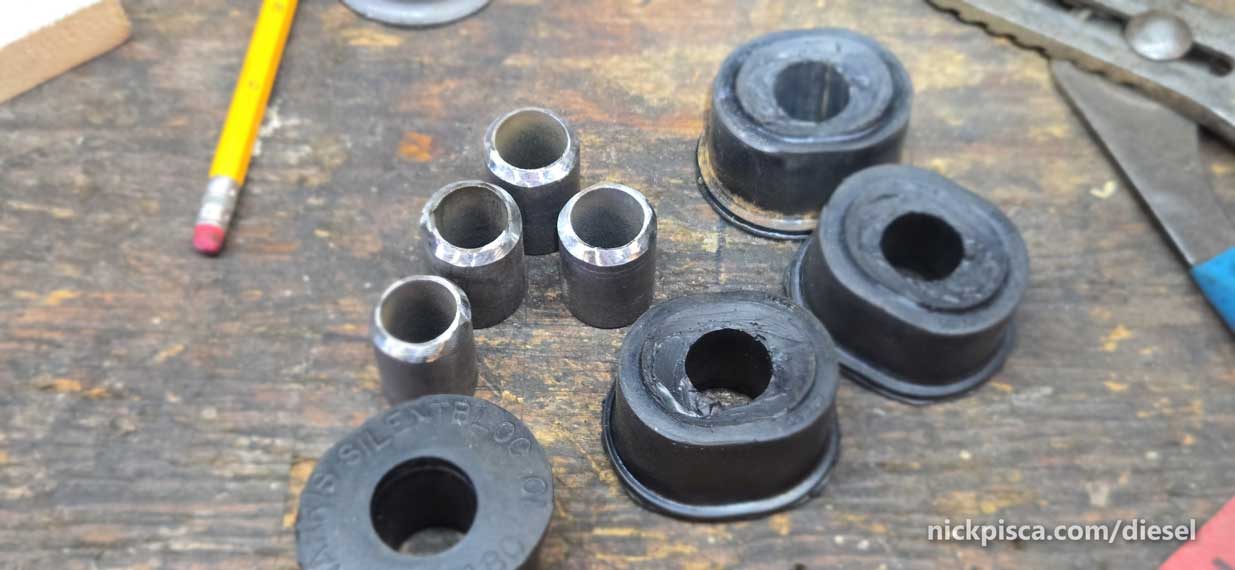
In the center, this is the Lord Kinematics old bushing from 1979. I can’t find it anymore. On the right, is a custom DIY 3D printed bushing, designed by me and printed in high-strength nylon. Lastly on the left, this is a bushing that I found on Rock Auto that was very close to my needs, but maybe I can modify it to work.
Of course I used my printer to make a custom 3D printed Nylon bushing. I even added helictical flutes on the interior, so that it could have a slight flex, similar to rubber. I didn’t do any FEA analysis to verify this, but I figured it if breaks, I’ll just update the parametric 3D model and reprint it.
The other option is the MEVOTECH MS404116 (Daily Driver) Supreme – Front; 1.495 IN Outside Diameter. This is actually oval shaped in cross-section. Also, it has a steel casing.

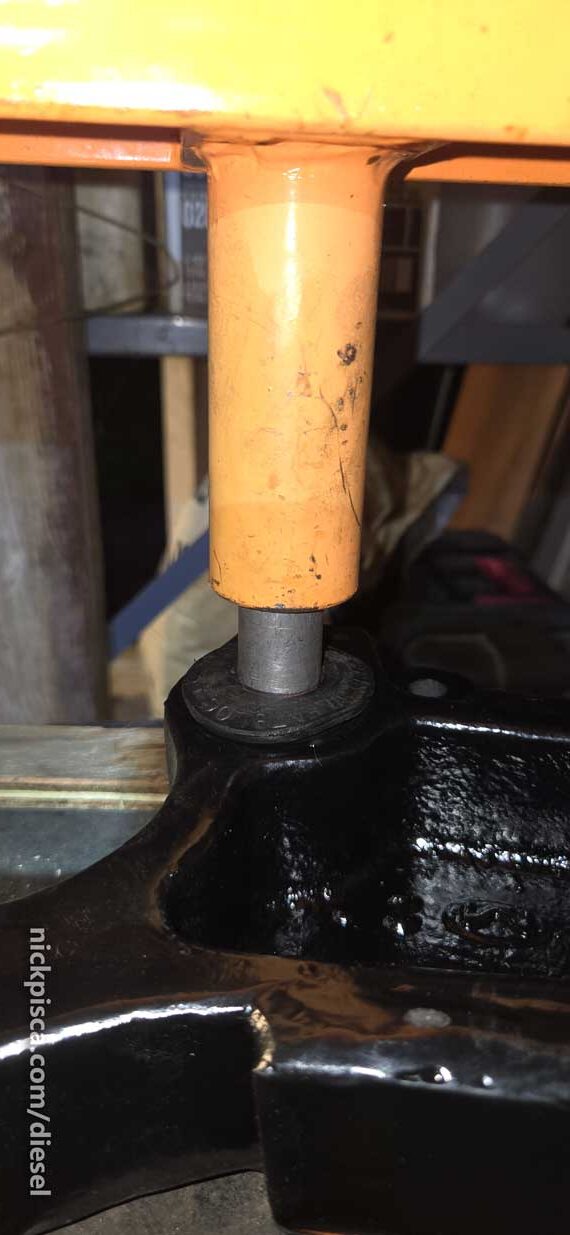
Hmmm. Maybe it’ll pop out of the casing. Using my 20-ton press, it slid right out.
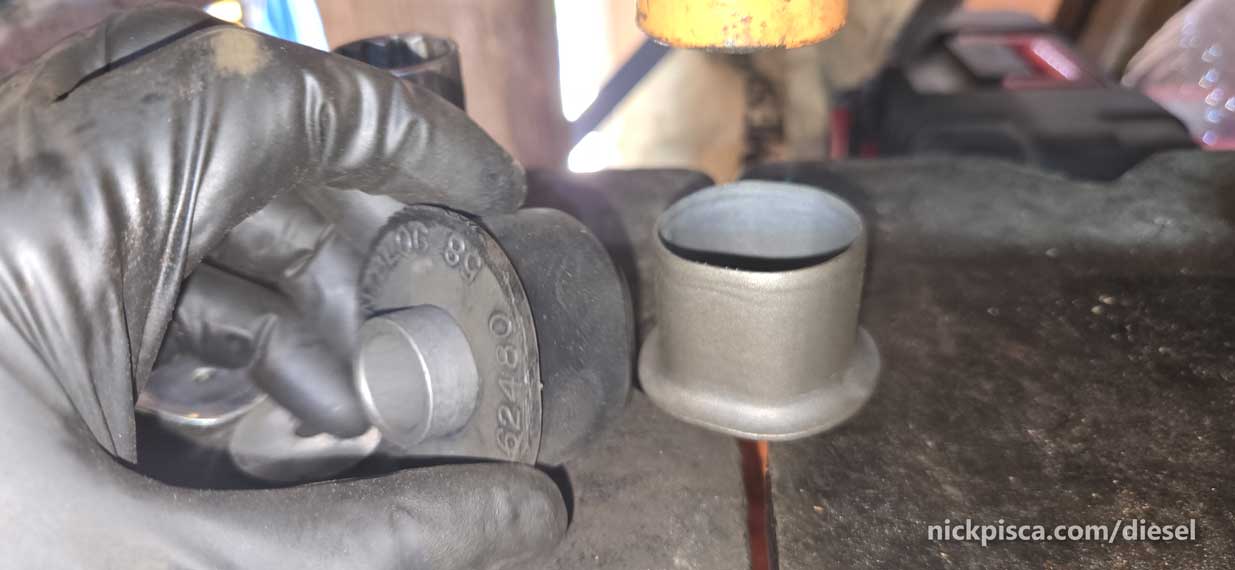
Now I’m cooking with gas. The only problem is it’s a little too long. Using a box cutter, I shaved off the nib in the back.
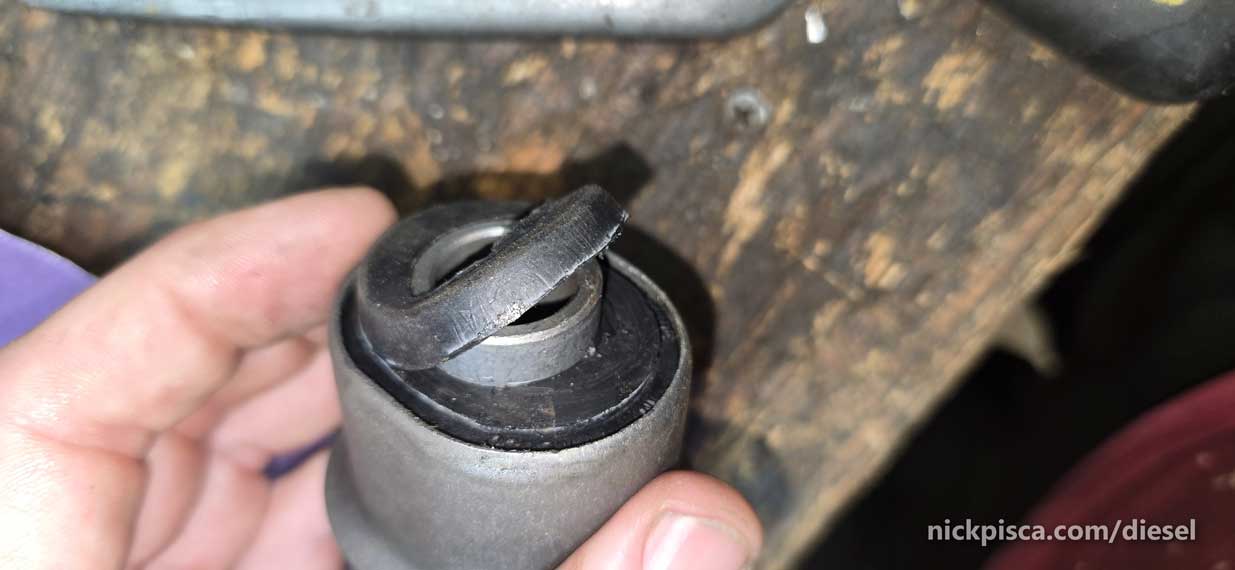
You can pop out the inner cylinder with a hammer.
The axle mounts are 2 1/2″ inches apart, so I need the inner seal to be shorted to 1 3/16″ on each side. Pretty short work with a grinder and metal cutting disk.

To make it easier to slide back into the rubber, I rounded the top with a flap disk.
Now just seven more to go. In-progress….
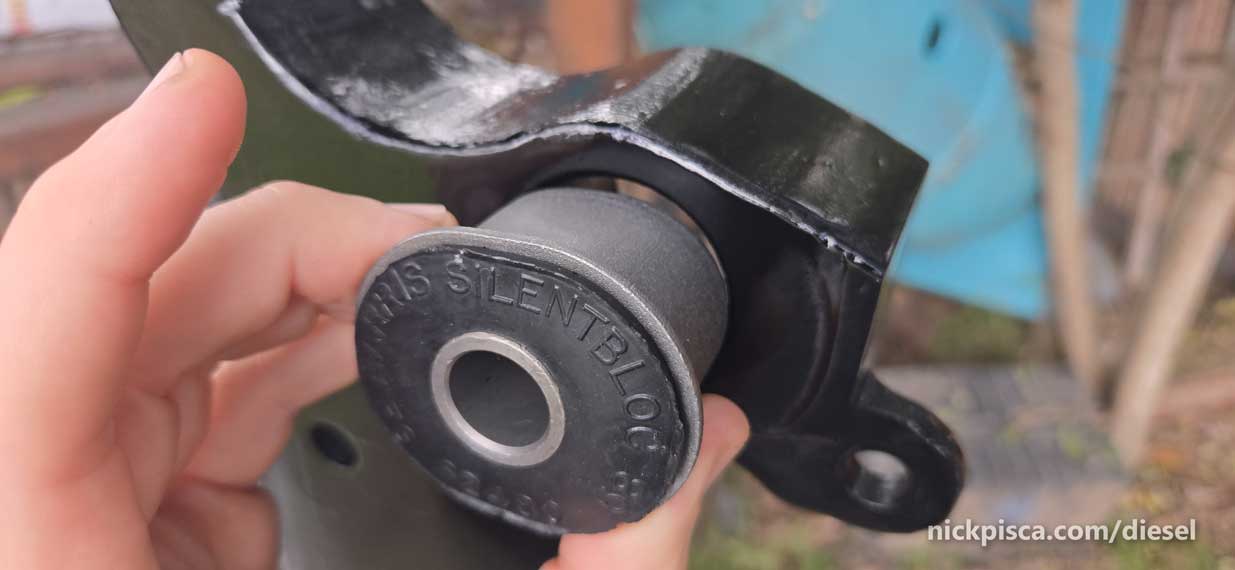
The rubber smooshes into the radius arm with not much effort. You need to use the press to get that steel cylinder in though. Needs some extra help.
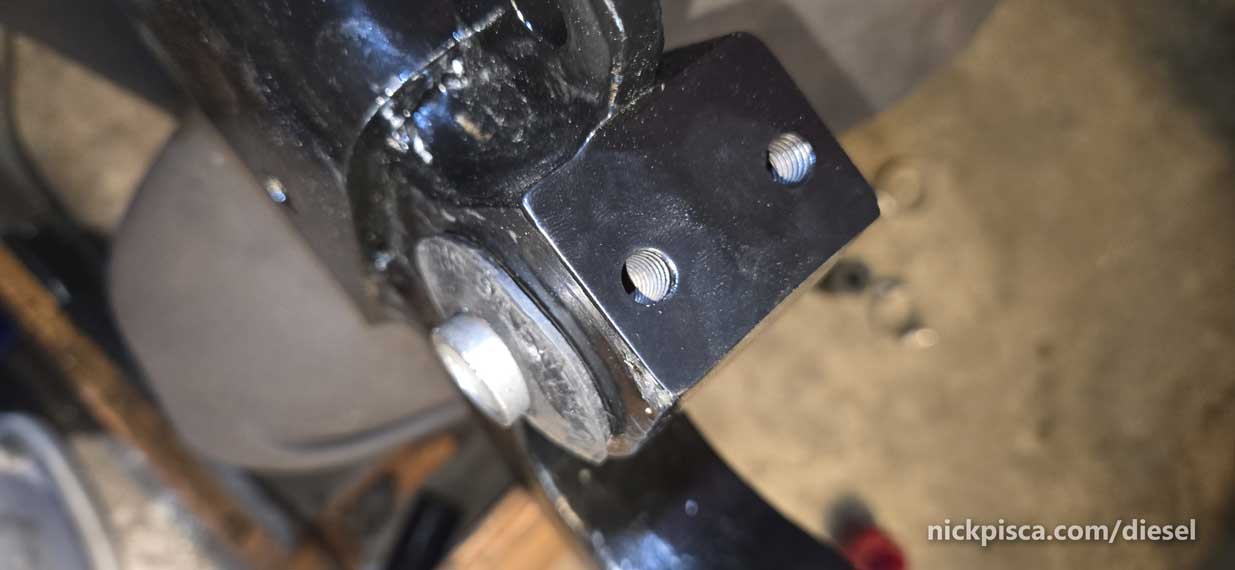
It installed ok. Looks ok as well. I’m still not sure if this will work, but I’m giving it a shot
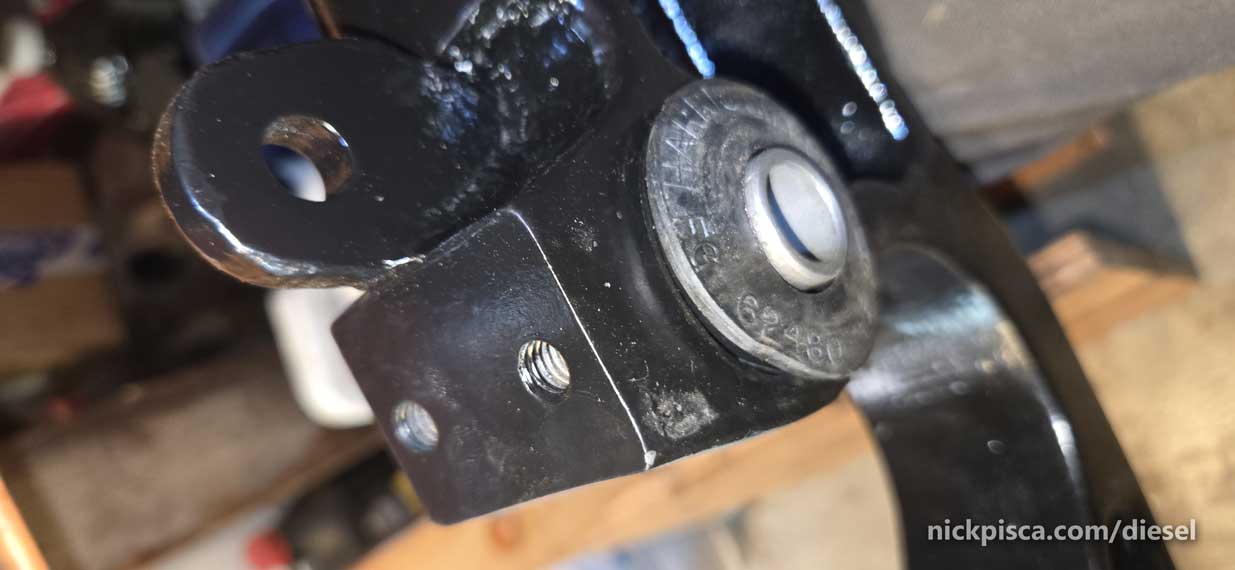
I’ll return to this post in the future. If these bushings are trash or this modification doesn’t work, then I’m back to trying the nylon 3D printed ones. Onward!
