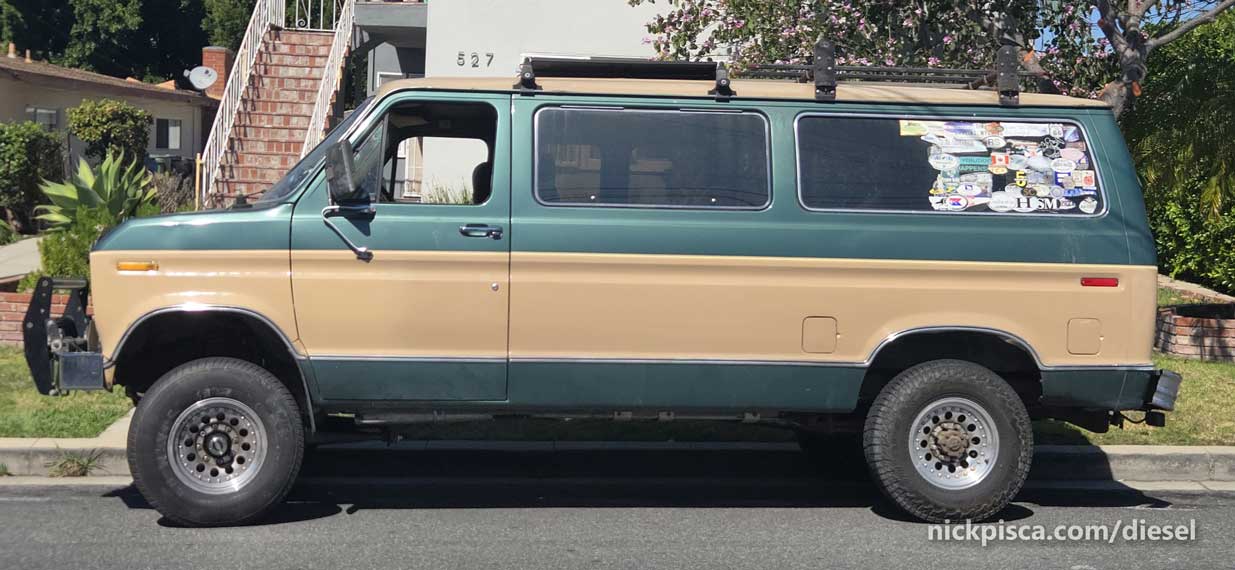
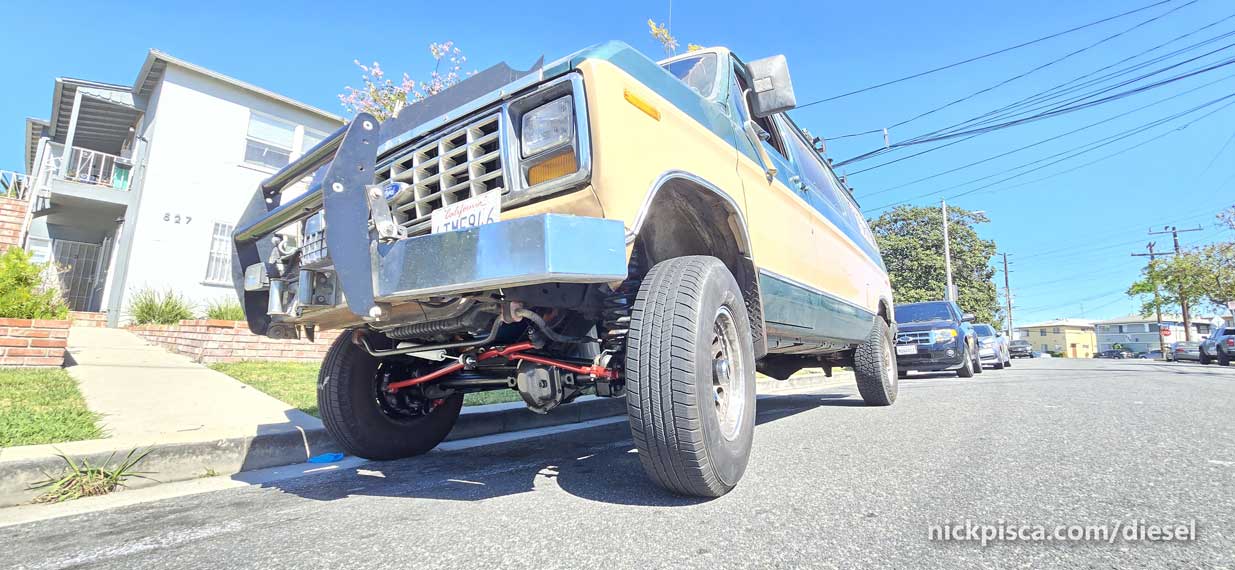
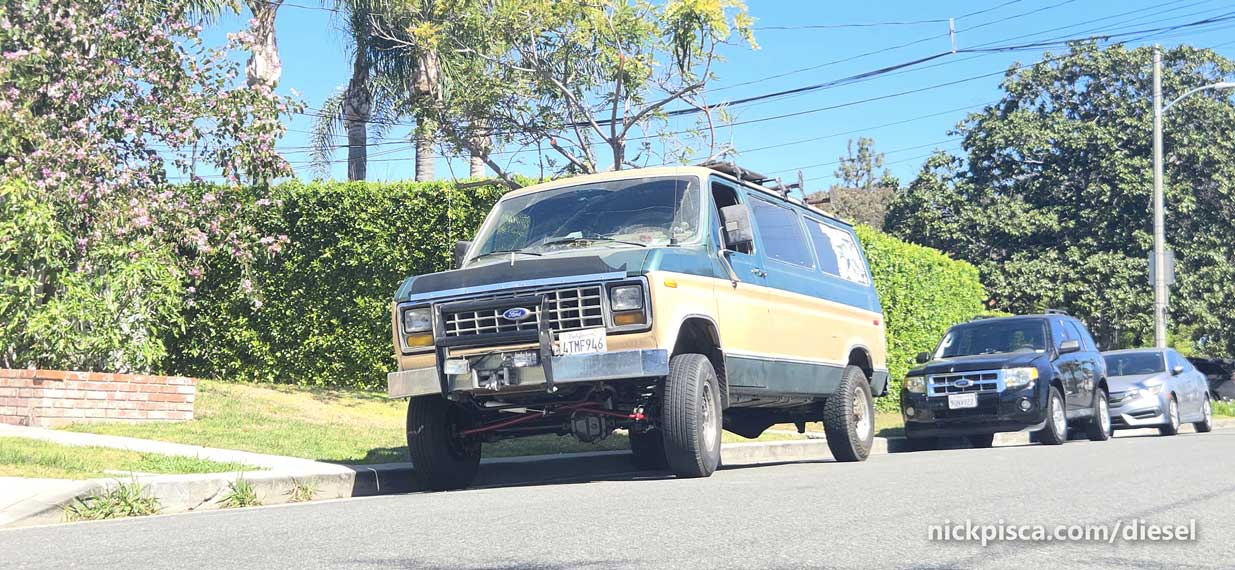
It’s on the road! Started the axle rebuild in December, rolled it out of the garage in February, and now mid-way through March, the van is on the road. Not to start bragging too early, but I’ve only driven it 20 mph around the city block around my house, but I’ll take it.
I left off yesterday where I found the problem. My steering was binding up with the back of the wheel hitting the aftermarket running boards.
So at the buttcrack of dawn, I cut that ancient aluminum running board with my grinder on an angle to make some decent clearance.
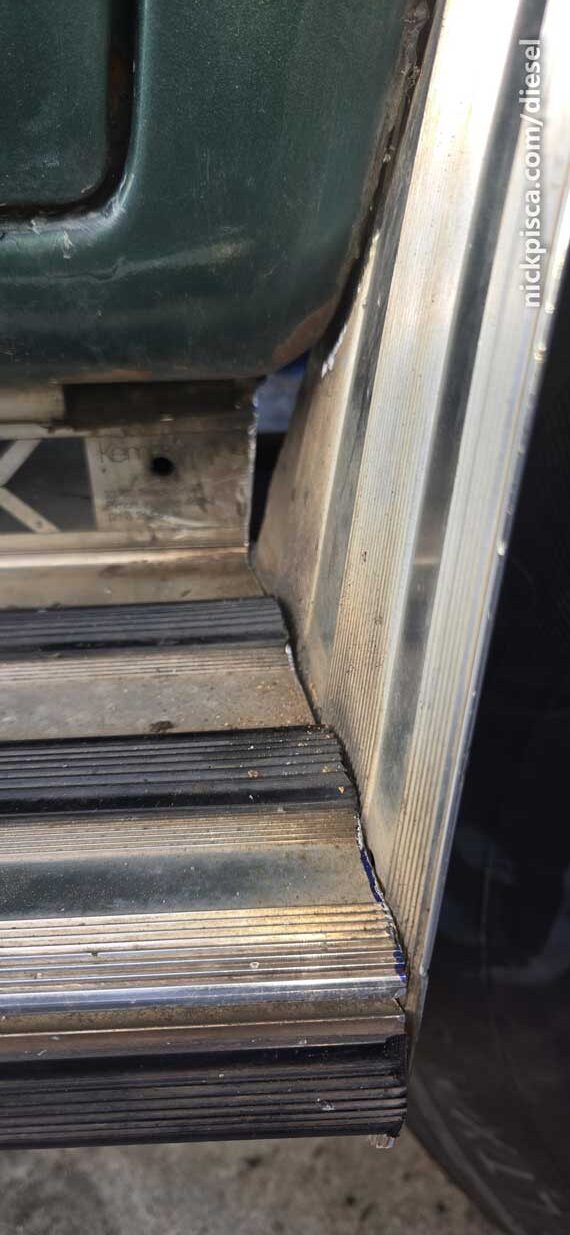
It doesn’t have to look pretty, cuz I’m planning on upgrading that to a newer style. My buddy with an ’01 econoline has some nice running boards that are way sleeker.
Got plenty of clearance now.

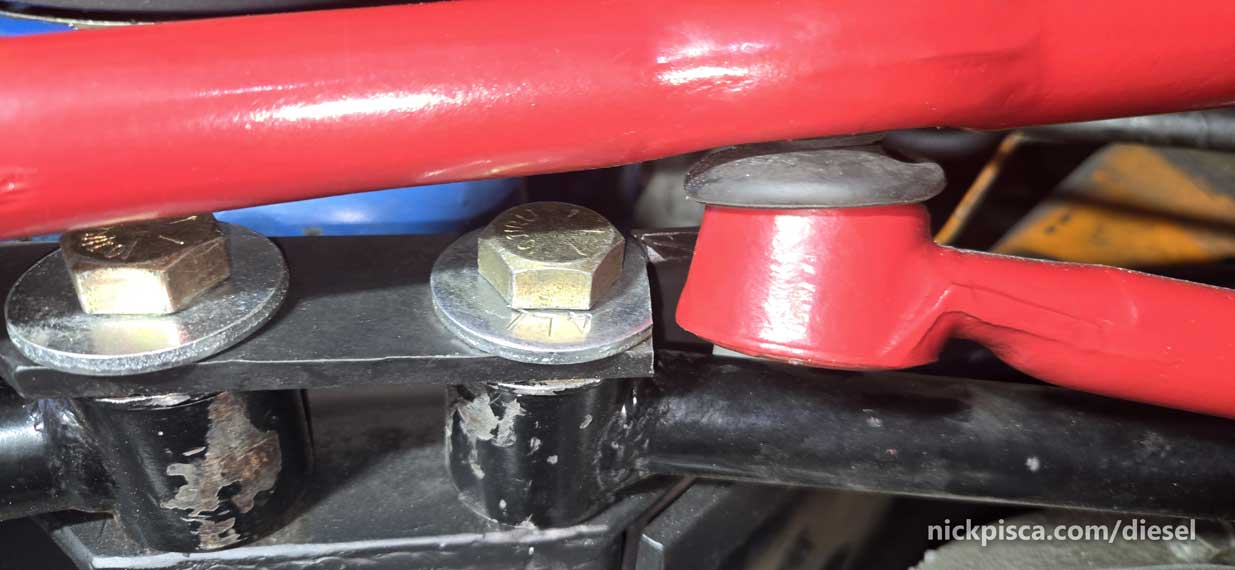
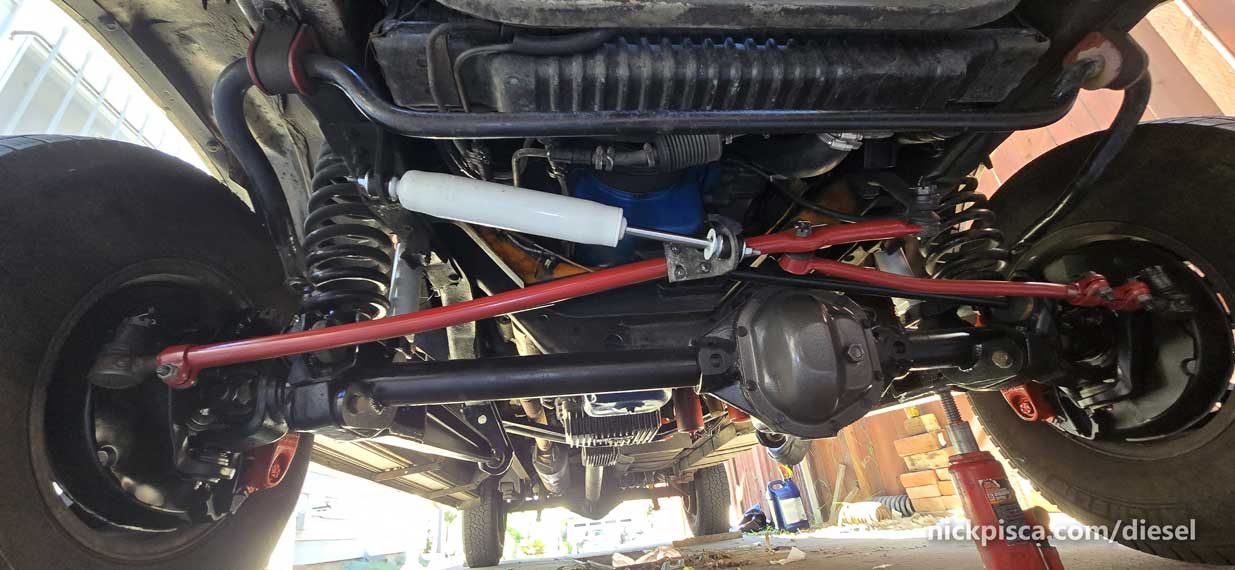
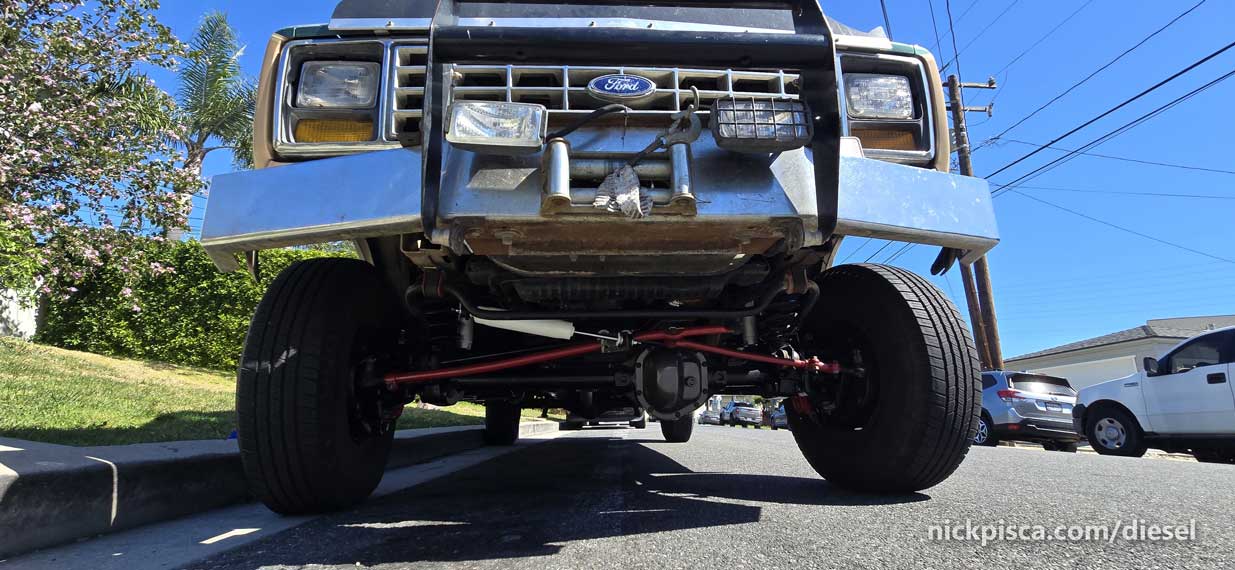
Next problem… Need to make some more clearance for my center link so that it doesn’t clash with the track bar bracket extension. I could get a bigger pittman arm, but until then, I might just cut the bracket to clear. Here’s the pre-cut contact, when I turn the steering wheel 1.5 turns to the right.
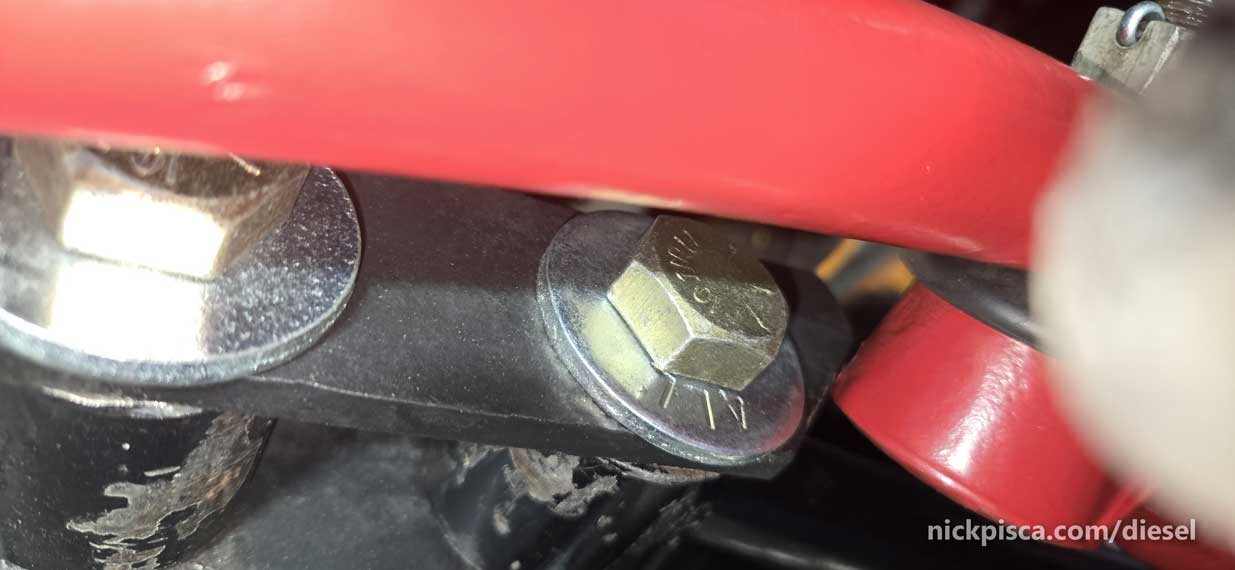
As much as I don’t like it, I figured cutting a notch would solve the majority of my problem. Currently, the knuckle stop doesn’t even come close on the drivers side, separating at least a half an inch. At least with a cut, I can get it down to almost 3/16″ of limitation. I get almost 1.75 rotations of the wheel to the right.
I turned the wheels all the way to the right and all the way to left. Then I photographed each side, and mirrored the passenger side so I could overlay them in Photoshop. Here’s the comparison.

As you can see, when I’m turning to the left, I get more rotation, by at least 5.5 degrees. For now, this will have to do until I extend the pittman arm.
While i was removing all the stock Econoline tie rods and other steering parts, might as well use that new steering stabilizer I bought back in November. Part Number: GABRIEL 6802SE
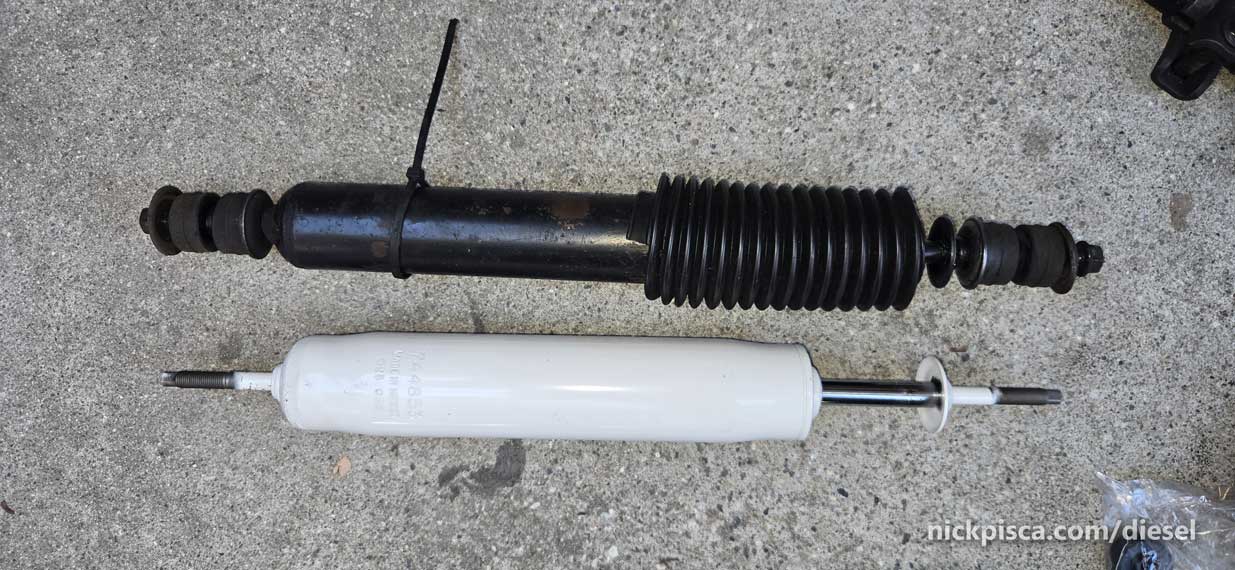
Frankly, I always thought my old stabilizer was trash. I’m confident that it didn’t damper my steering at all, and this white shock from Gabriel feels A LOT better.
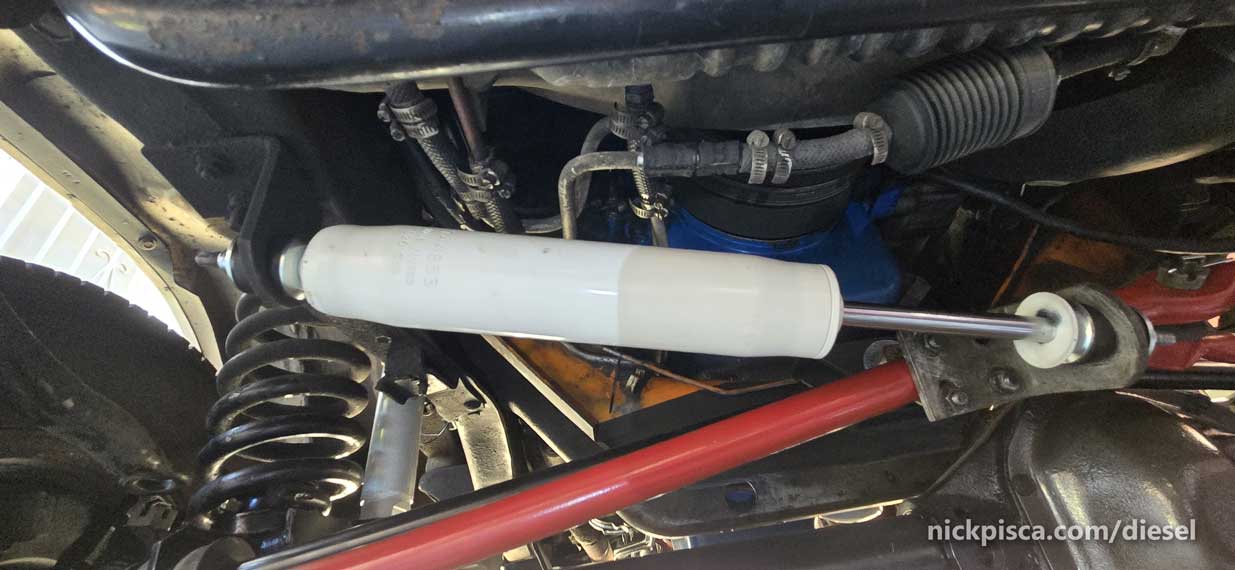
I used the same mounts from the cheapo kit, instead of the Pathfinder clamps. I even cleaned up and painted the pathfinder parts, but I liked how the previous cheapo kit mounted to the frame to nicely. Gave more clearance.
Let’s test ‘er out.
No more binding. Plenty of rotational movements… Time for the bowel movements.
Pulled out of the driveway. Had good brake pressure. Steering worked fine. Small transmission leak, probably unrelated to the quadravan install, but just needed a hose clamp tightening. Time to bite the bullet and go around the block.
I don’t have the bump stop installed, so I didn’t want to push things too hard around any potholes or speed bumps.
To-Do List
- Weld in custom bump stops.
- New lug nuts or studs.
- Adjustable rear shocks. I love these adjustables in the front.
- Install a coil retainer for my brake hoses to keep them away from the wheels.
- Paint the metal I cut
- Paint the metal that I accidentally scraped during the install.
- New running boards.
- Figure out Anti-swaybar links.
- Get to work on the GVOD, t-case, and transmission build.
- Install a rear end lift. She’s so lifted in the front, it looks like I’m hauling lead bars in the back.