I’m sure you’ve read about the radius arm mods, and if not, check this out first.
Next up is the Coil Spring modifications. I bought RV coils about 8 years ago on the drive to Tuktoyuktuk because we got stranded in Winnipeg due the van saggy like an old man’s balls sack. Didn’t want to drive on the gravel dempster hwy with a saggy van in the front. BTW, we had a clever solution. We used hockey pucks from the local Winnipeg sports store and made temporary spacers. They worked better than stock.
The RV coils came from RockAuto. Not sure the part number, but they had a higher weight rating, I think another 1000 lbs?…. Maybe I can dig up that order in my records.
Anyway, I need to get this van drivable in 48 hrs, so I’m on the clock. Need to get stuff done with the tie rods.
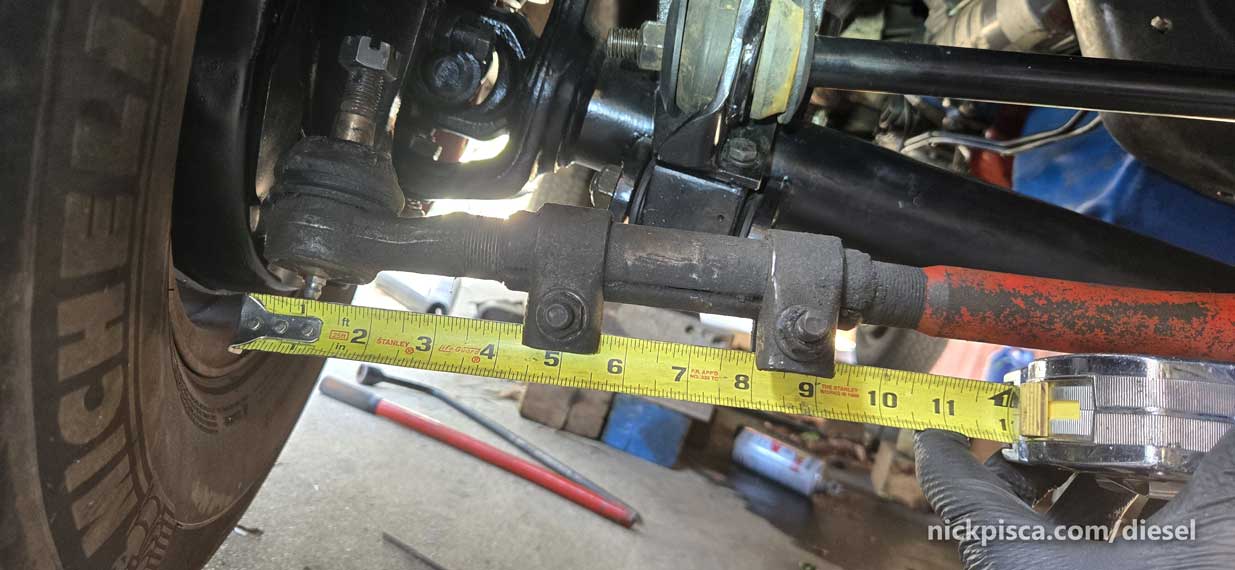
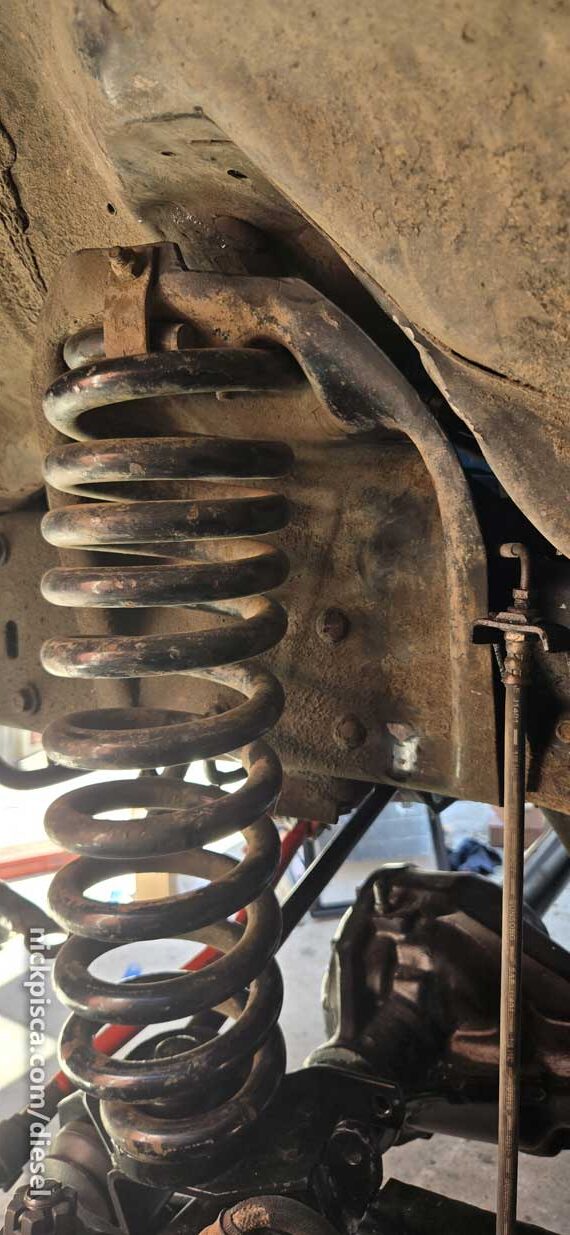
Measured both sides so I have a baseline. My new tie rods aren’t the same, so I need measurements. The above photo is the passenger side.
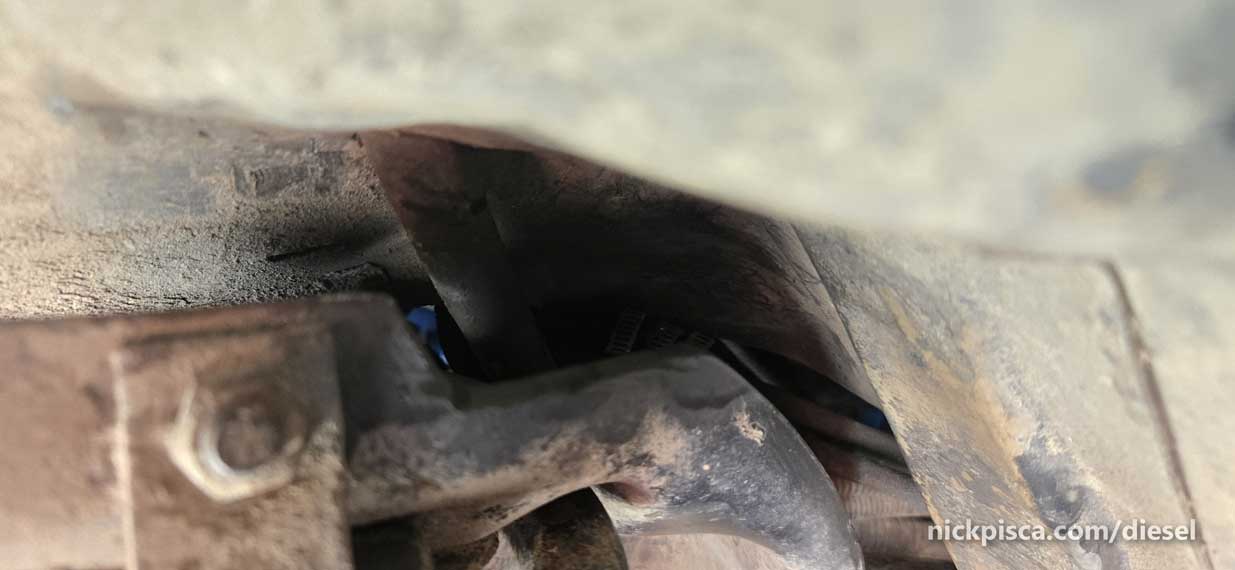
The photo below is the driver’s side.
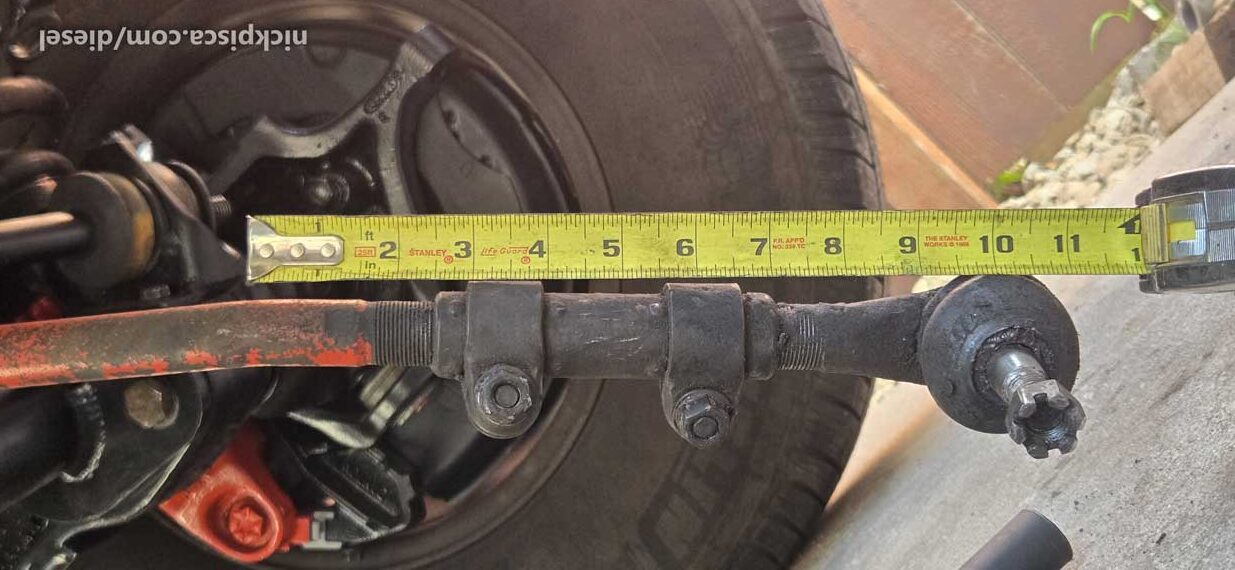
I am trying something new. Instead of using the pathfinder donor steering parts, I’m using the stock econoline parts, with the new tie-rods to match the axle knuckle hole diameters.
Hope it works. Saves me the trouble of custom fabricationing the steering parts since most are unobtainium.
Test fitting for now. Getting a little worried things won’t fit, but won’t know until we know.
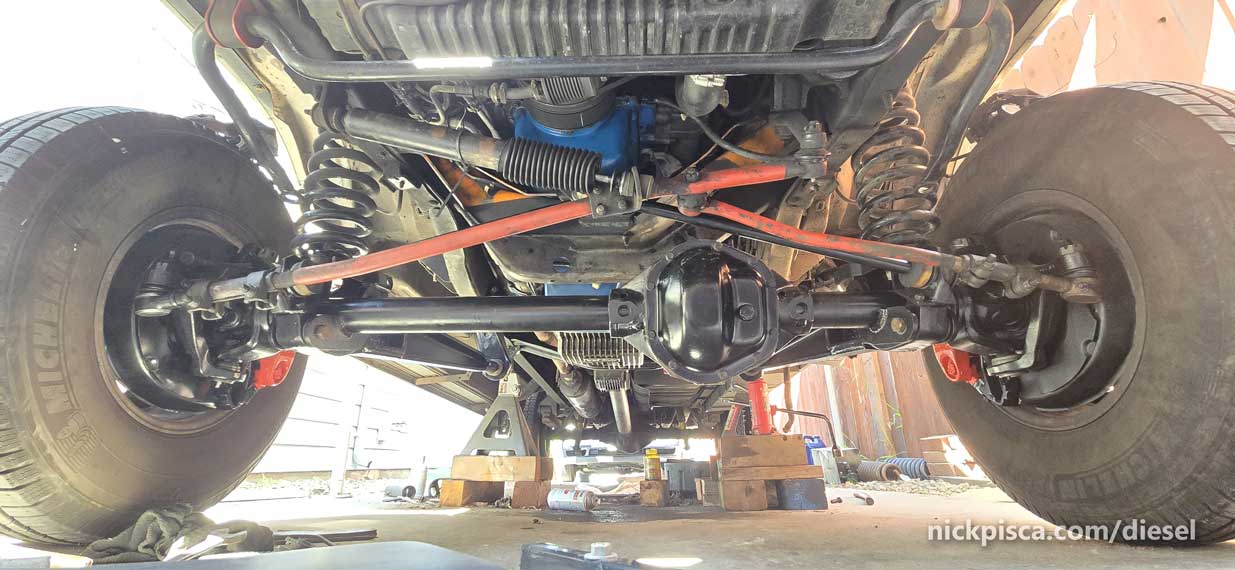
Tightened down our tie rod nuts and gave it a little turn of the steering wheel.
Everything is smoothly working out, but it’s still really close to the driver’s side track bar. Fingers crossed it doesn’t rub when the wheels are on the ground.
If you are looking for part nunbers about the tie rods, visit the tear-down page on this website with all the part numbers.
Next up is the shock system.
I stole the idea from Boomer’s van. He also bought adjustable RS9000XL shocks. I’ve always used Bilsteins, but I figured I’d give these a chance, especially if they allow me to make changes to the ride based on my roadtripping needs.
Something I’ve always wanted to do is make more room for my fat fingers to reach to the top of the shock mounts, and today I lost it. Just need to get more space, so the grinder, reciprocating saw, and dremel got some OT making this notch on top of the coil receiver.
This is a life saver notch.
I don’t have a before photo, but imagine you’re tired, sick of wrenching on your van, and this beancounter from FORD in 1987 decided to save money and not think about the repair costs and time for a shock mount with no way to reach inside and put a socket on.
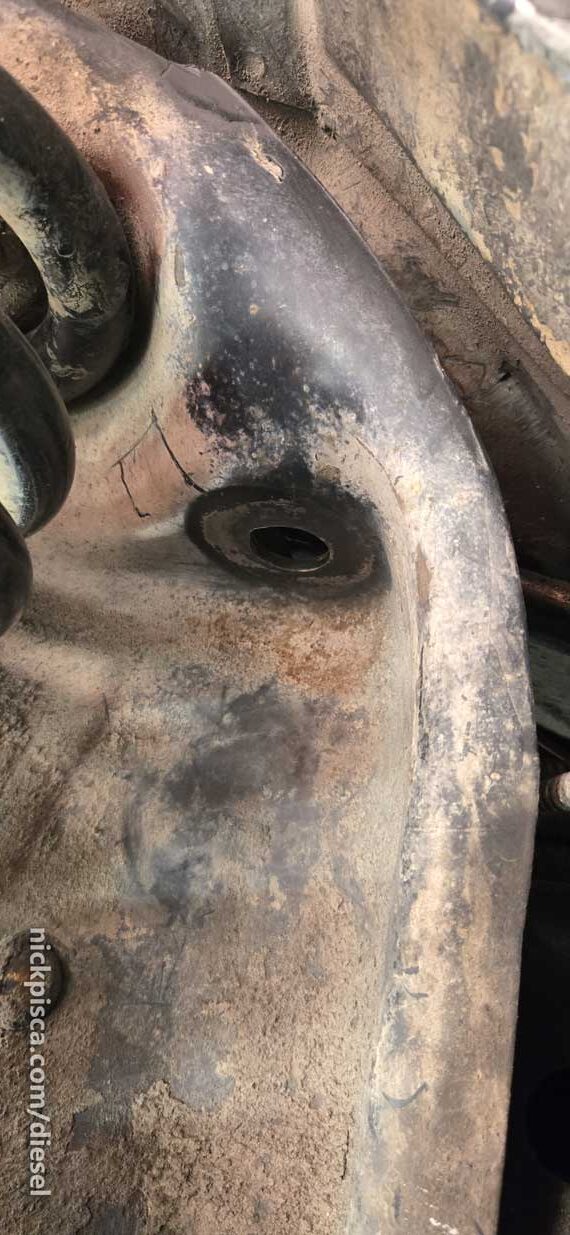
Now way anyone is getting their fingers in there unless the Slender Man or Salad Fingers is your mechanic.
Anyways, I got a notch now and it’s mildly better.
Shocks aren’t complicated to install, so the only thing I’ll say is to turn the top counterclockwise to “unlock” the shock from its shipping length (which is shorter). It’ll expand. Maybe the people at the shock company should give better instructions. I used their QR code to “download” the instructions, but they didn’t have anything listed for my part number.
I think their server is broken.
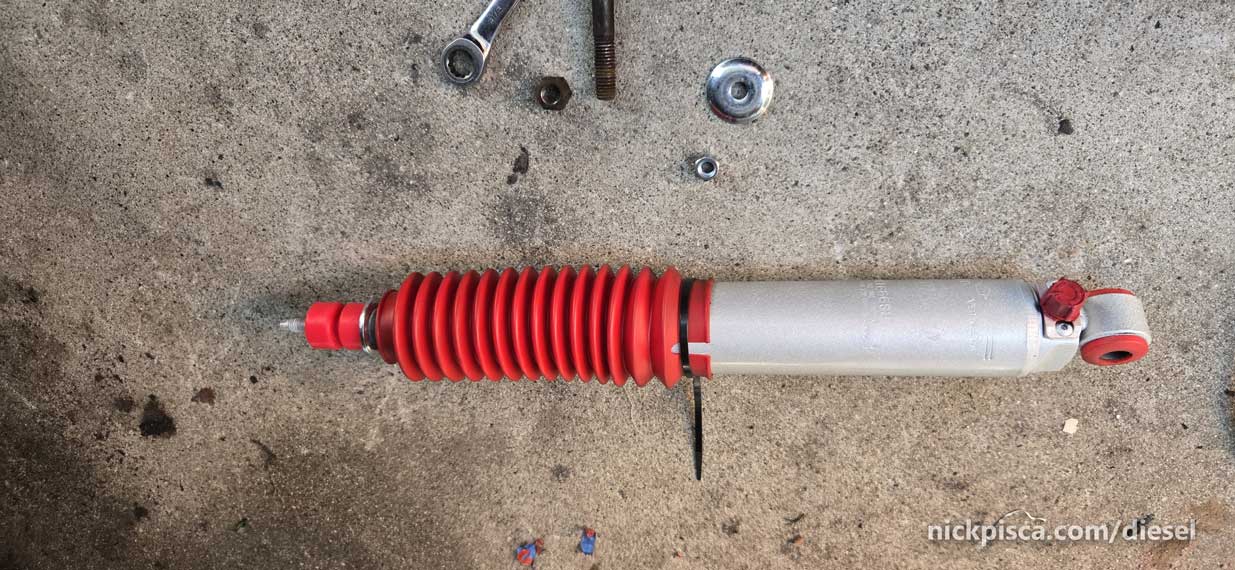
I’m getting off topic, now here’s a handsome shock.
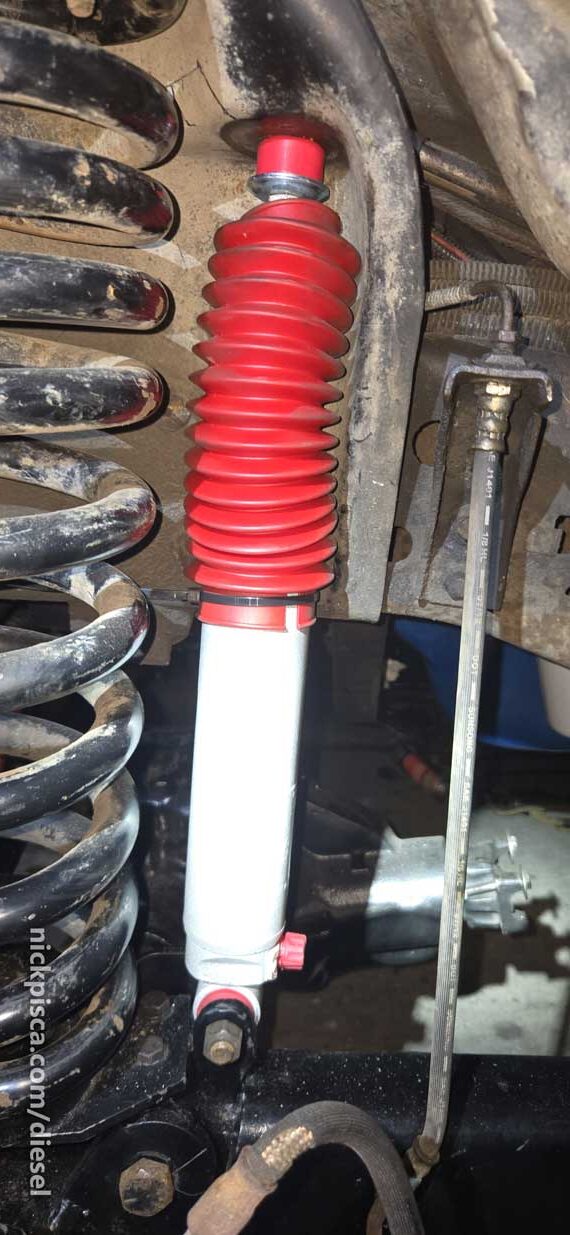
Stole the bolts from my 2WD Econoline shock mounts. Nice.

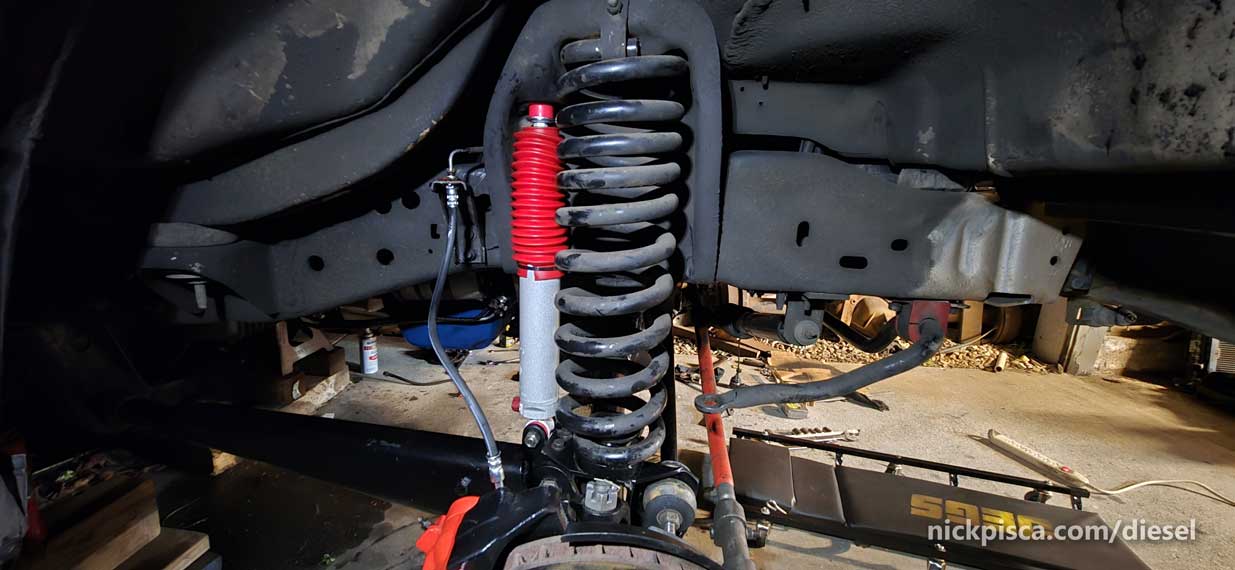
Nice coincidence that the shock bellow matches the colors I already painted my tie rods and calipers.
While I was at it, I greased up all the joints. The ball joints needed a dose of medicine, along with the tie rods, and other parts.
I used the measurements to get the tie rods as close as possible to alignment, but I know it’s all useless until I get the van to Johnson Alignment in Torrance. Best independent shop in SoCal.
Getting closer to done. Hope to get the axle filled with gear oil, brake calipers bled, and veg tank installed by tomorrow.
