Been busy with work and skiing, which has been cutting into my van conversion time. I only had a day to work on it this week, so I did the job that I’ve been putting off for a while: Dropping the veggie tank to install the rad arm bracket on the driver’s side.
The passenger side is easy. Not much in the way, and all I needed to do was remove the three bolts and cut one to avoid having to remove my downpipe.
Bada bing.
Before I get to the driver’s side, here was the condition of the used Pathfinder donor brackets. Needed some sanding, priming, and painting. Also I dunked all the hardware in Evaporust to make them good as new.
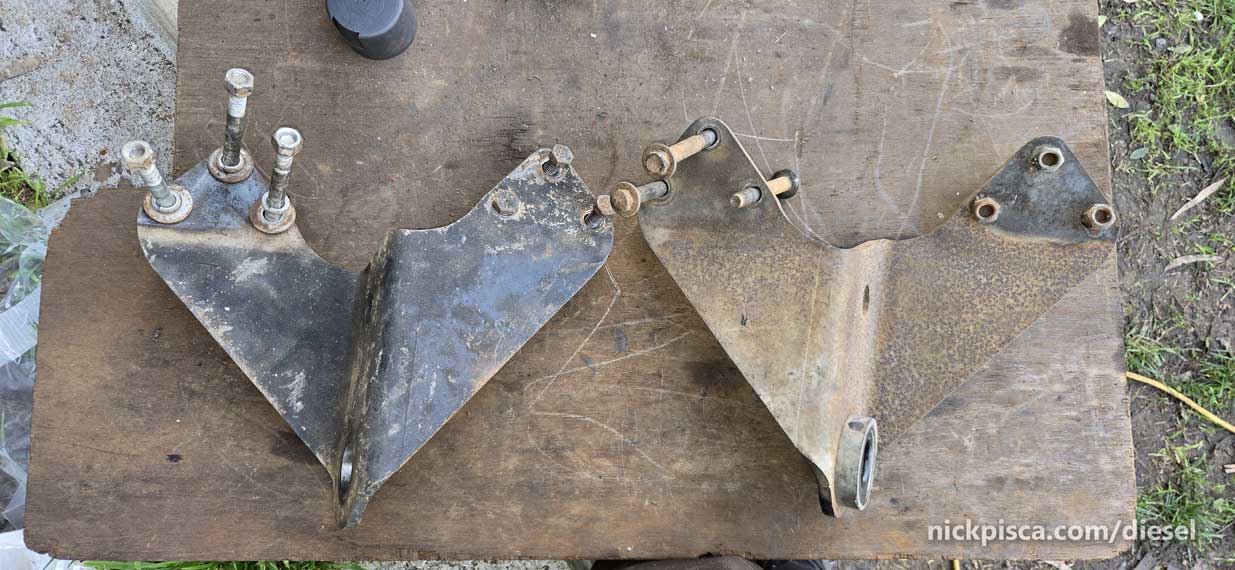
I had to read up on the Pathfinder docs to figure out the orientation of the new brackets. Luckily the draftsman was super clear, and you can see the flange points toward the rear of the van. (see the red arrows)

Enough dinking around, I need to get the driver’s side old radius arm receivers out. However, I have a huge aluminum tank next to that part of the frame. I really don’t want to drop the tank, because I’m lazy, and it’s usually messy. It is full of veggie oil, and also, it’s full of coolant as well, because the hotfox fuel pickup is mounted on the side.
Regardless, I’m running out of time to get this axle installed, so I gave it a shot today.
After an hour of dripping, collecting, and dirty basins, I got the tank dropped. It wasn’t as bad as I remembered it.
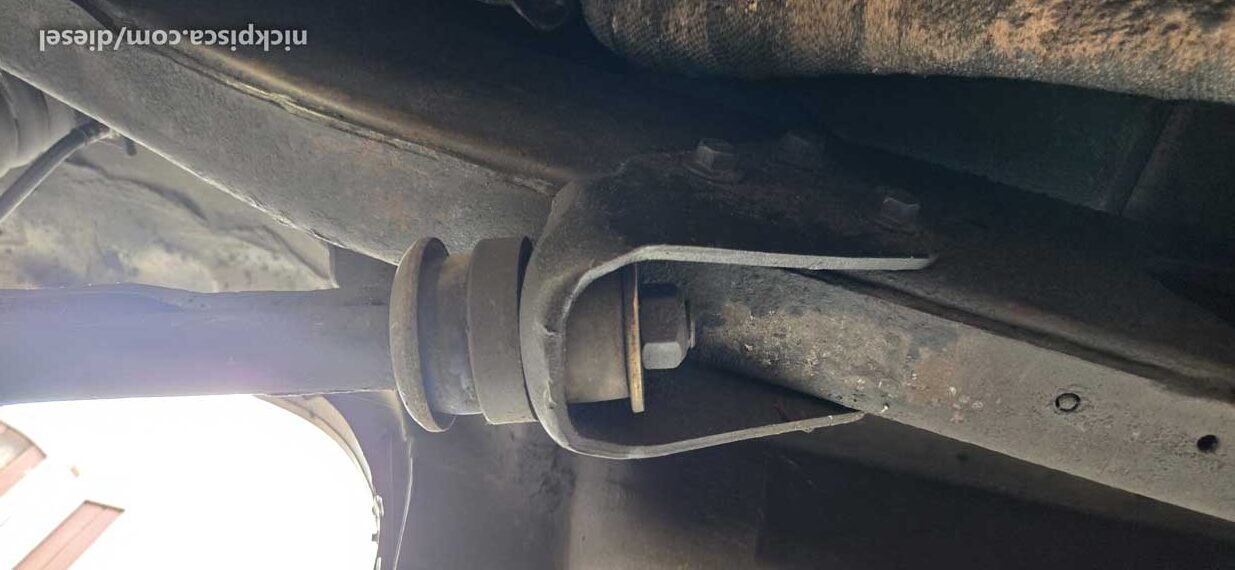
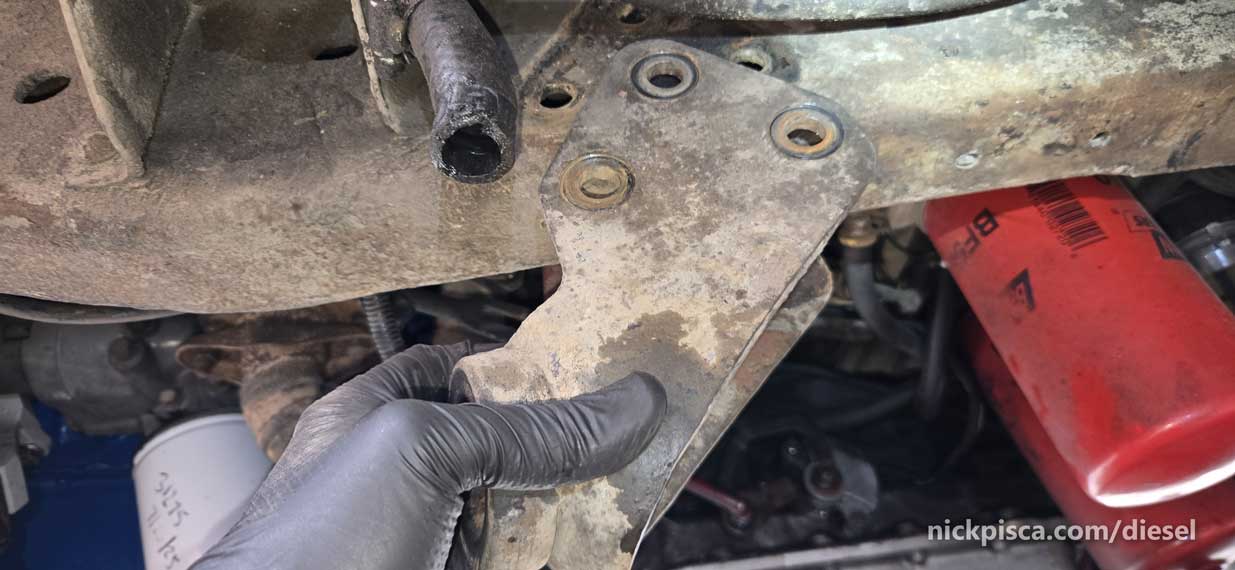
On to the old bracket. It’s currently dual-action as a mount for the trans linkage as well. Just undo those nuts and slide the trans linkage out of the way for now. I chocked the back wheels weeks ago when I started the teardown, so I know the van won’t slip into neutral and roll on me. (the linkage is in red below)
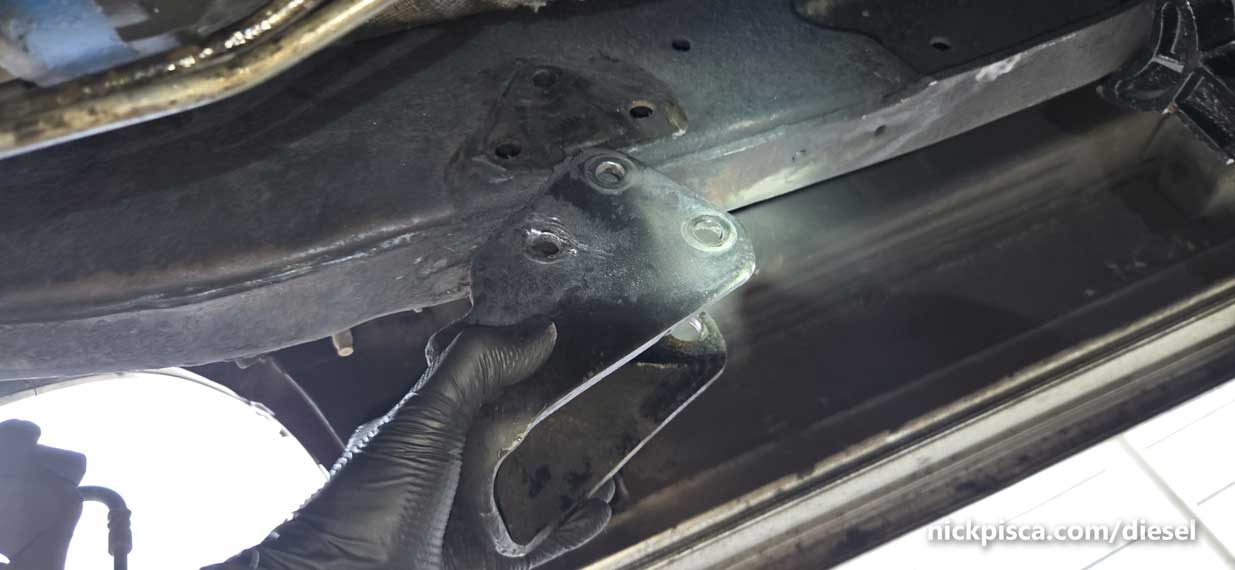
Like the other side, I ended up breaking the nuts on the bracket again. The impact driver just busts the welds quite easily.
Toss that on the scrap heap.
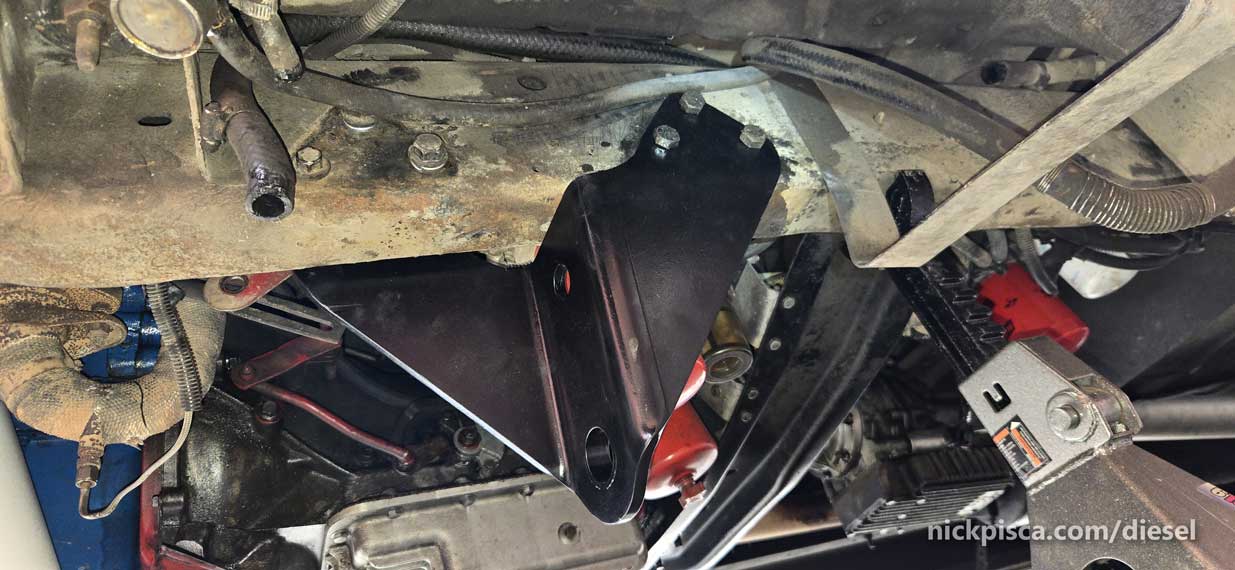
Wanted to see the new bracket dry-fitted before giving her the goose.
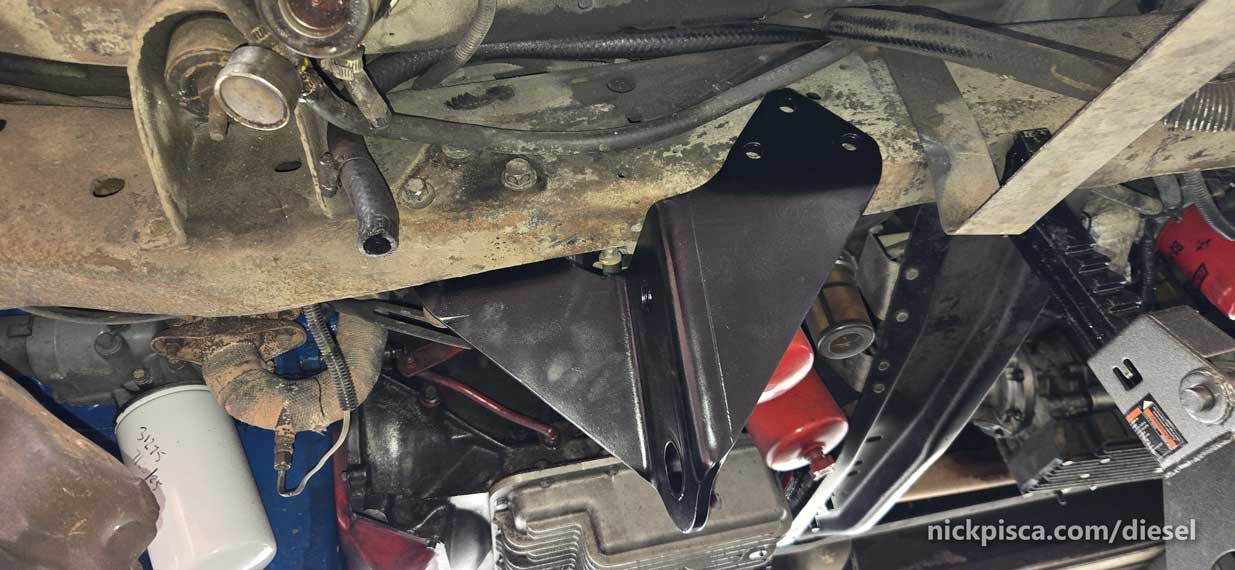
It’s kind of loose. More loose than I thought. I have to drill some 1/2″ holes further back on the frame to get this installed. I used some white tempera paint on a q-tip, which worked well. I’m getting old now and just scratching it with a screwdriver isn’t doing it for me anymore.
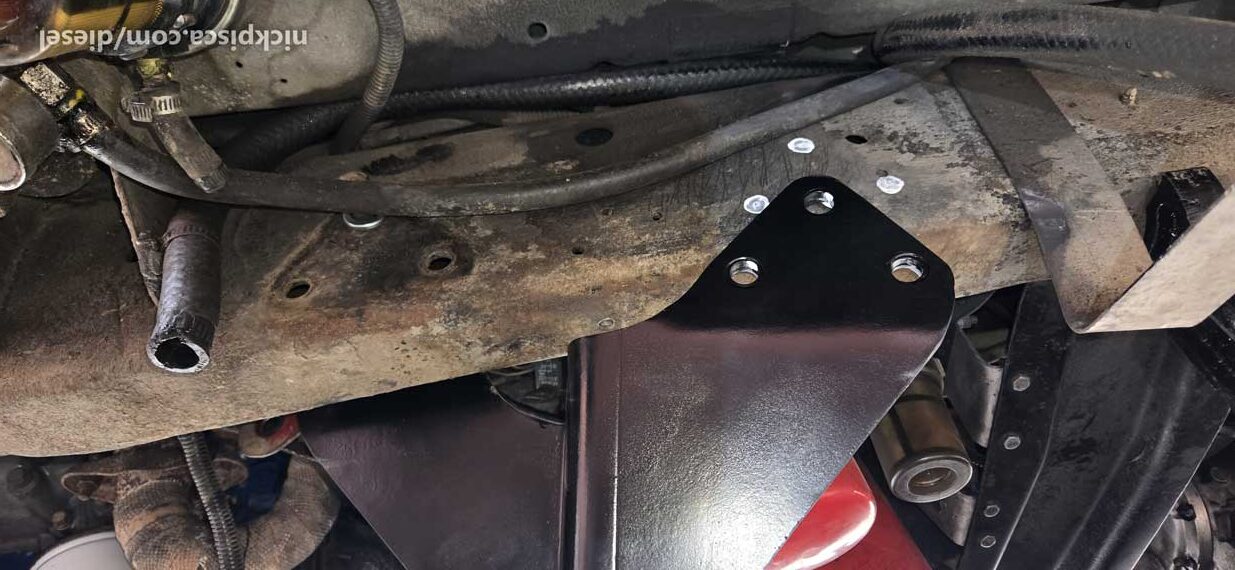
Those white marks really pop.
I used a center punch to make a good deep divot to start my drill bits. Want to make sure these don’t wobble on me. Progressively drilled with some good quality bits on slow speed with lots of cutting fluid.
Another dry fit:
I don’t like those hex heads on the back side of the bracket. I have to reinstall my veggie tank, and I don’t think I’ll have enough room with those thick hex heads protruding into my space. It would work better if these are counter-sunk.
I ran off to Hawthorne Hardware on Hawthorne Blvd, which usually has what I need. I know this would be a long short. Three countersunk allen-head bolts that are 1 1/2″ or larger length at 1/2″ diameter. I had about a 10% chance they’d have it. Sure enough, they DID. Crazy.
I took my largest countersinker bit and tapped them down a notch. Sadly, my 3/4″ countersinker bit still wasn’t the diameter I needed.

I used it for 80% of the way, then used a dremel to finish the countersink.
I installed the countersinkers first. The bracket didn’t want to fit. I had to torque it into place on the frame.
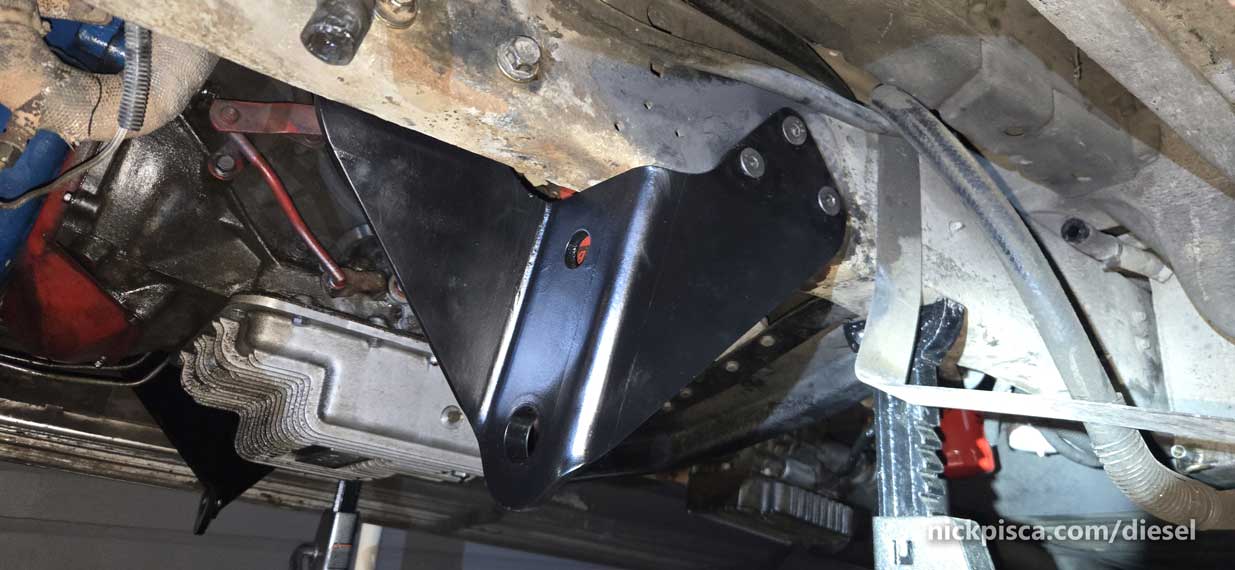
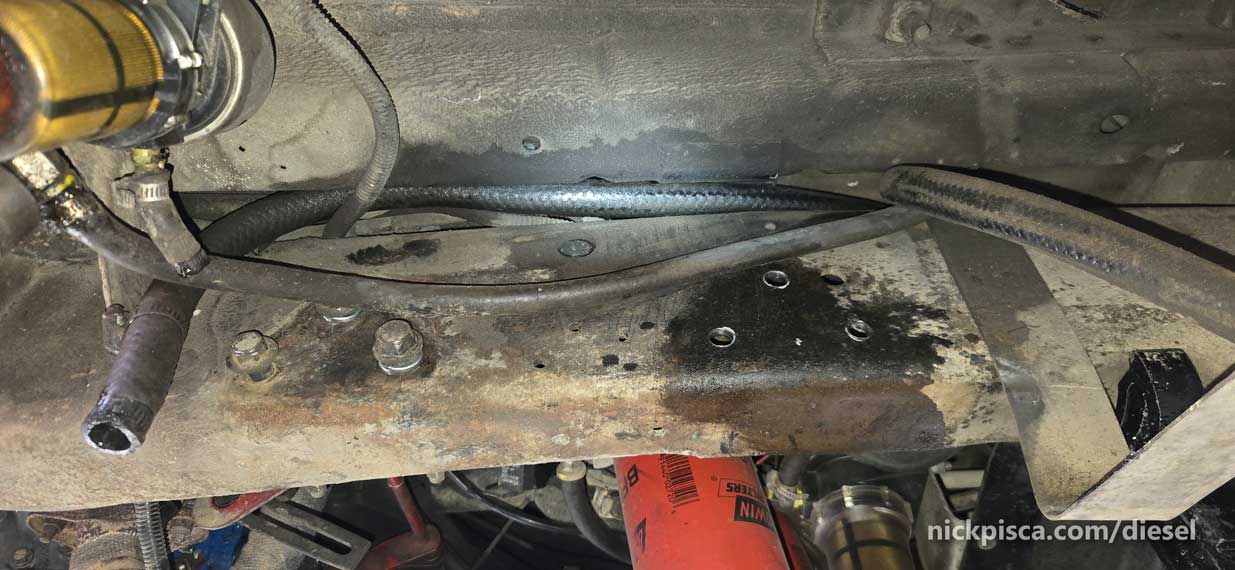
Getting to the inner nuts inside the frame was tricky, but doable. The crossmember for the trans and all the hoses get in the way, but it worked.
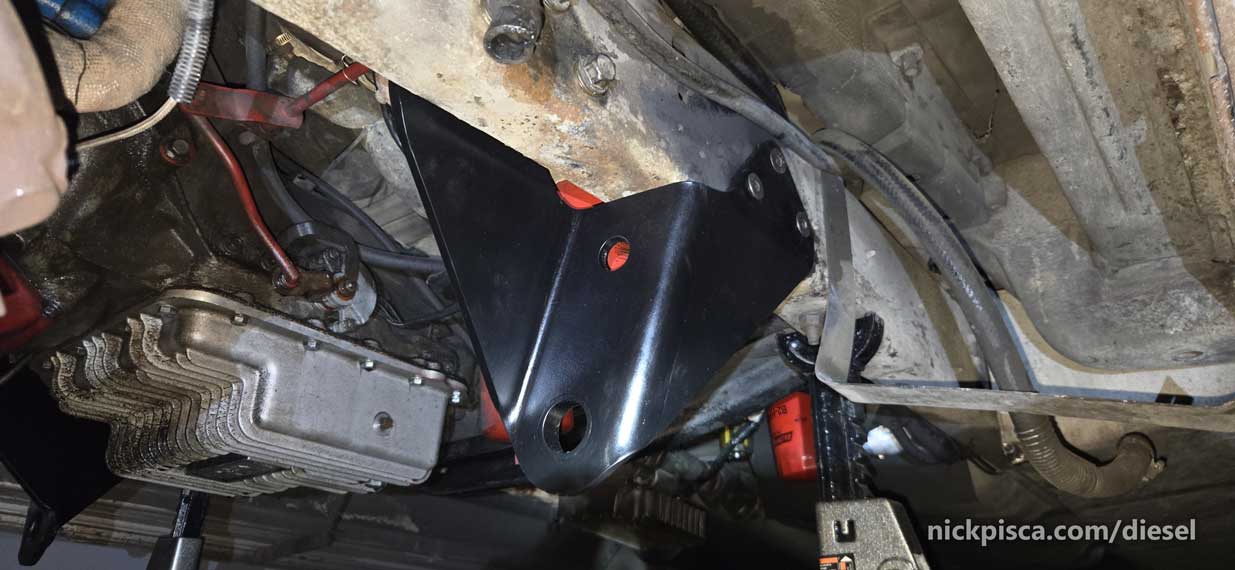
That looks nice. Now to finish drilling the passenger side holes, and get that side done.
