I’m gunna be thorough. This isn’t a really tough project, but here you go.
Before we get into the mess of working on a greasy rotor bearing set, read up on the Quadravan axle teardown here:
Also, taking off the Lockouts are trivial, but you need Allen wrenches and dental picks.
Good god, that’s an ugly rotor. Looks like it was sitting in the rain for a dozen years.
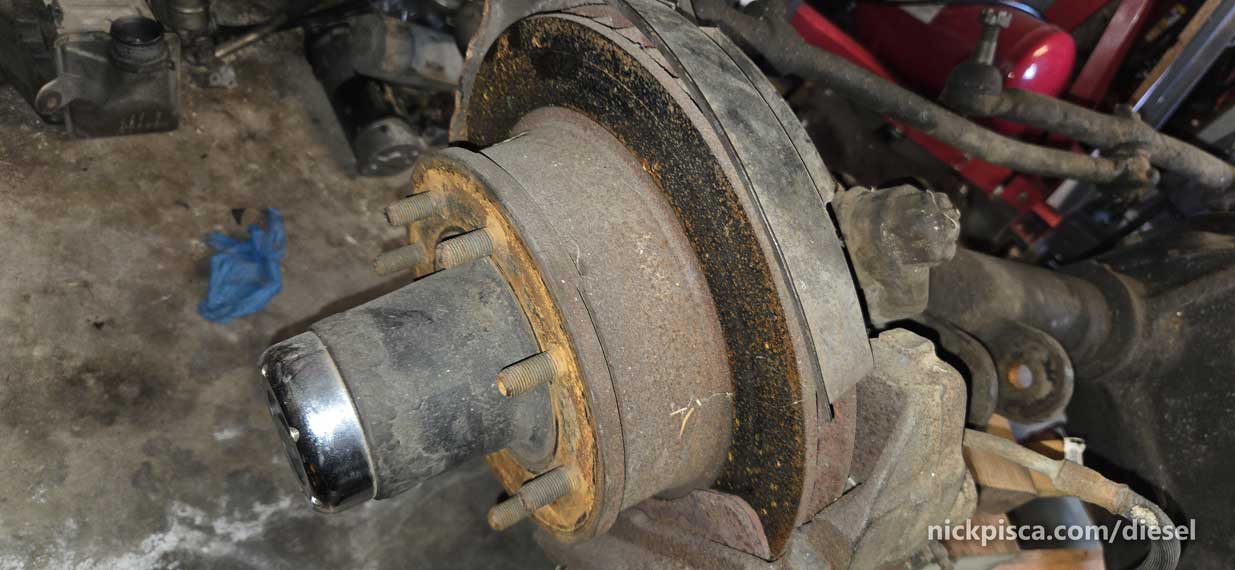
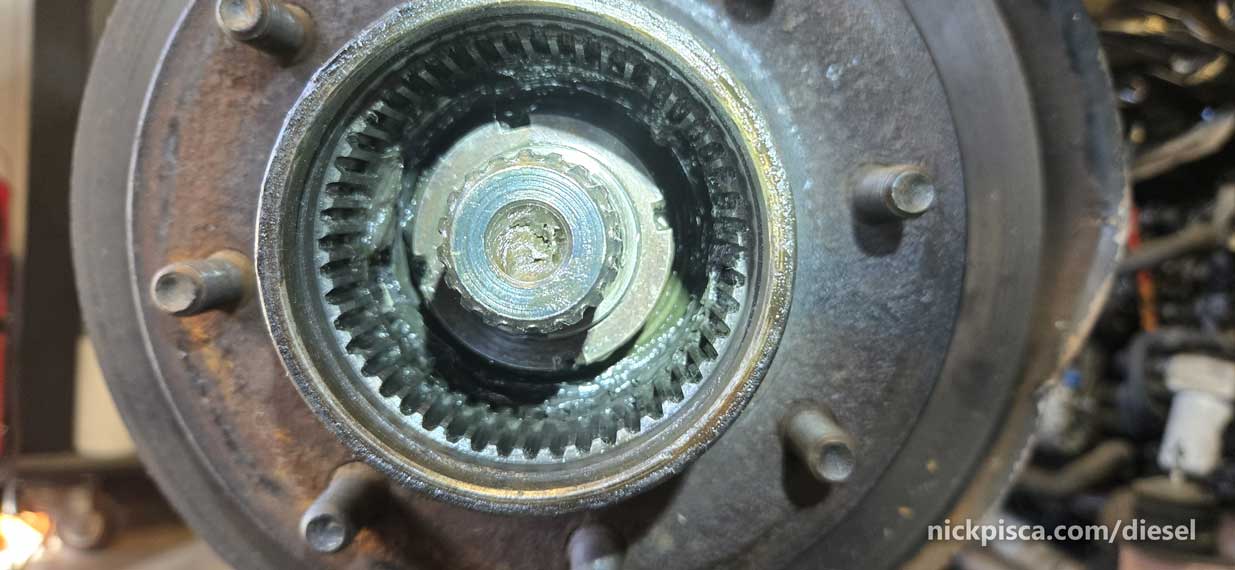
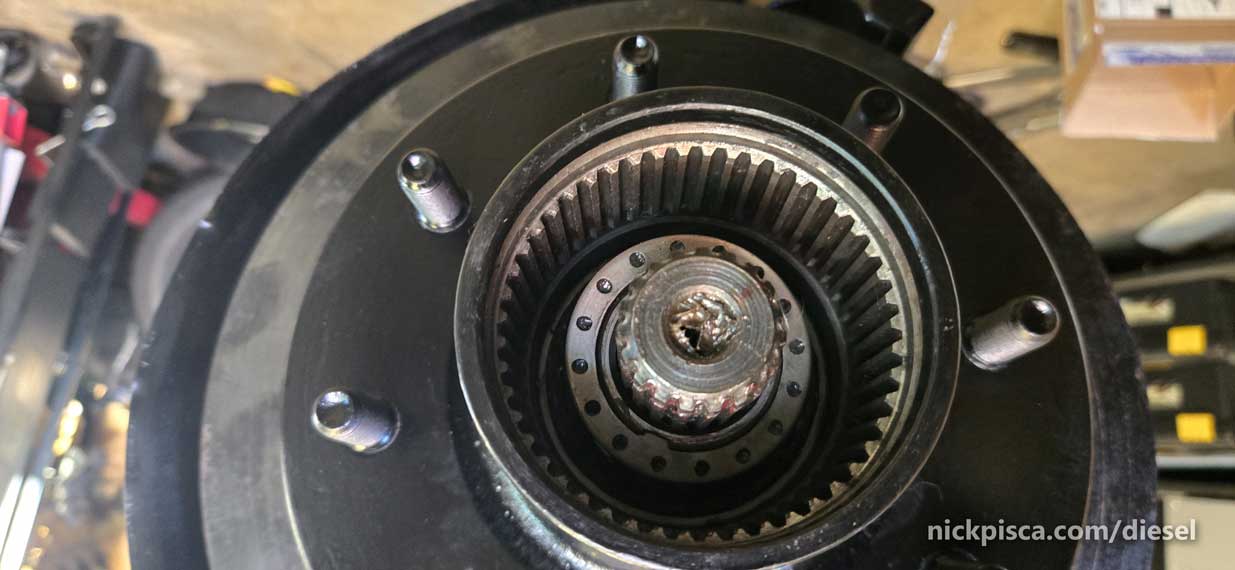
Once you get the lockout assembly off, you can look down the spindle to see the spindle nuts.
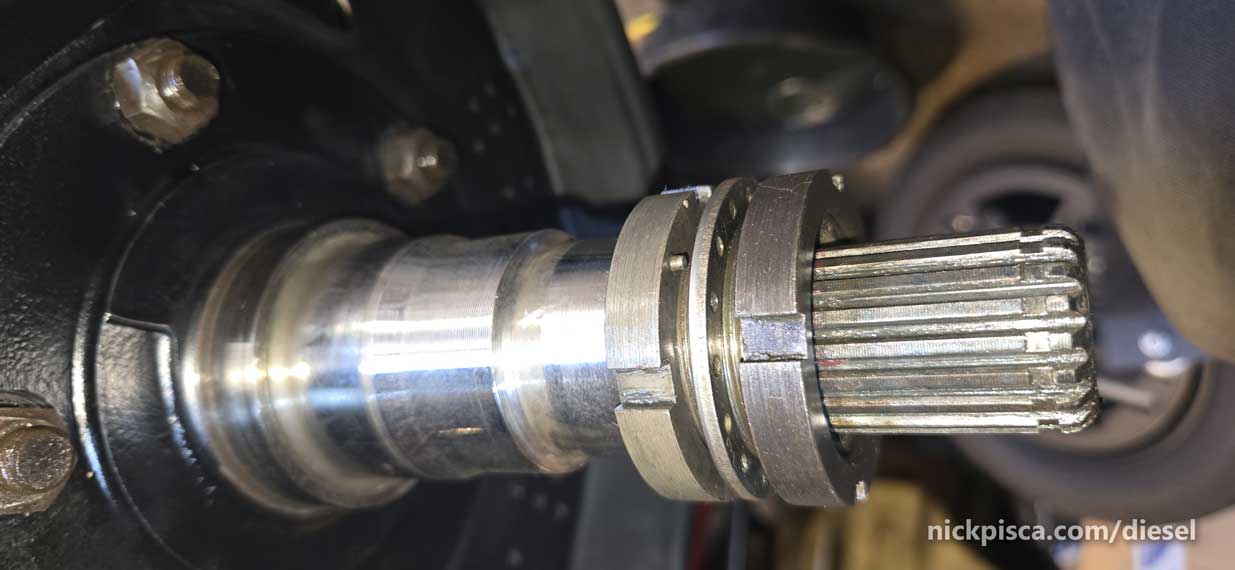
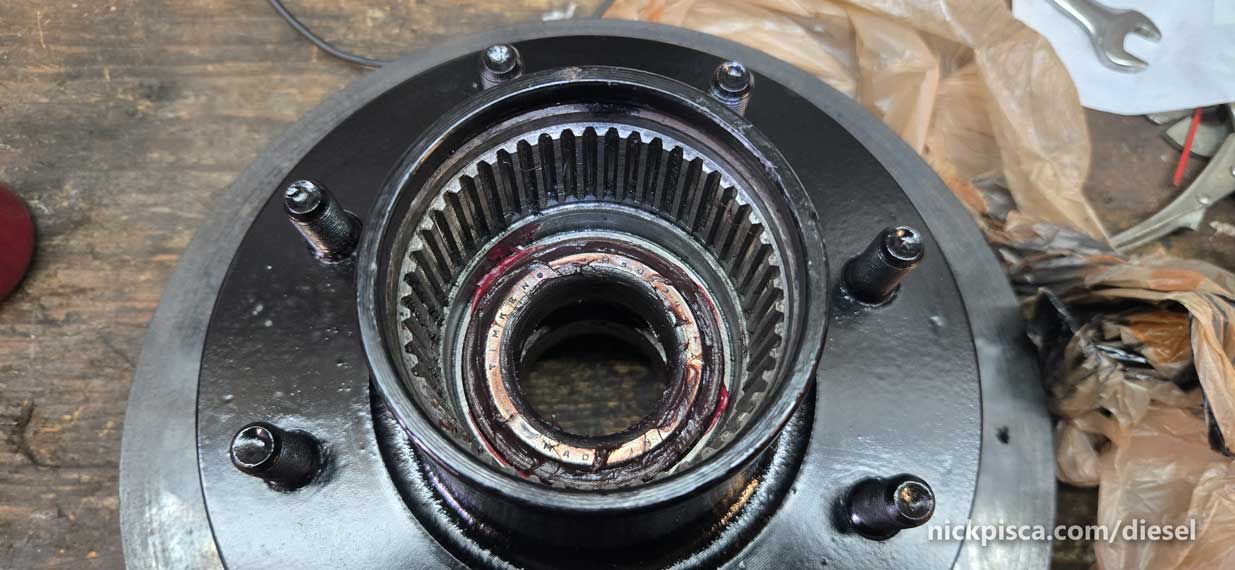
There are several spindle nuts that nest into each other, that you must take off in sequence. Here are the spindle nuts and hardware without the rotor:
I could just replace the rotor, but it looks fine. I’m not one for wasting my money on a Chinese rotor, when this one still has thickness. Also, if it needs to be turned, I got a shop here in Inglewood that still does that. WOOT.
When you take the rotor off, be careful to not drop the outer bearing on the floor. Like this:
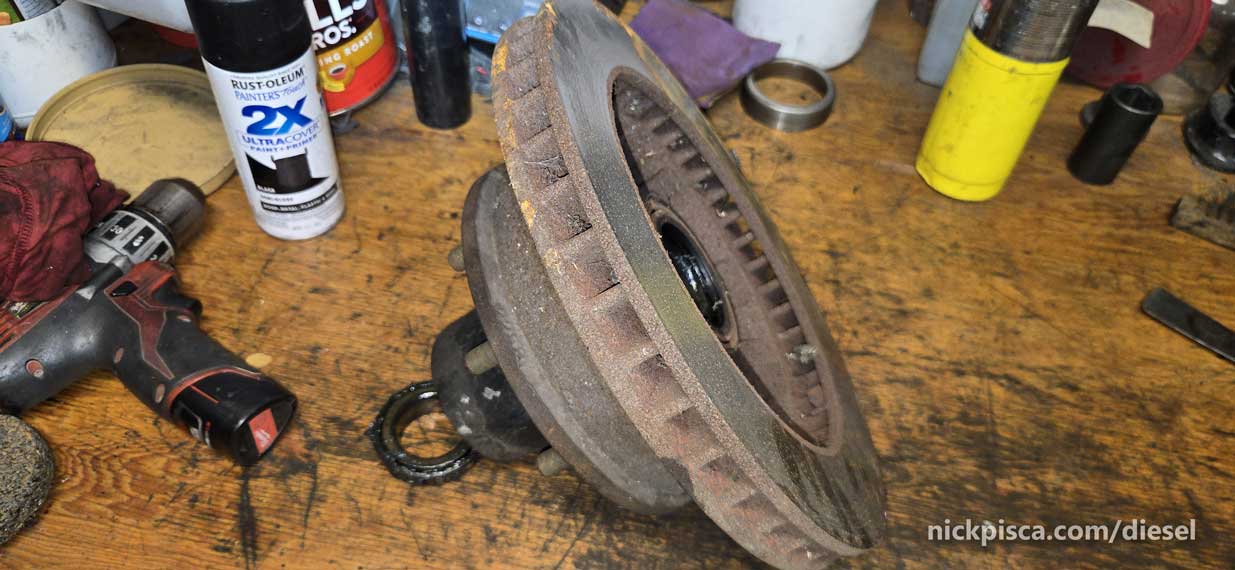
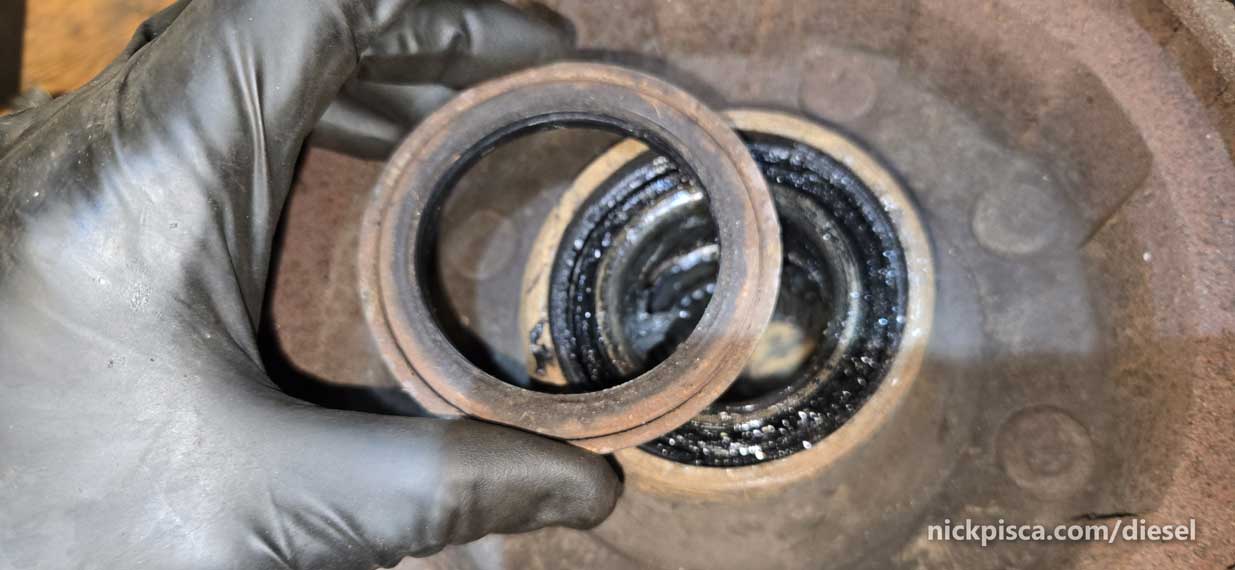
That is ugly AF. Good thing the previous owner used 60 lbs of grease on those bearings.

So, I used an old crappy chisel to get under the edge of the seal just enough to get a good scraper under it. Then just pried it up around the perimeter of the seal until it was off.
New rotor bearings. Let’s cook.
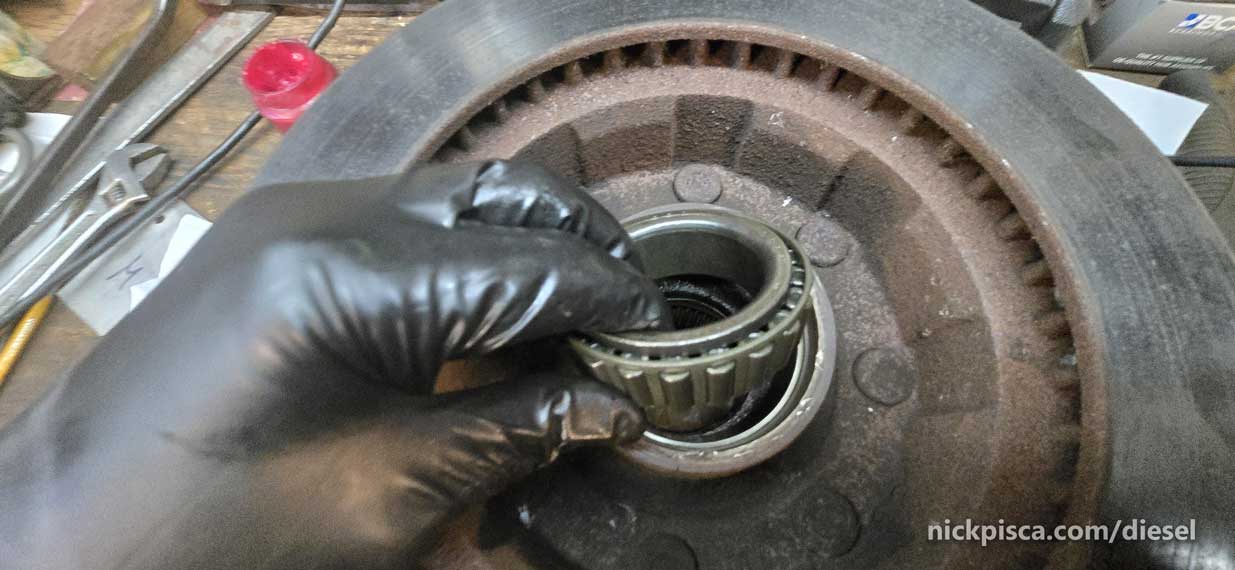
The inner bearing is held in with a seal. It’s not a pressure seal, just something to keep the bearing clean. The spindle nuts keep the rotor in place.
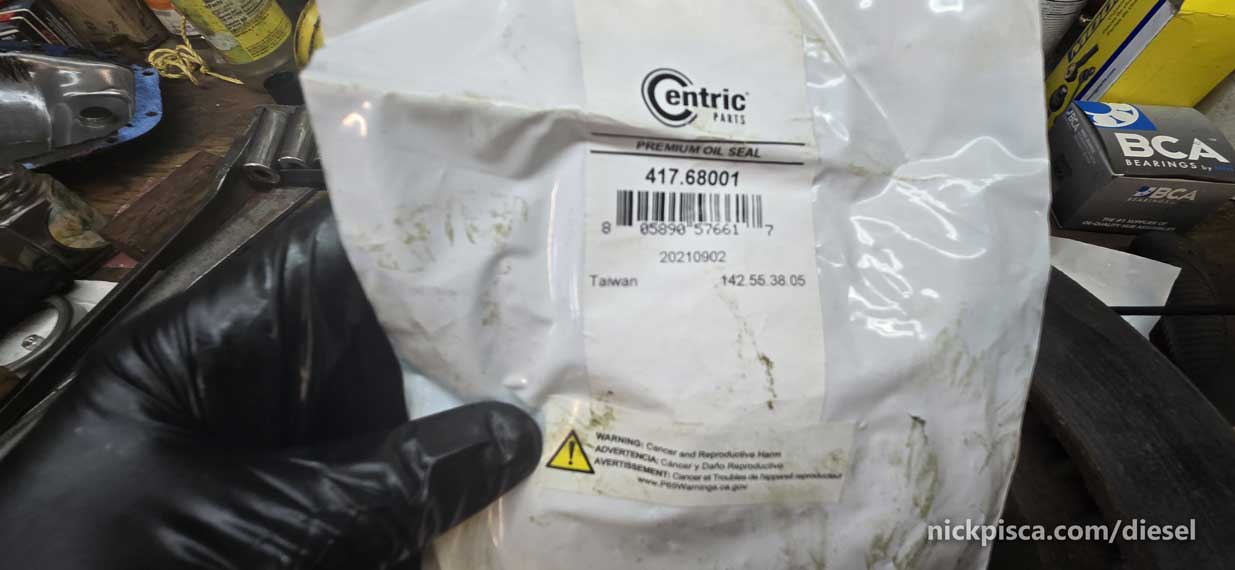
Here’s the bearing seal I used: Part 417.68001
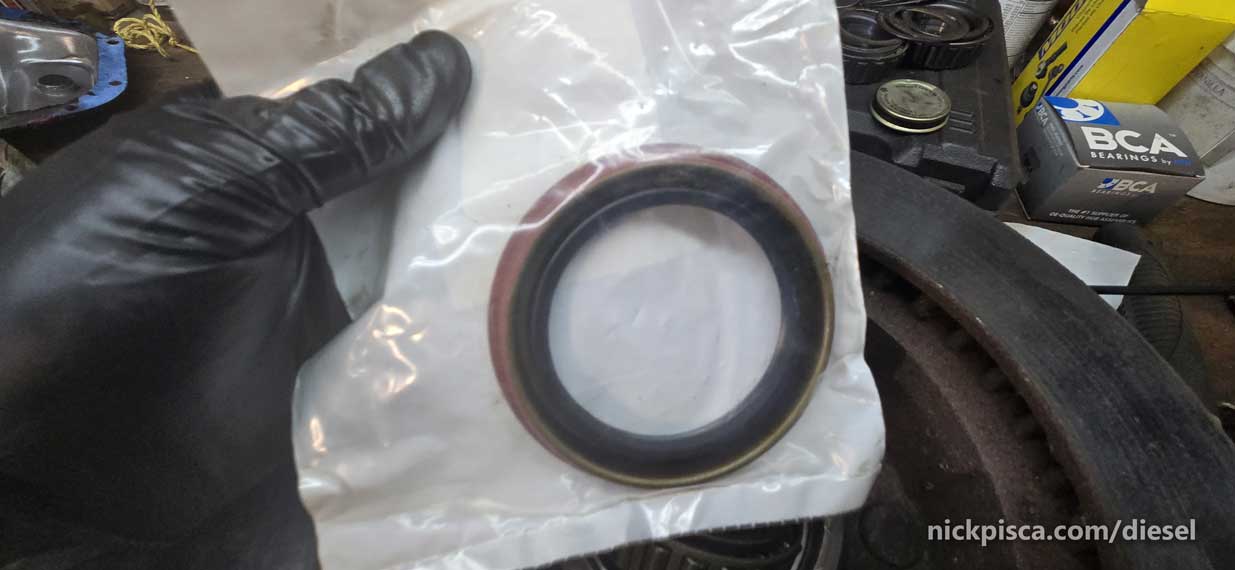
Tap that seal on.

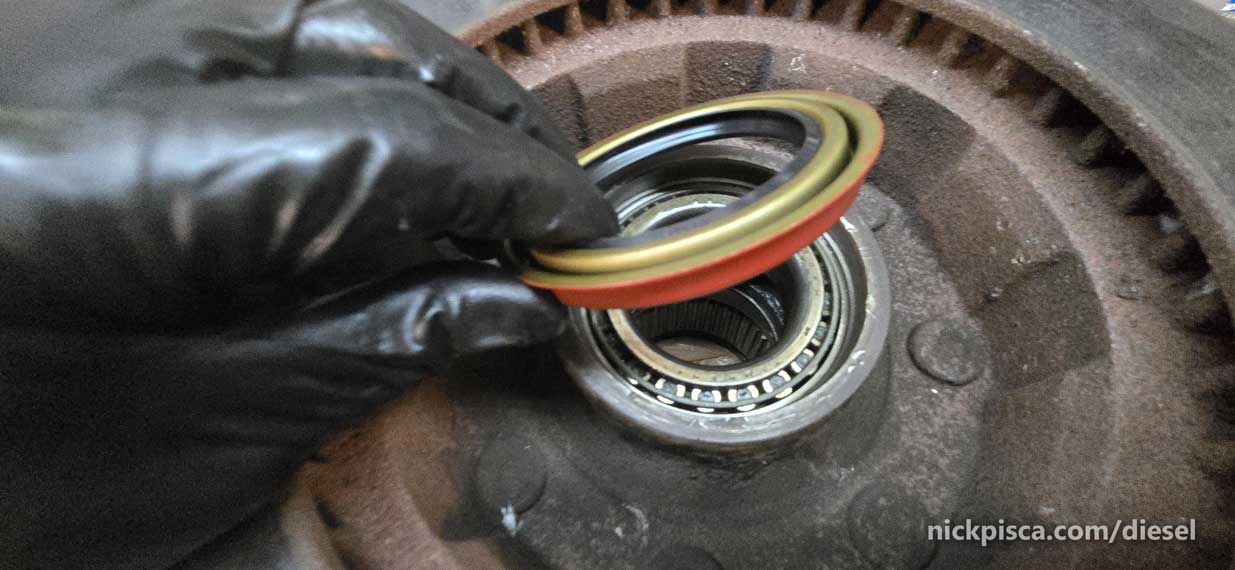
BUT… before you tap it on, pack that fancy new bearing with Mobil 1 Synthetic grease. It’ll be messy, but that’s how greasing bearings is.

FLIP that rotor over. Since nothing holds that outer bearing in place, it likely fell out of the rotor back when you pulled the rotor off the spindle. Pick it up off the ground, toss it in the trash, and greast up your new outer bearing.
Then slide it in carefully, so that you don’t spill that new bearing on your dirty shop floor.
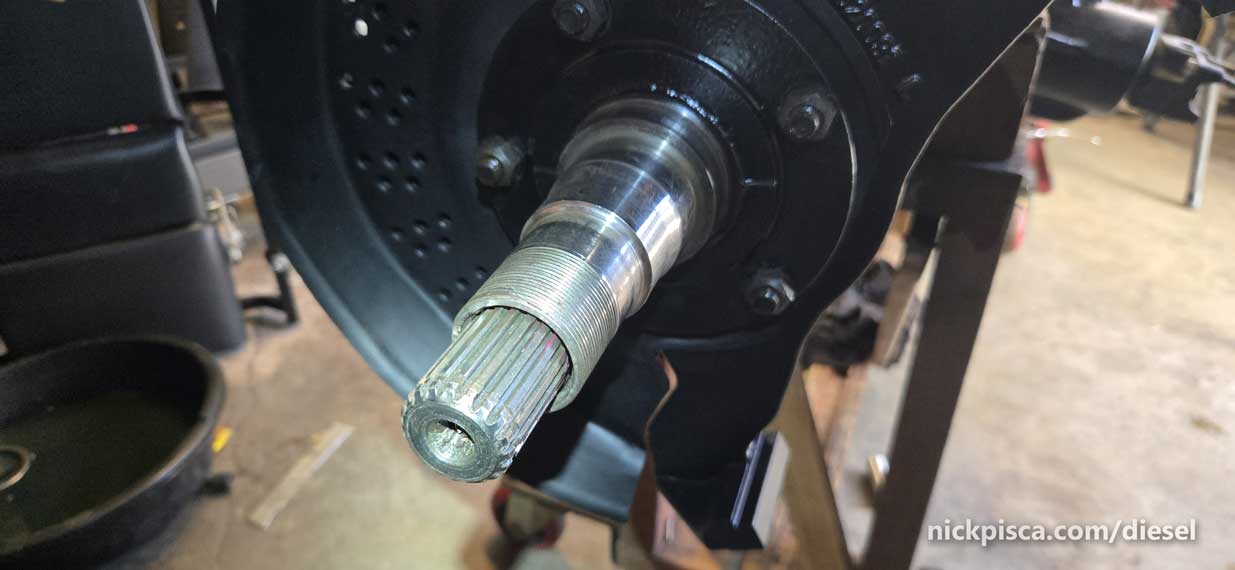
Everything inside this cavity needs to be greased up. Go back to the spindle on the knuckle. It should be VERY CLEAN. Any speck of dust or gravel will cause the races and bearings to fail.
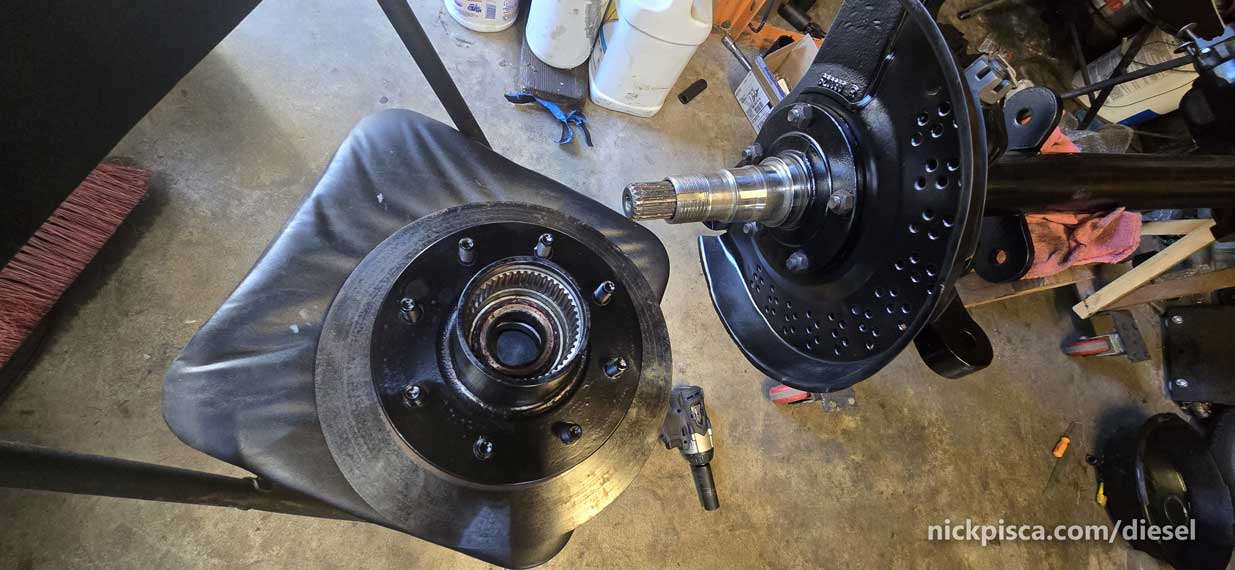
The process is simple. Coat the spindle with more grease, and slide the rotor on, careful to not lose the outer bearing on the floor like a loser.
There is a sequence to the spindle nuts. You have to make sure they go in this way, otherwise you’ll have problems. In the image below I’m showing the spindle nuts WITHOUT THE ROTOR INSTALLED, for simplicity of explanation. When you put the rotor on the spindle, you put these nuts on after the rotor is slid on. In the image below, the spindle nut with the peg goes on first. The spacer/washer goes on second. The outer spindle nut WITHOUT the peg, goes on last.
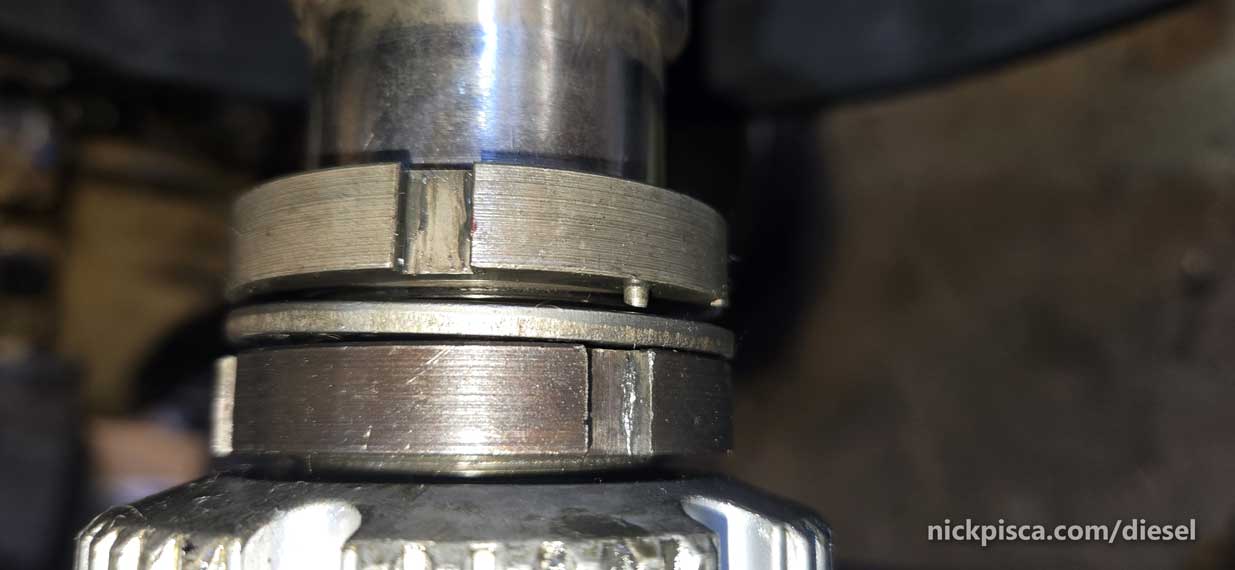
Here’s a picture of the rotor on, the inner Spindle nut (with the peg) on, and the spacer/washer on next. The outer spindle nut is not installed yet. NOTE, the spacer/washer has an inner notch that must align with the keyway on the spindle.
The inner nut needs to be torqued to a light spec, and turned back a 1/4″ turn. I don’t have the spec on me right now, but I’ll add that at a later date. The washer must align with the peg AND the spindle groove. It’ll take some time. Once that is done, thread on the outer spindle nut and torque it down to a massive spec. You’ll need a special tool for this, and my DIY PVC one did not work. Check out the Teardown thread for info on that tool.
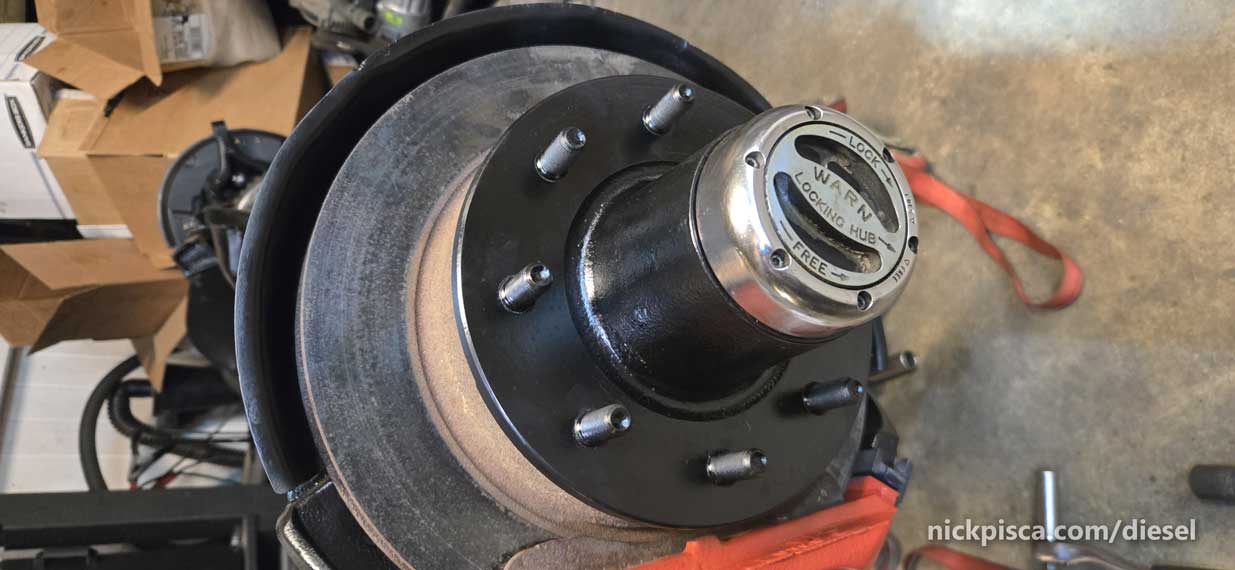
It’s looking good with the Lockout installed.
How to install/uninstall that Dana 44 lockout? Check this out:
