Recently, I had a stepper coupler separate on my machine when I was lifting an 800-layer job, and the only way to reconnect the coupler to the stepper shaft is to pull the Sintratec unit out of the case, and get access from the backside. While I had it apart, I noticed a massive pile of powder under my unit. Turns out that every time the applicator headed back to “home,” it took a little bit of powder back to the right side of the machine.
It didn’t bring a lot of powder to the right side, but given enough layers, it can build up. Since I had run about a dozen jobs in the last week, I accumulated a lot of powder from the other side.
Also, I noticed that when I run an “Apply Layer” in the “Powder” section of Sintratec Central, the return to home will grab a BUNCH of powder and dump it over the right side. It’s kind of a design flaw, because I would expect the applicator to “home” with the right side tray a bit lower than usual. However, in some cases, it will “home” with the right tray too high, and it will drag a bunch of powder. Then I hit the “Apply Layer” a bunch more times, and it will smooth out what is left in both trays.
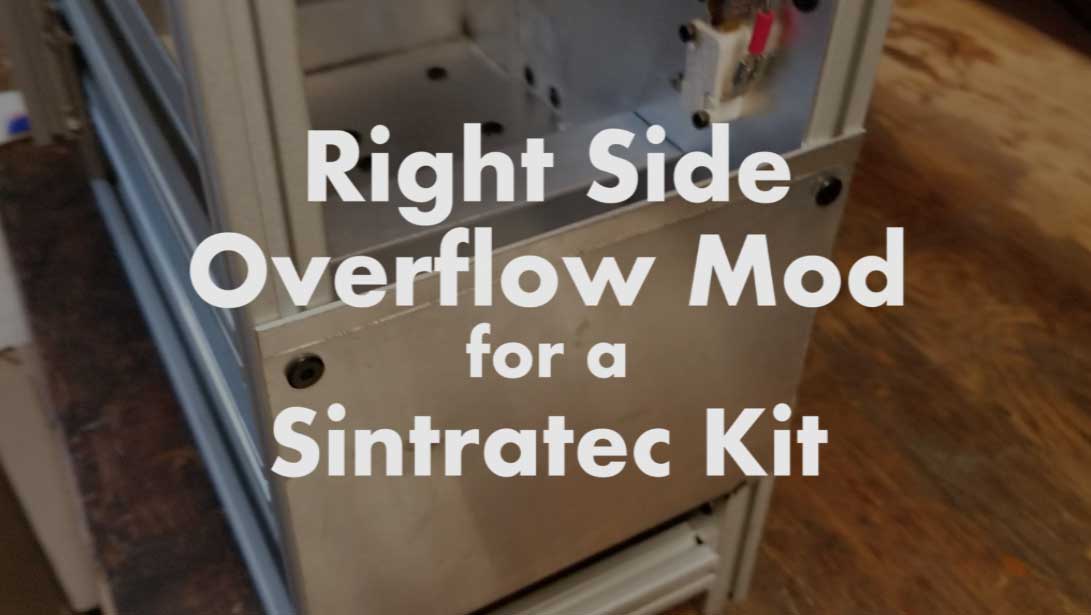
Back to the point of the article, I got a little fed up with this design, and decided to install a custom right-side tray to collect any potential powder that might work its way to the right side. I used some scrap sheet metal that I had in my shop, and a tin snips and utility knife. You can find this kind of sheet metal at any typical hardware store or big box supplier.
Here’s the video:
Overall, this is a simple mod. It only took me about a half hour, and now, instead of pulling the whole unit out of the case, I can just put my shop vac nozzle down in my right-side overflow bin and suck up any leftover powder. Solid! Whatever makes my work easier is OK by me.


![[Video] Figuring out an STL Export/Import Workflow from Maya to Sintratec Central](https://www.nickpisca.com/sherpa/wp-content/uploads/2019/05/20190506_bypasstitle-440x264.jpg)
Hello Nicholas,
I’m a postdoc at the university of Cambridge and I’m working on some research areas related to Sintratec Kit SLS printer. I have a serious problem. Even with using mostly fresh powders, the printed objects are so fragile and can be easily broken. I’m using the following parameters:
Layer height: 100 micrometres
hatching offset: 120 micrometres
hatching space: 200 micrometres
laser speed: 500 mm/sec
target bed temperature (printing): 170 C
chamber temperature (printing): 140 C
I’m not sure the problem is related to the custom parameters or there is a physical issue inside the hat body of the printer.
I really appreciate it if you could advice me to resolve my issue.
Many thanks,
Hamid