1998 VW Jetta
TDI VO Conversion Installation Thread Return to Main Page
Dual
Tank System < 1 2 3 4 5 >
WVO & SVO Compatible
Design and
Installation: Nick Pisca, July 2007
Initial Installation Progress:
Some
advice for those who want to remove the plastic bumper cover: (I have a Chilton manual and it didn’t cover
this trick.)
Remove
all five fender bolts underneath the car and slide metal strips inside the rear
inner fenders. Then pull the bumper
cover back away from the front of
the car to get it off. Don’t pull up or
down, for VW designed a slider to manage the connection.
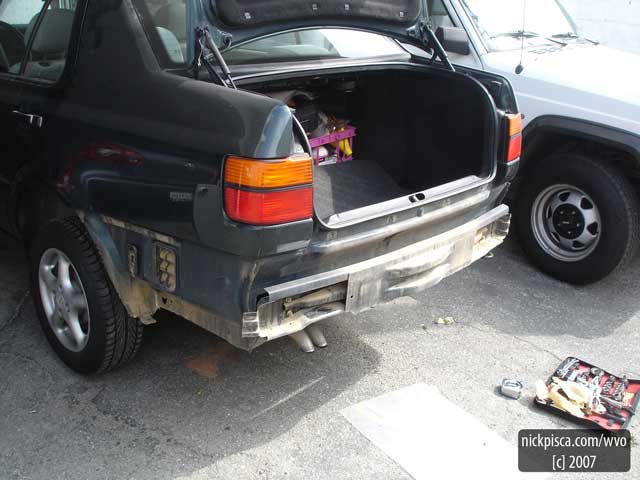
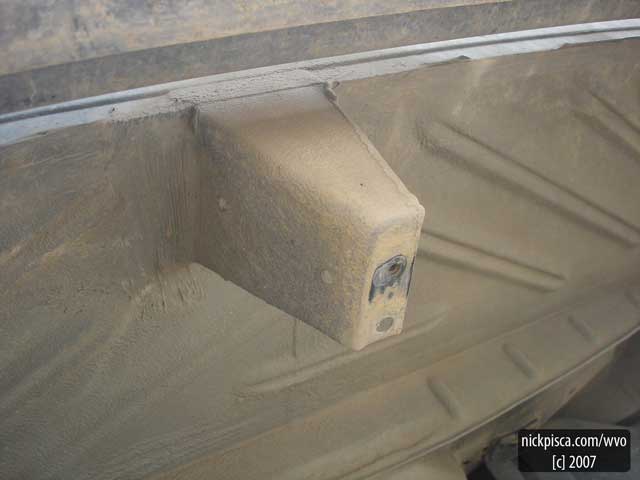
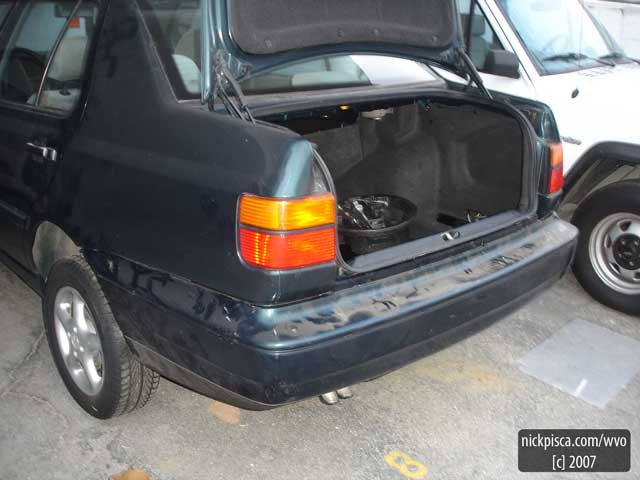
BUMPER COVER REMOVED:
In the
image above, you can see the slider mount in the triangular space behind the
driver’s side rear tire. It’s about the
size of a deck of cards.
POTENTIAL AREAS OF CONFLICT:
In order
to obtain tank capacities of over ten gallons (37.8 liters), there would have
to be some demolition to the car. These
would be in inconspicuous areas. Also,
obviously there would have to be a hole through the trunk for filling and
mounting would come from the vertical webs surrounding the tank. My intuition would suggest that this mounting
technique would work better than thru-bolting through the trunk floor, to
minimize deformation of the trunk metal and/or pulling through. Also, a more experience mechanic my use the
mounting areas for the diesel tank, for they are far thicker and made for
supporting heavy tanks. But I wanted to
align my driver’s side strap with the to-be-removed bumper cover flange, so
that this strap would play a dual role:
to support the tank and replace the flange connection.
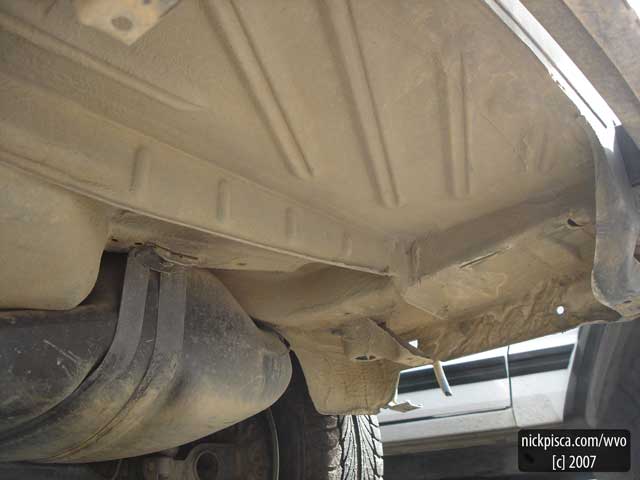
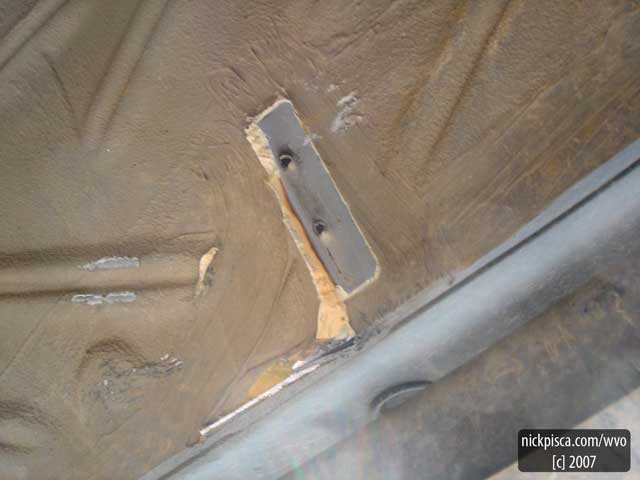
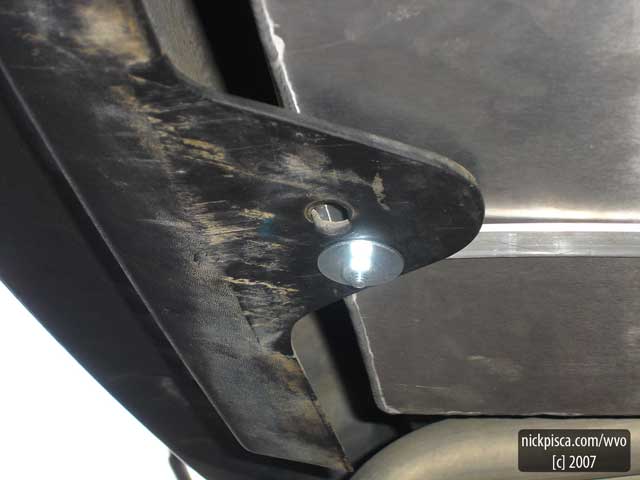
BUMPER COVER FLANGE:
This is
the existing bumper cover flange that needs to be removed if you want to use a
tank longer than 23.5 inches.
I used a
reciprocating saw the tore out the trapezoidal web. But after pulling that out, I realized that
this flange is held in by two pop-rivets.
(see image below)
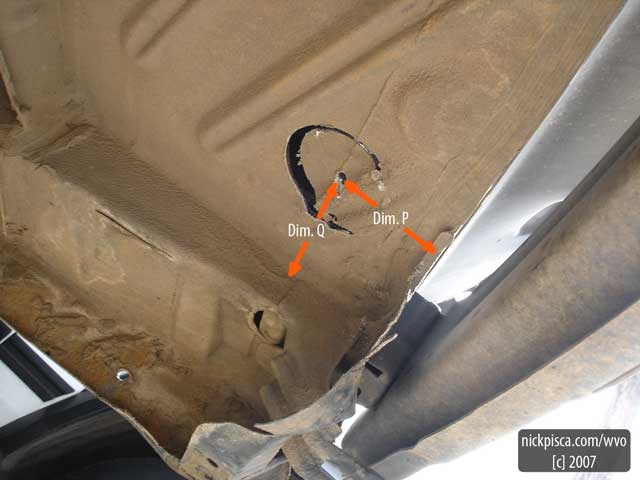
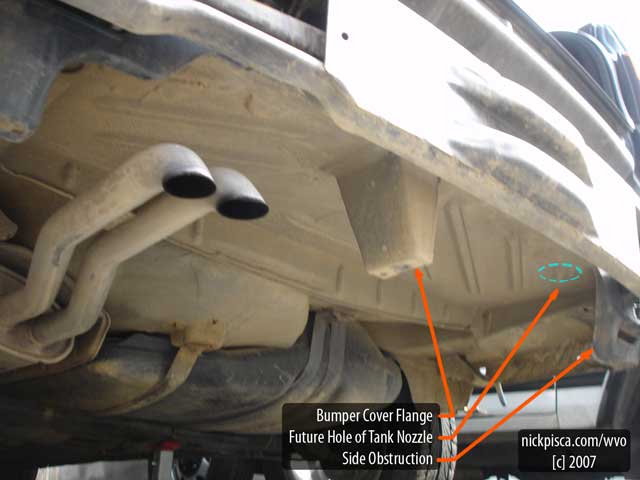
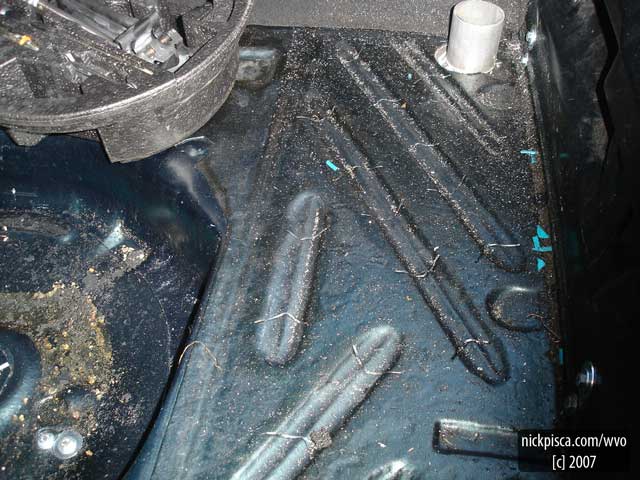
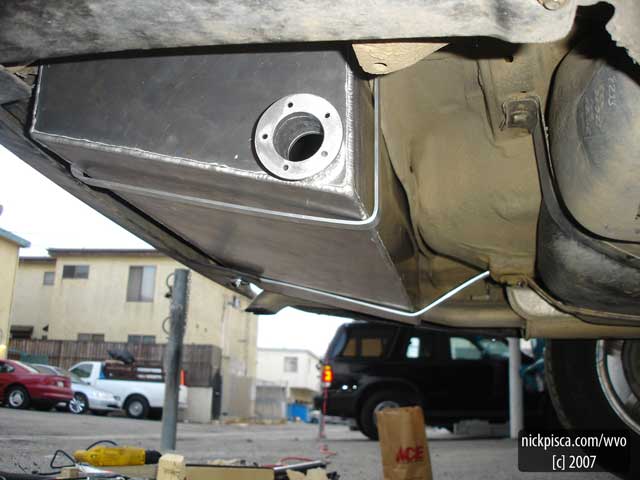
NOZZLE HOLE:
The
location of the nozzle hole was a sort of guess at first. I tried to correspond it to the dimension on
my tank specs, but due to the fact that it may not nest exactly in the corners,
it may not fit correctly. I picked a
point that was a happy medium and it set perfectly on the first attempt. I don’t have Dimensions P or Q on me right
now, but I can post that later.
Also, in
this image and previous pics I mention the ‘Side
Obstruction.’ This is the slight bend in
the body to the passenger-side direction of the nozzle hole. I didn’t see this when I initially measured
for the tank, but this obstruction is a curved piece of metal that needs to be
cut back to accommodate the tank. You
can see I made two simple cuts with the saw that allowed me to pry back the
metal. It doesn’t need to be removed,
but just out of the way.
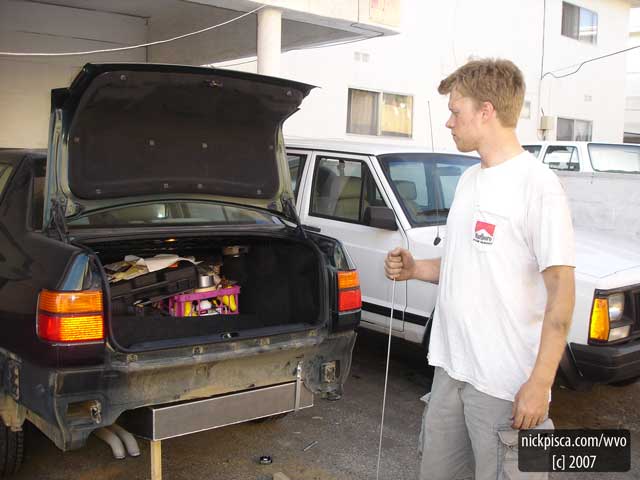
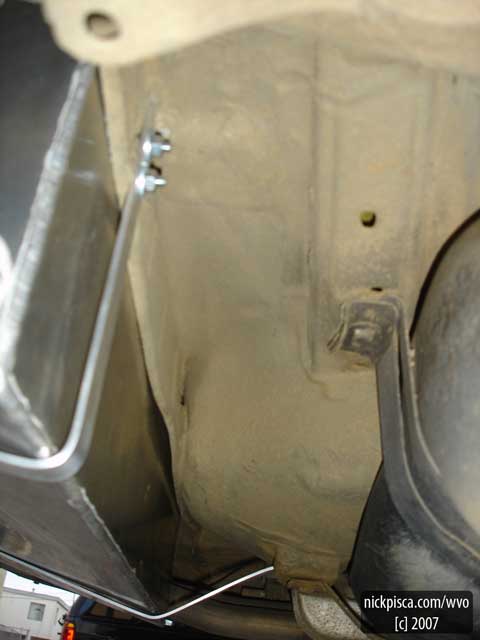
SECONDARY TANK INSTALLATION:
Eventually
it got easier to work on this if I ripped off the bumper itself. It’s very easy to do and requires the removal
of just four nuts.
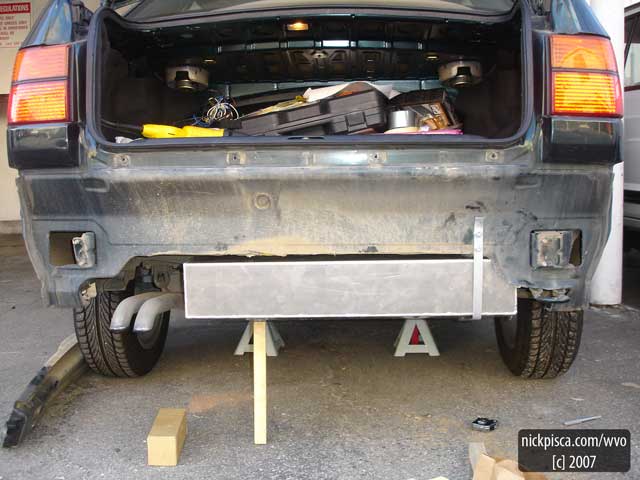
I have a
tracing of the tank straps if anyone wants to copy them exactly. They are just cut from three foot 1/8 inch
thick aluminum strips from B & B Hardware.
I bent them around a steel pole near my work area and thru-bolted them
into the trunk web and body. Also, you
may need to flip back the top at a 45 degree angle for a half-inch (you can see
it at the top of the strap in the image above.)
This will keep the end from scratching the paint off and there is a
slight angle to the body that requires a kick-back.
When
this photo was taken, I was about to install the second aluminum tank
strap. This strap requires some careful
placement, because it will be supporting the tank and connecting to the bumper
cover (where the flange used to reside).
Be sure
to align it with the existing bumper cover connection – you’ll see further down
the thread, but I was off by an inch and had to re-drill a new cover hole.
BUMPER AND COVER REINSTALLED:
I
replaced the bumper cover and it looks as good as new. My neighbors said they didn’t even notice a
new tank was there.
HOTFOX INSTALLATION:
One
thing to note: Make sure to install your
HotFox before mounting the
tank. I thought I could just slide it in
after the tank was set, but my bumper cover got in the way. It was a pain in the ass, but if you just
pull some of the bolts on the passenger side of the bumper cover, you can slide
the plastic far enough up to pass the HotFox though.
Part of
the reason for the horizontal mount was to have the option to drain the tank if
necessary. I can pull the HotFox out,
but because of this obstacle, it will just slide up to the bumper cover.
Also, I
had to redrill my HotFox
mount holes, because I specified a small dimension for fabrication.
LOCATION OF NEW BUMPER COVER CONNECTION:
As I
mentioned before, I tried aligning the new cover connection to the old flange
location, but was off by an inch. I was
able to re-drill the hole and use an over-sized fender washer to evenly
distribute the load over the plastic. Since
it was much closer to the edge of the plastic, I didn’t want to risk any
tearing during driving.
This space looks
deceptively larger than I expected. J
[c] 2007 Nick Pisca . www.nickpisca.com/wvo . Waste Vegetable Oil Awareness and
Travel . www.nickpisca.com