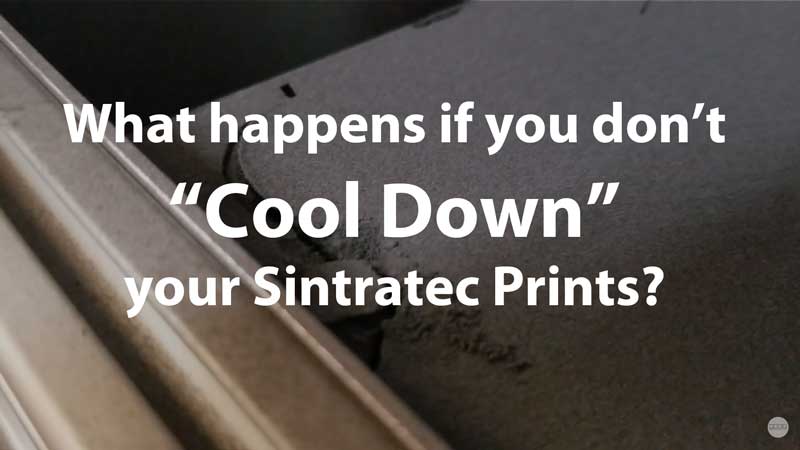
While testing another print on my Sintratec machine, I noticed some curling on the corner of my model. This was kind of expected, because I tried to bite off more than what the Sintratec can chew, and it was sintering less than 1cm from the corner. It’s a no-no to go into the 1cm margin, especially near the corners. The way the laser focuses combined with the IR temperature control, it makes it really hard for that area to sinter properly, and even just a degree difference can mean if it curls or if it oversinters.
So after a few dozen layers, I noticed the curling getting more and more pronounced, so I choose to “Abort” the project. The software allows you to choose between “Abort” or “Cool Down” whatever is finished in the model. Also, when you finish a completed model in the Sintratec device, you can also choose to Cool Down if you want. It’s widely known that it’s best to always Cool Down your models if you want to keep them from warping or shrinking due to rapid temperature fluctuation.
Since most of my bed hadn’t finished, I figured I wouldn’t do the lengthy Cool Down and I just aborted it. I did have some of my smaller print objects done in the bed, so at the very least, I’ll have those items to use when I extract them from the powder cake. But quickly after I pressed “Abort,” I realized that it was a mistake, and I should have clicked “Cool Down” if I truly wanted to use those finished prints in the future. The lack of a cool down causes the powder to behave oddly.
Here’s a video of the aftermath of a bed that didn’t endure the cool down process:
As you can see, the powder erupted and cracked throughout the bed. Any 3D Prints that fell across the fault lines where broken in half. And any items that resided in a portion that had some powder fluctuation, will now be most definitely warped or shrunk.
That’s the problem. Without the cool down, it will rapidly alter the specs on your 3D Print, likely transforming it way too far from your allowable tolerances.
If you don’t care about that, then that’s up to you. But I plan to use my stuff for “End Use” applications, so tolerances are crucial for the implementation of my assembly.
I’m going to update my bed design so that it doesn’t alloy my prints to get so close to the powder margins on the X and Y directions. I think the laser was calibrated on the center point of the bed, but for some reason, the Sintratec Central software situated my 3D Print contents a little too far in the negative X direction. Even though I designed this to fit exactly inside a 11cmx11cm practical dimension, I noticed the actual 3D Print was something like 6 or 7 mm from the left X edge. Seems off. Maybe I’ll just have to remember to model my STL a little the right from now on.


Recent Comments